
This Fall is full of fashion trends I’m scrambling to add to my closet:
#1. Burgundy/Bordeaux/Maroon/whatever you want to call that color. Love it.
#2. Anything and everything 70’s inspired. Think flared jeans, suede minis, and fringe.
#3. Leather items – again, mostly the 70’s inspired ones.
Trying to be trendy and overly excited, I’ve managed to fit all three trends into this one look… Too much?
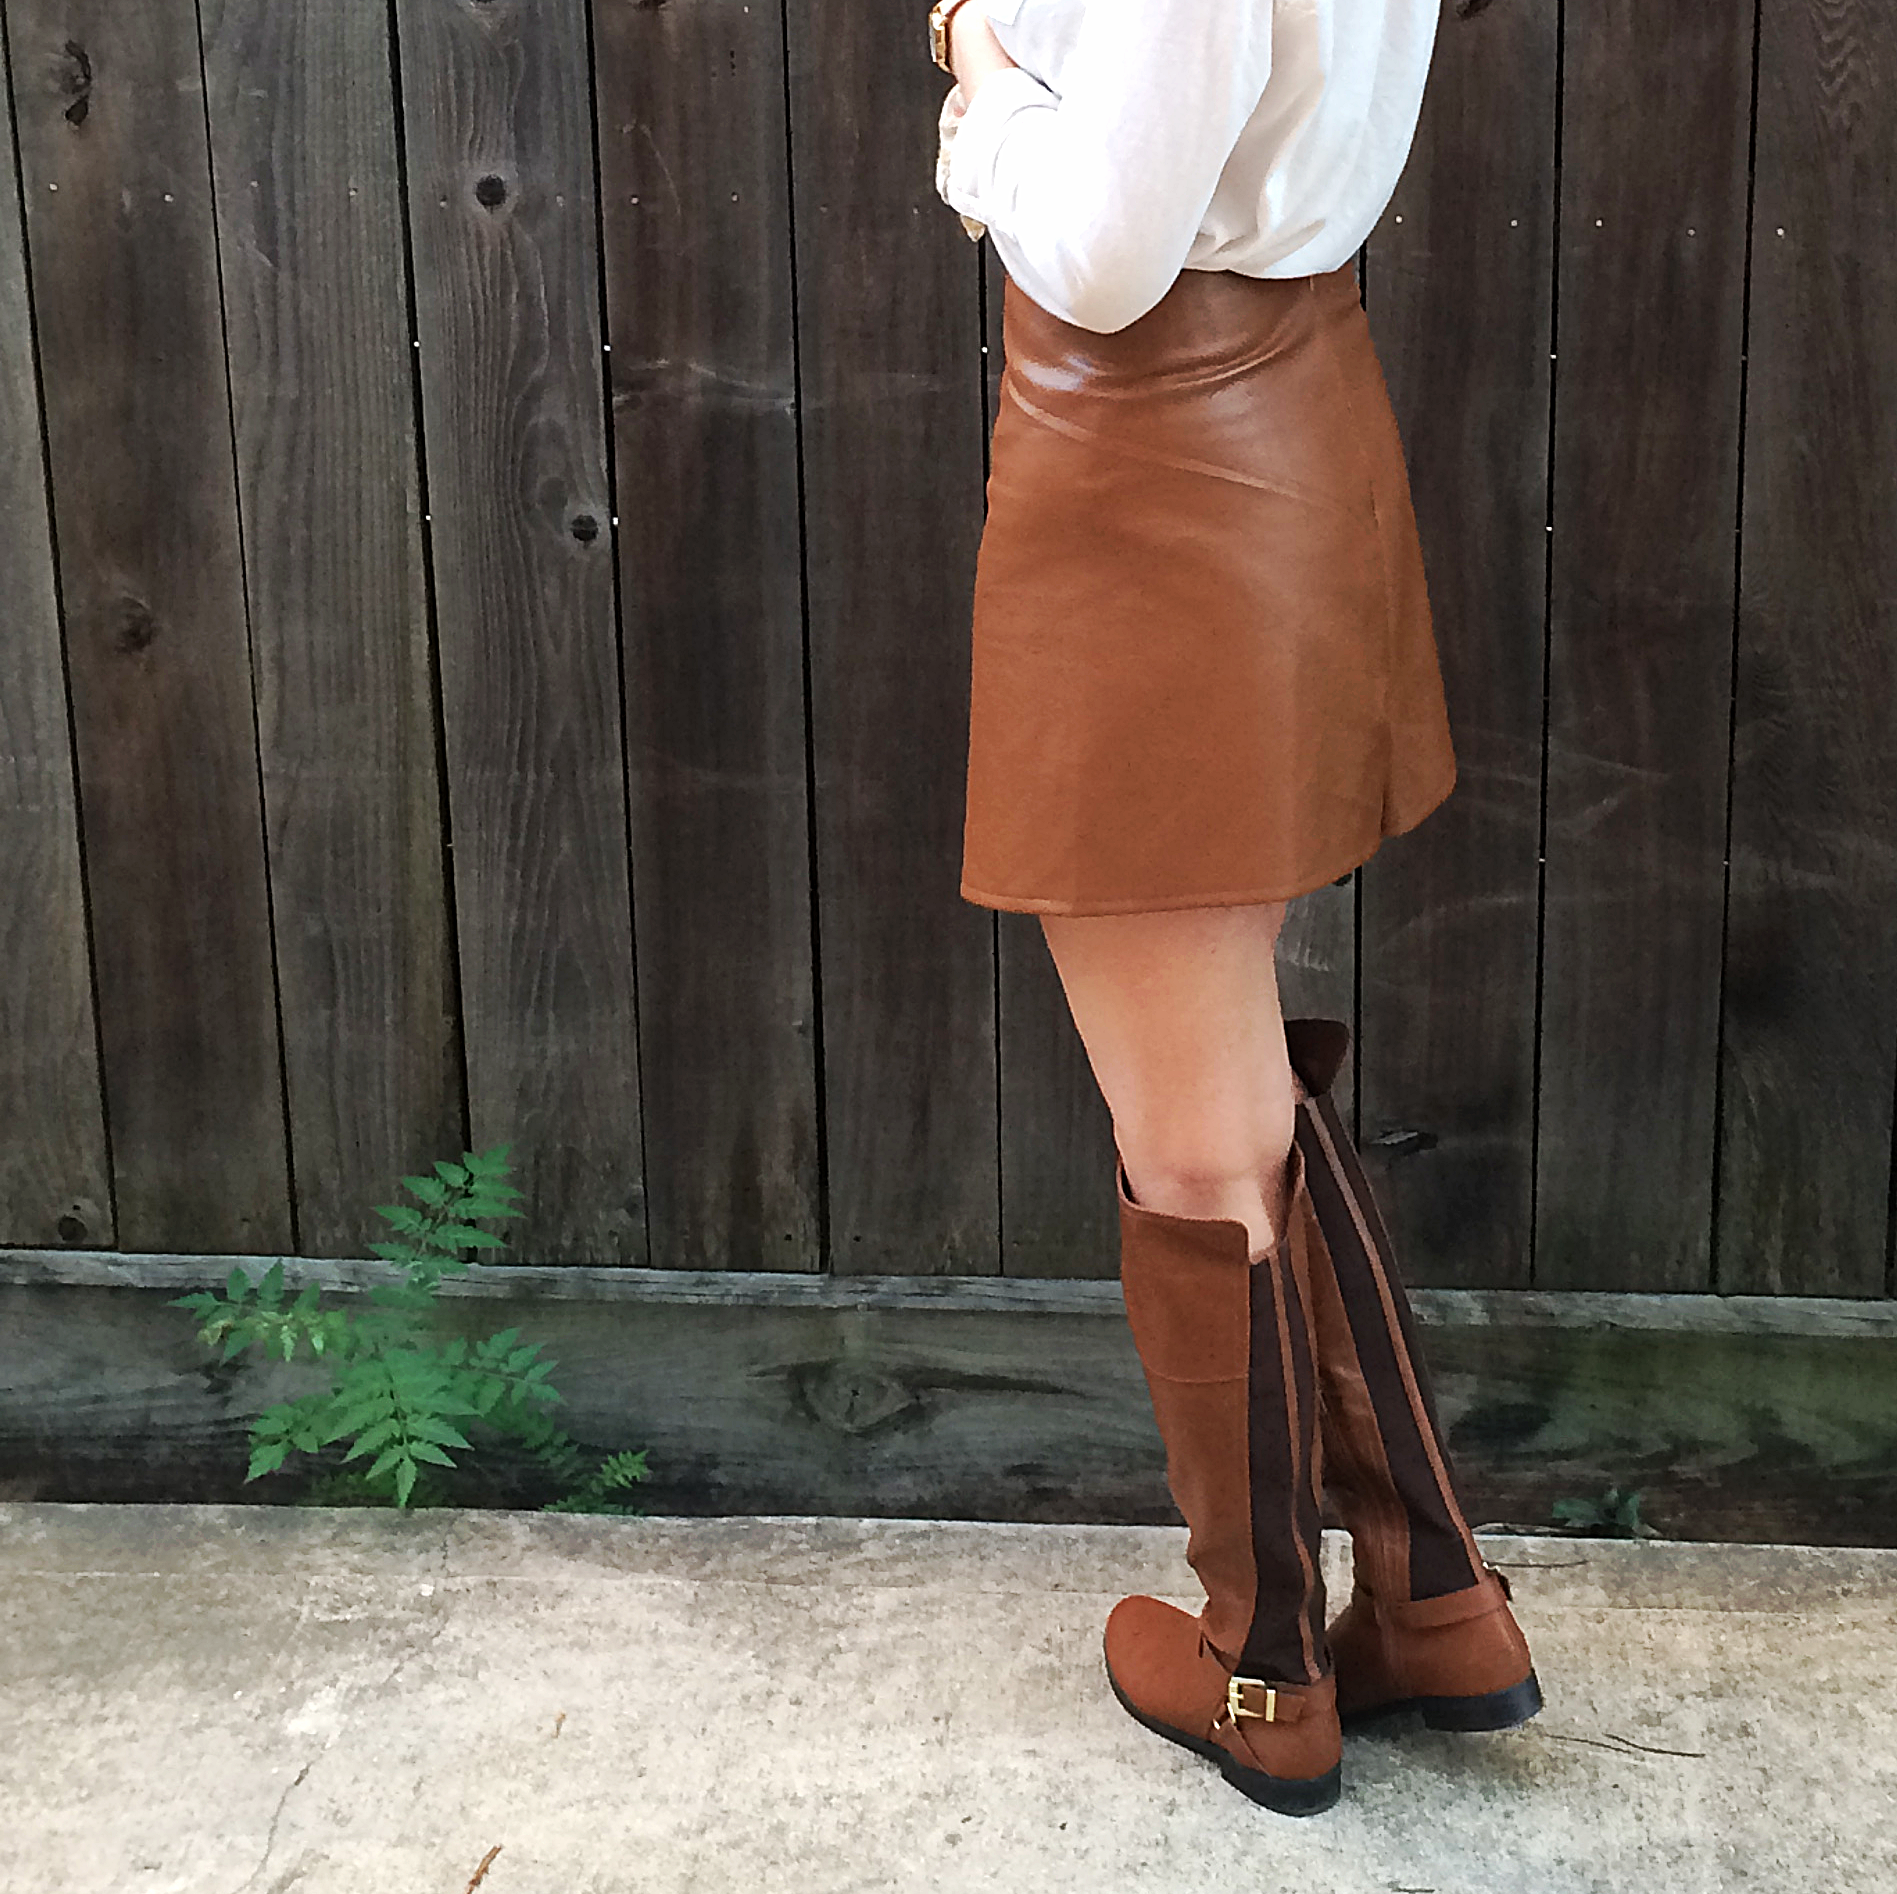
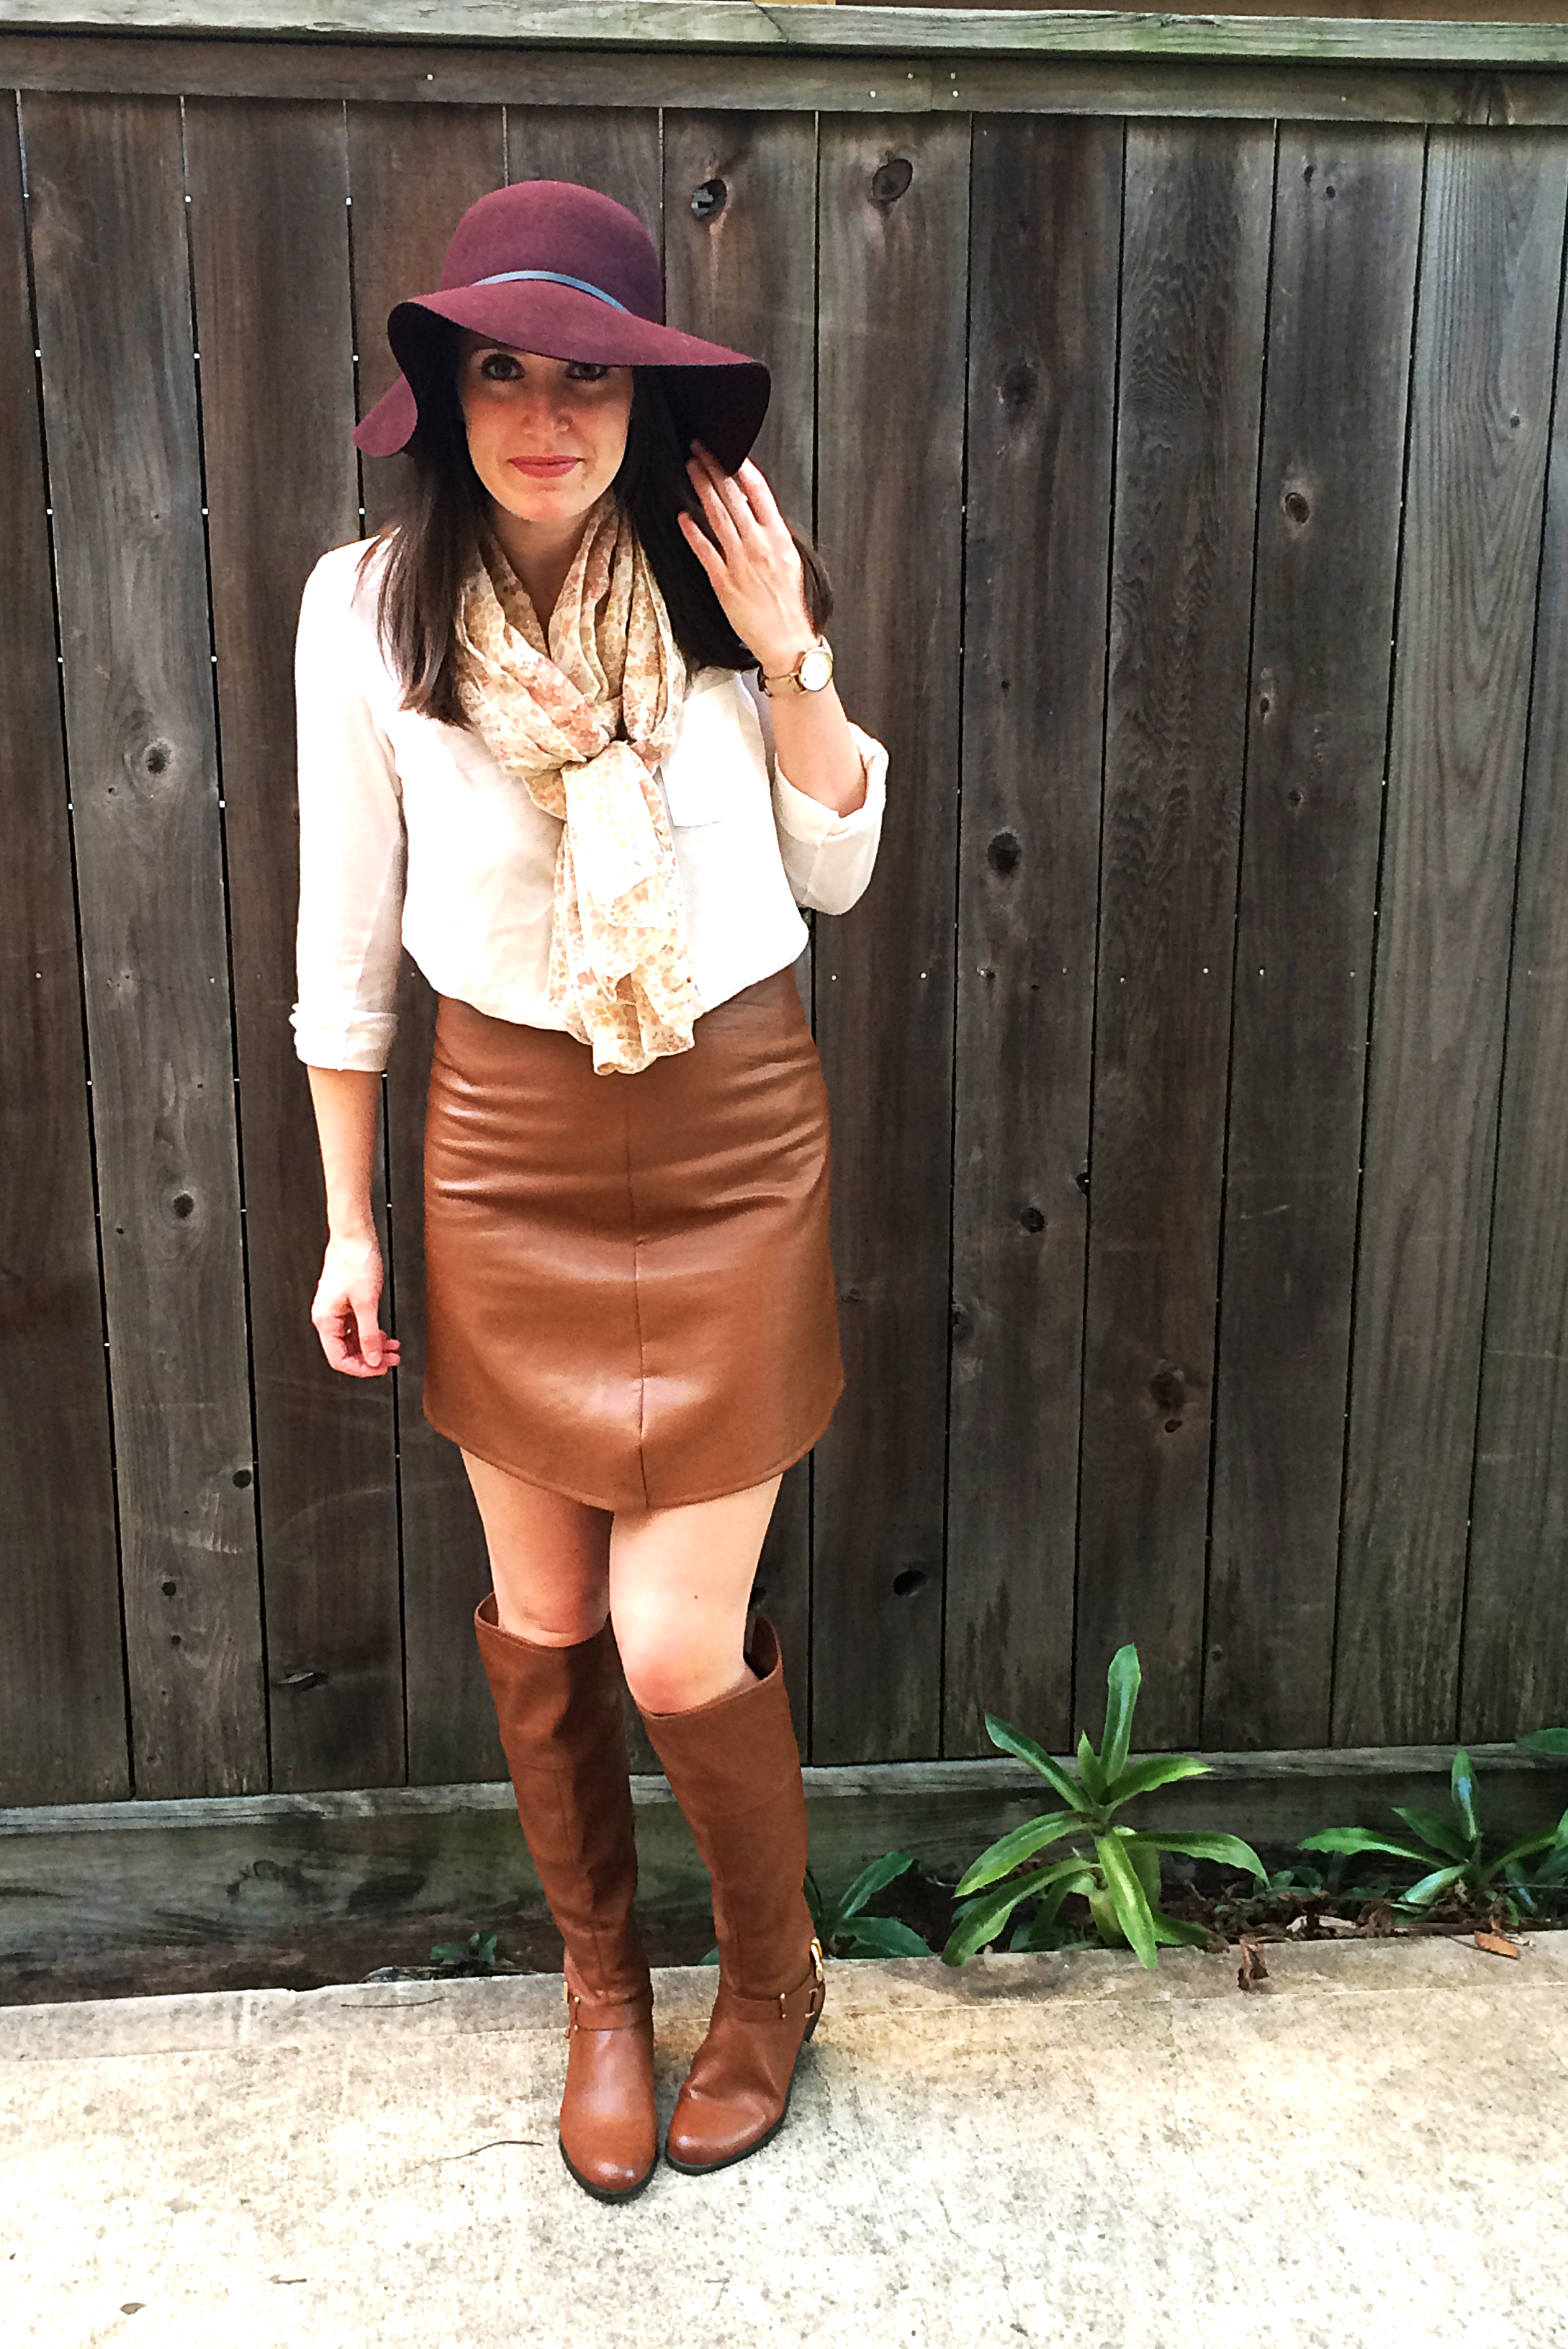
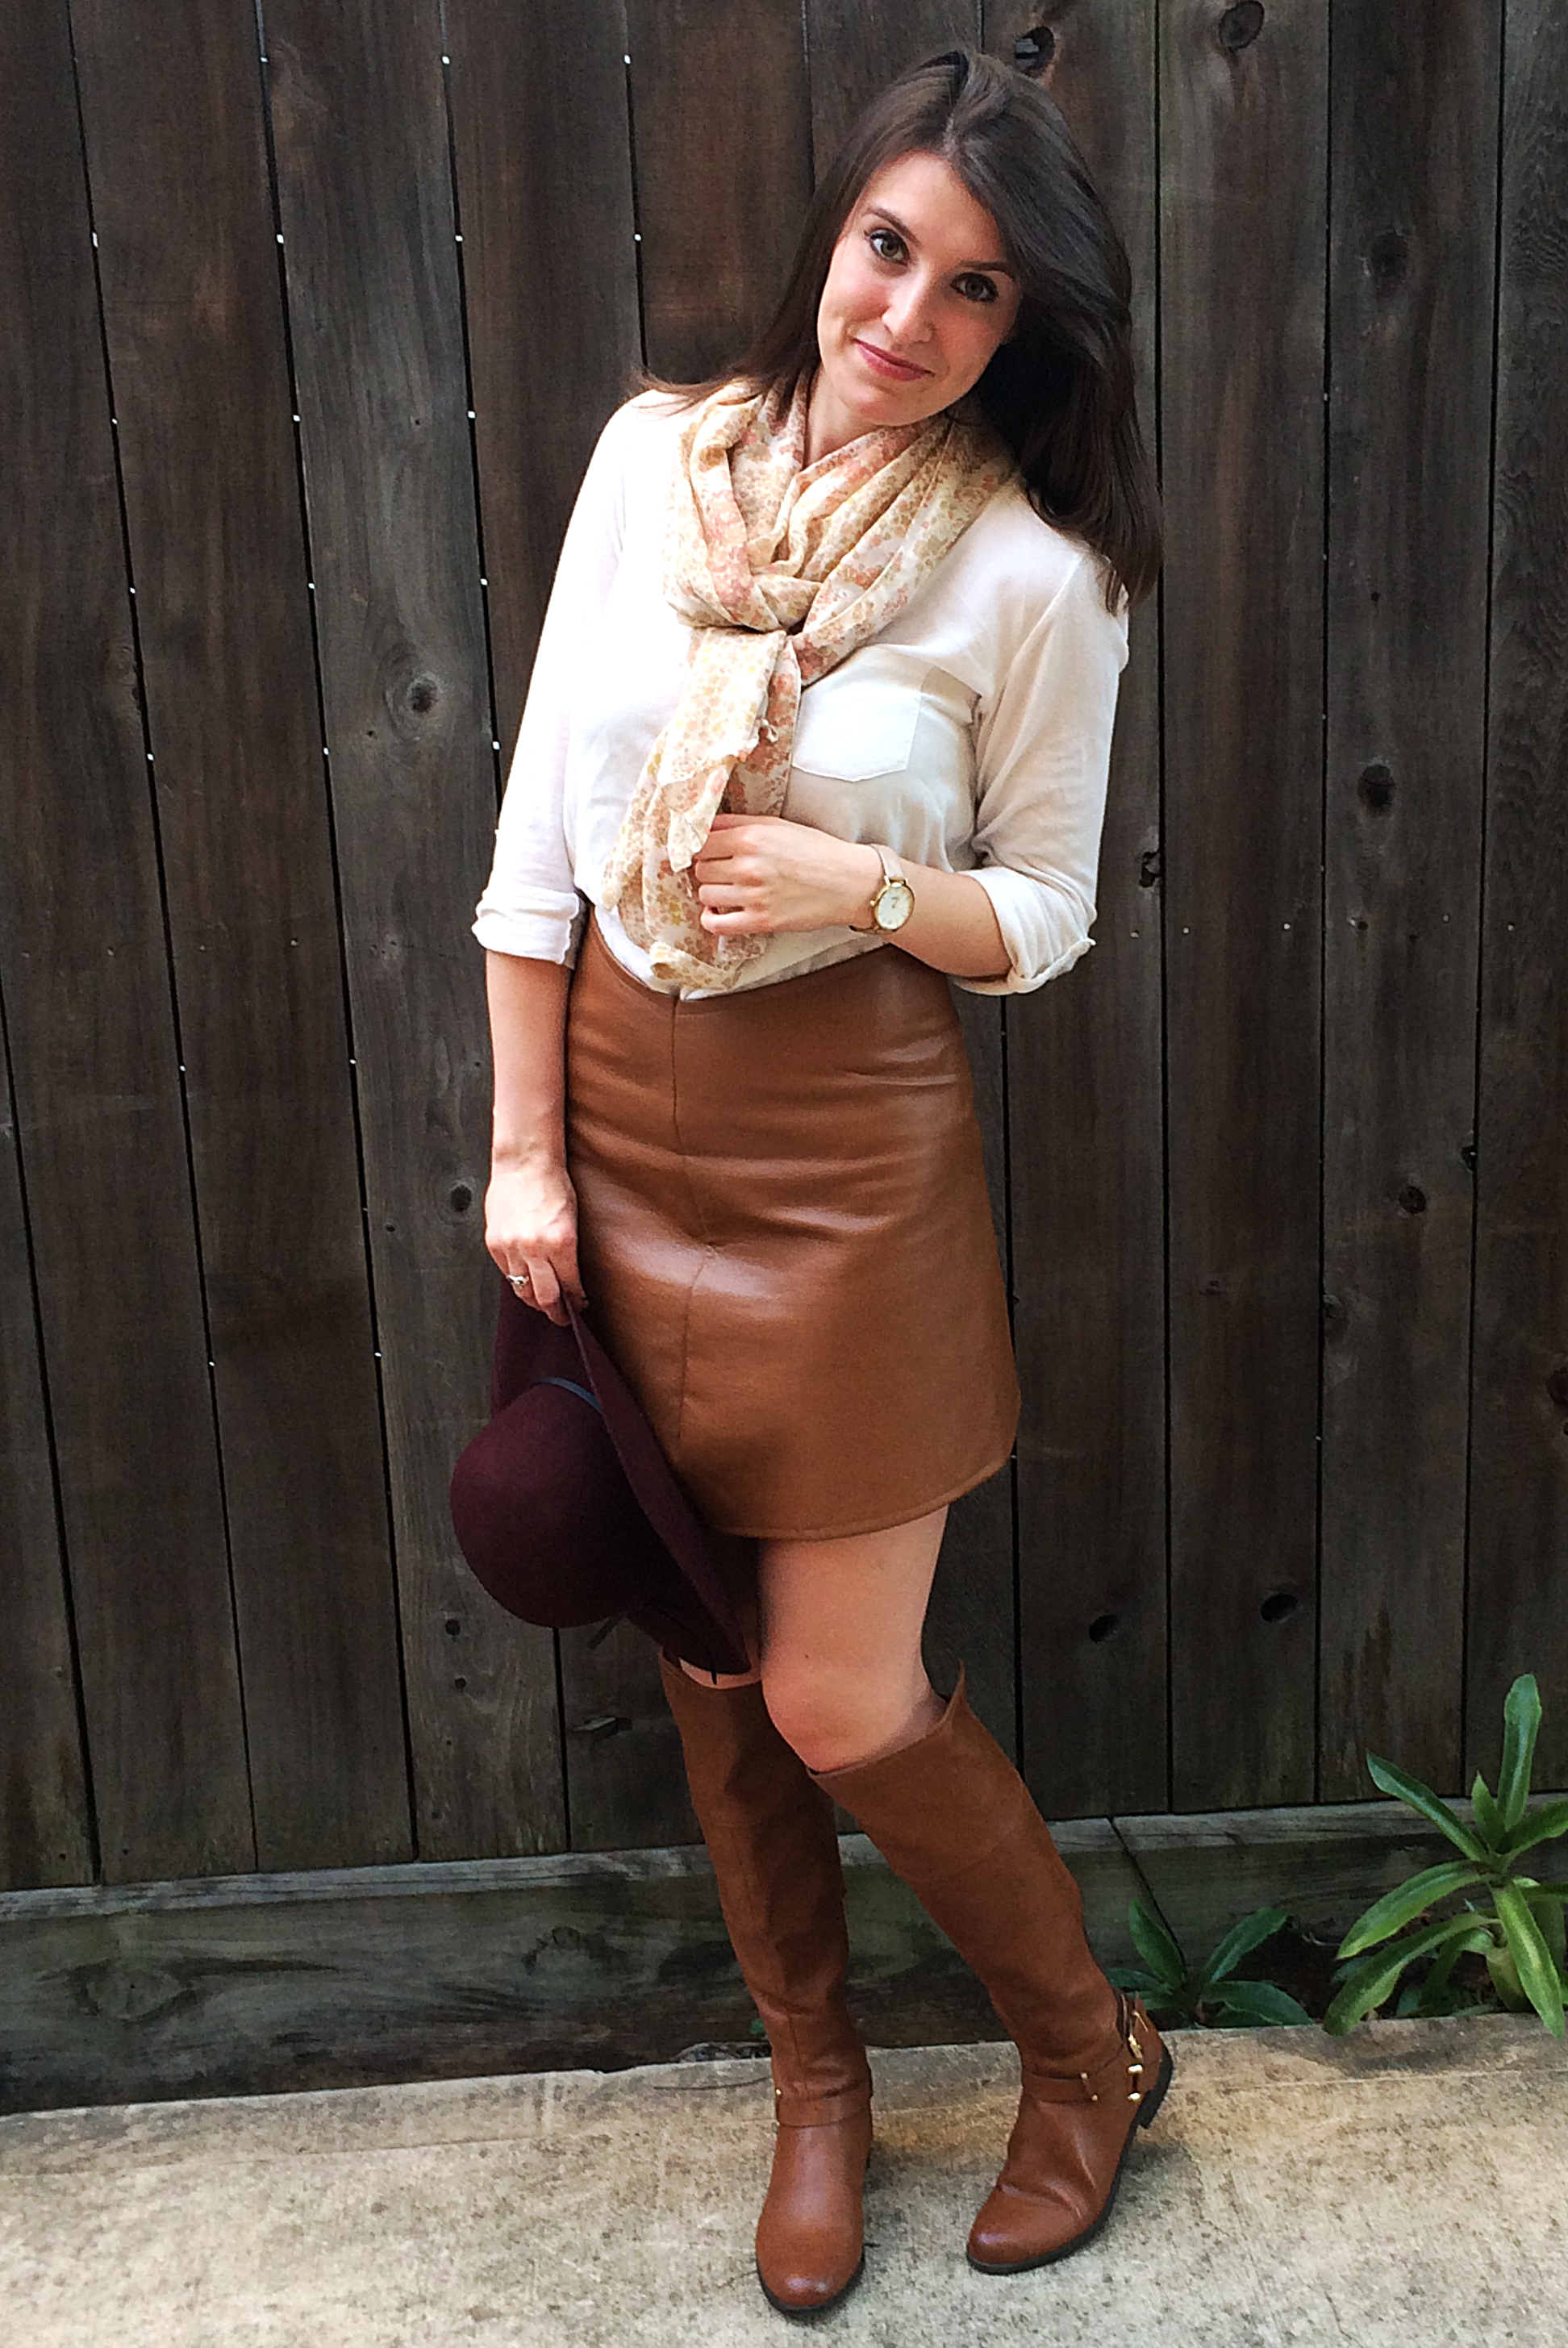
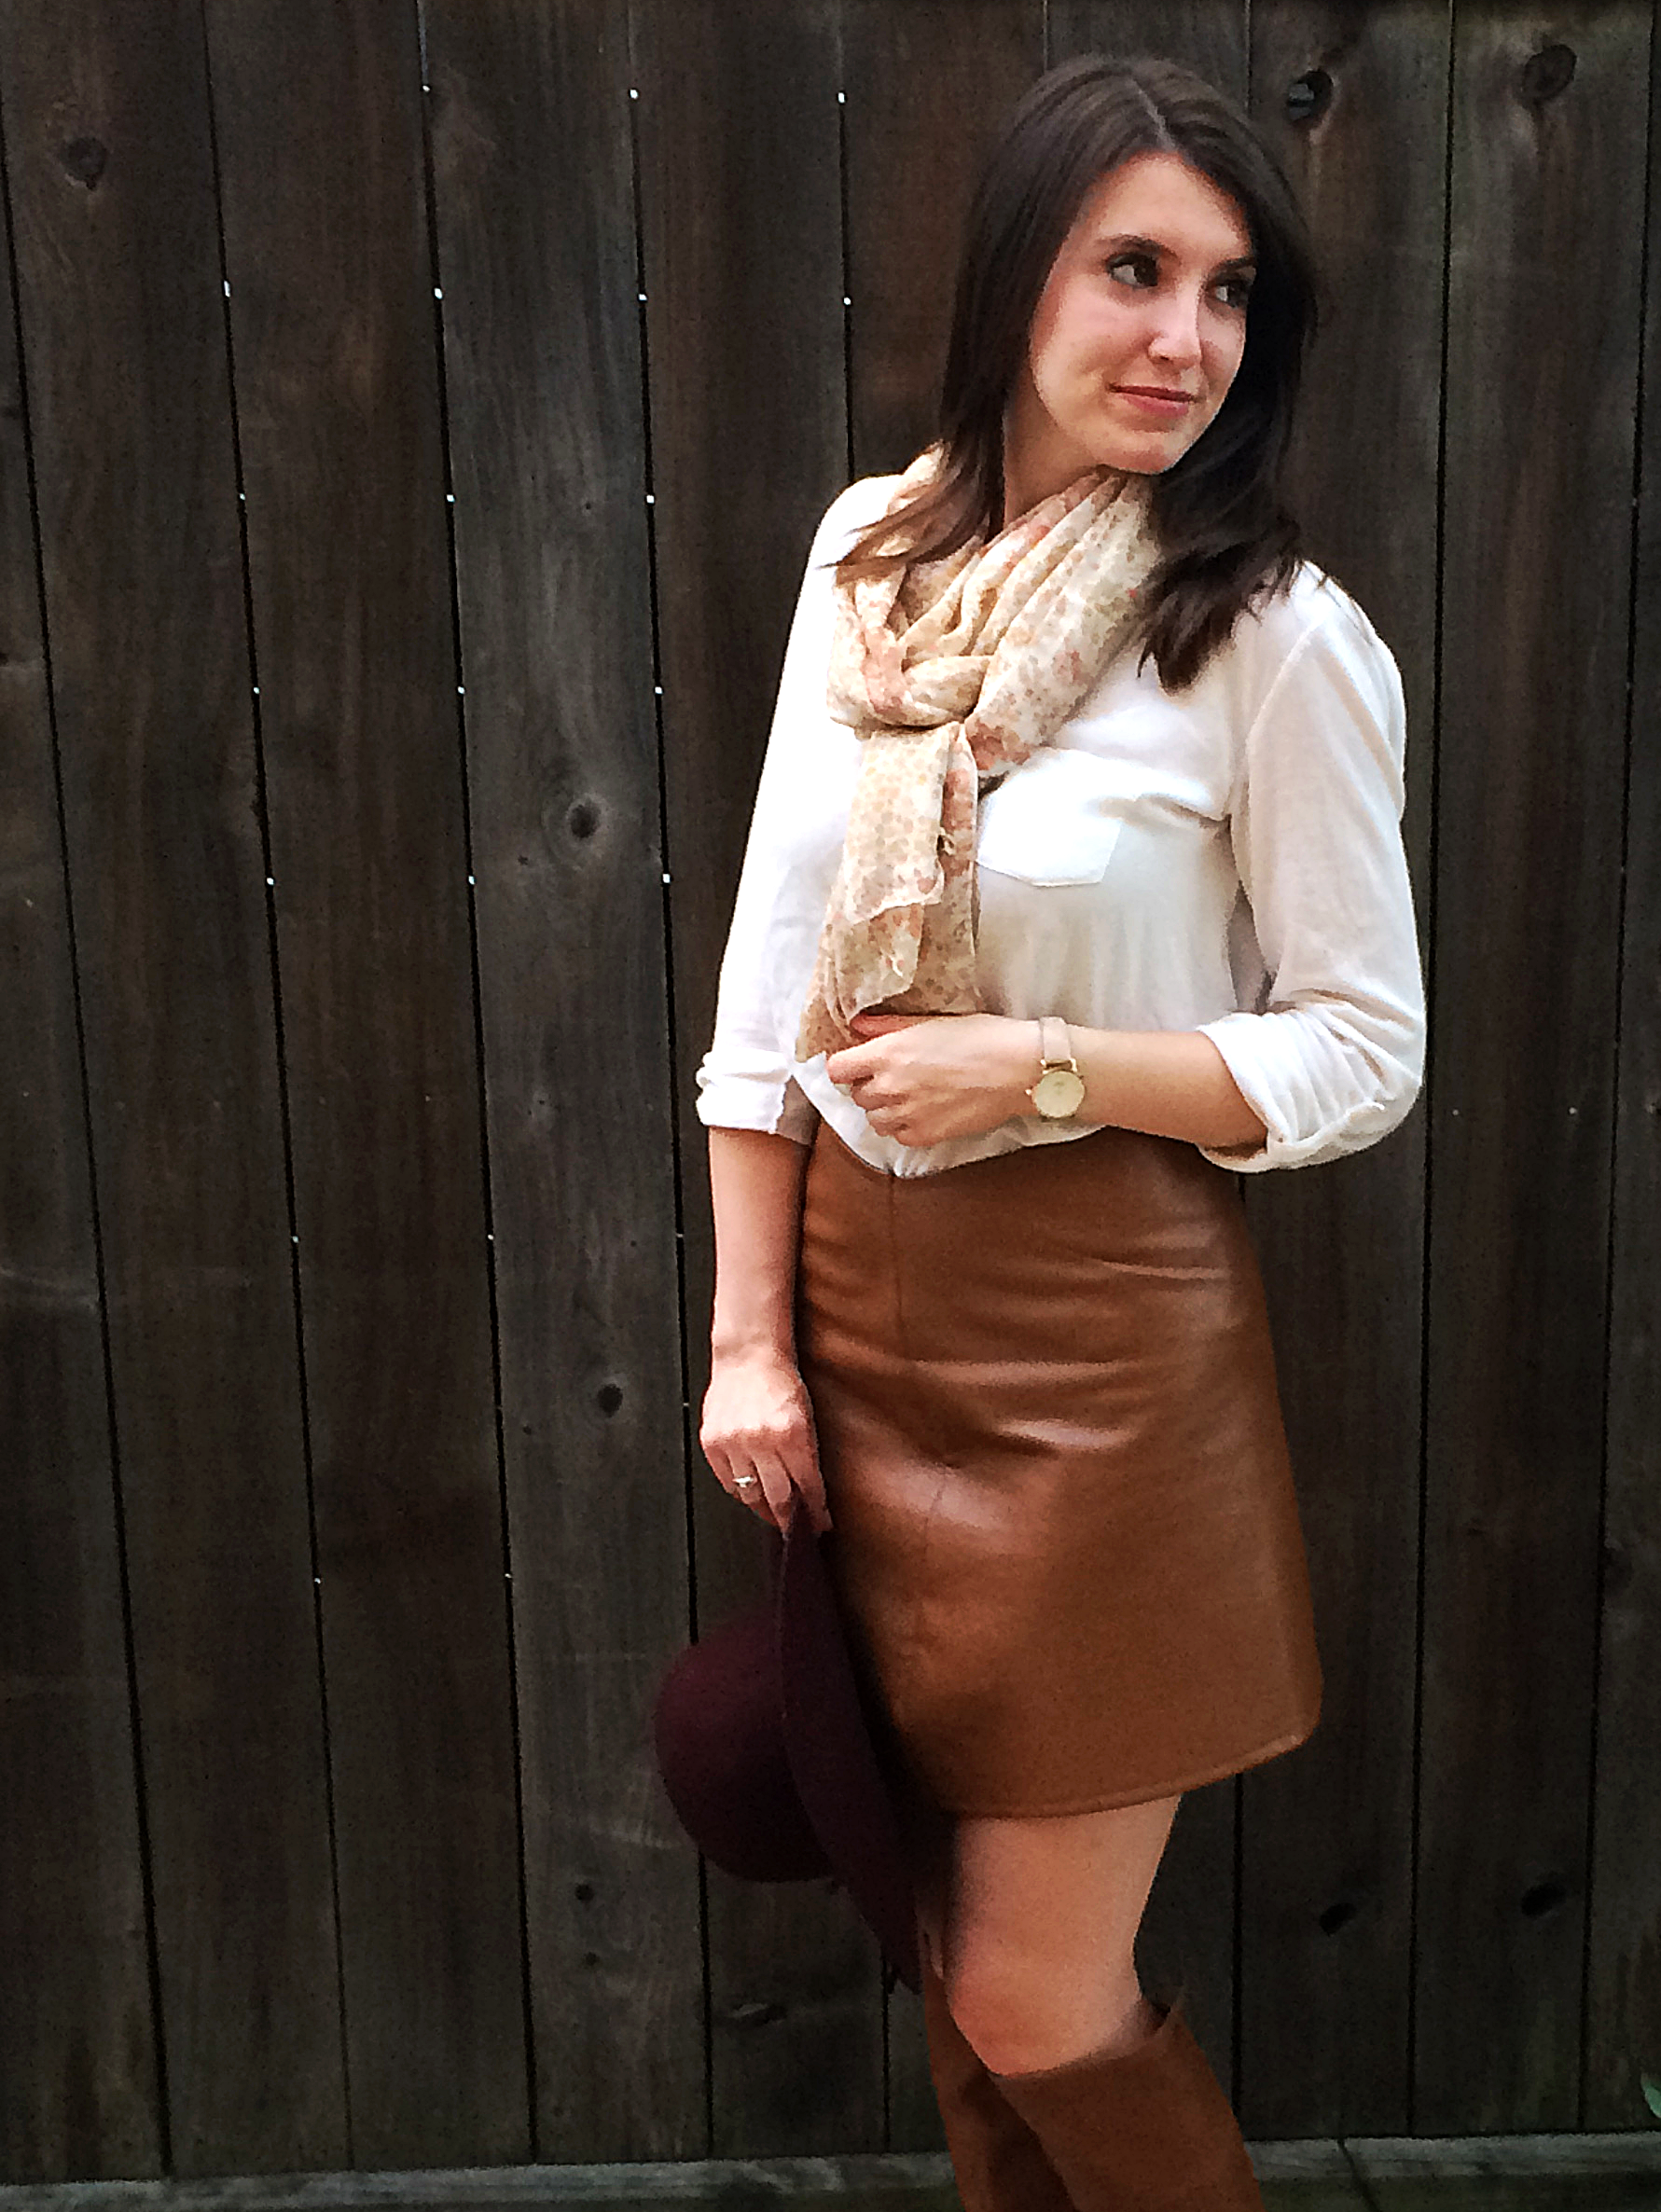

Clothing Details: Faux Leather Skirt (similar | similar) – Made by Me || Wool Hat – DSW || White Button Up – Target || Scarf (similar | similar | similar) – H&M || Boots – Macy’s
Mixing an on trend felt hat (worn every chance I can get) and new leather skirt with traditional riding boots and a white tee, I was able to feel stylish without purchasing a ton of different new pieces.
But that leather skirt. I looked all over for one, only to decide it wasn’t worth spending a ton of money on real leather. I’m not a millionaire, people. Slightly over the idea, I headed to Joann’s for materials for another project and found this amazing pleather! The color was everything I had been looking for, and the price tag was much lighter on the wallet than true leather.
Shockingly easy to sew, I was able to use my normal machine with all purpose thread to create a simple a-line mini. I love how it turned out and plan to wear it with fun, colored tights when it cools off a bit here. And by cools off, I mean 50’s. It’s OK, I’ve committed to this fake fall thing, and am getting quite used to being poolside in October! Have a lovely week!

Leather Mini Skirt Tutorial
Supplies:
1/2 yard Brown, Pleather (faux leather)
12″ Brown invisible zipper
All-purpose brown thread
Sewing machine
Pins
Measuring tape
Scissors

1. Fold your faux leather fabric in half length wise and cut into two even pieces. Cut the pieces to be 24″ x 20″ (width x length).
2. Match up your two pieces of fabric with the leather side facing in. Measure your waist, divide it by two and add 2 inches. Mark this length on the top of your piece of fabric in the center with pins. Place pins in a diagonal line from the edges of your waist marking to the bottom corners of the fabric.
3. Cut the fabric on the outside of the pins and sew along 1 edge 1/4″ from the edge.
4. Hem the top and bottom of the skirt by folding the edge over about 1/4″ and sewing a straight stitch.
5. Insert the zipper on the open side of the skirt and finish the bottom below the zipper using this video tutorial.
6. If the skirt is too big on you, turn it inside out and you can sew in 1/4-1/2″ intervals away from the original seam on the non-zipper side to make it smaller.

Julia, looks like you had a blast shooting for this one! Your smile is very infectious and you look great! It makes the post so much more interesting. Great stuff.
LikeLiked by 1 person
You are too sweet! My boyfriend helps me out with photos, so it helps that he’s always cracking me up while I’m trying to figure out how to “model”.
LikeLiked by 1 person
Soo cute! I love how everything came together- amazing job! 😊❤️Smitha
LikeLiked by 1 person
Thank you so much!
LikeLiked by 1 person
Wow, you make the skirt so simple! Thank you for sharing your pattern and directions! You look adorable. Happy fall! Koko:)
LikeLiked by 1 person
Thank you so much! I hope you find it helpful 🙂 the zipper is the hardest part, and the video really helped me.
LikeLiked by 1 person
Zippers are not my strong suit! Haha. I need more practice! 🙂
LikeLiked by 1 person
You’re amazing!!!!!
LikeLiked by 1 person
Aw thank you so much!
LikeLiked by 1 person