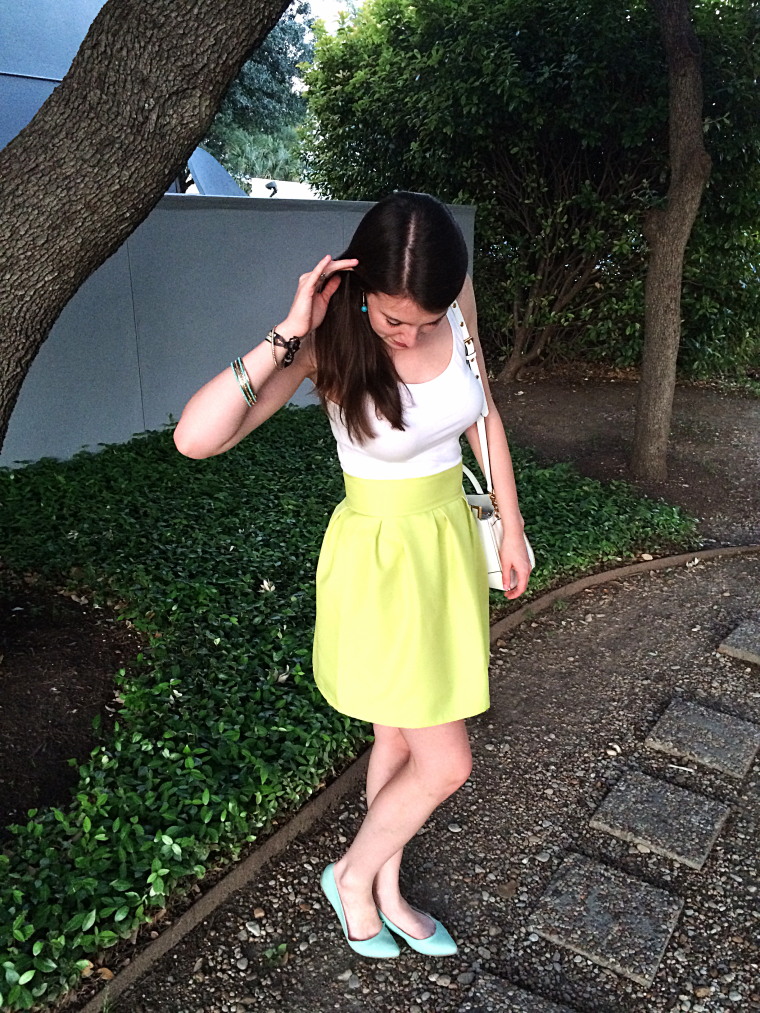
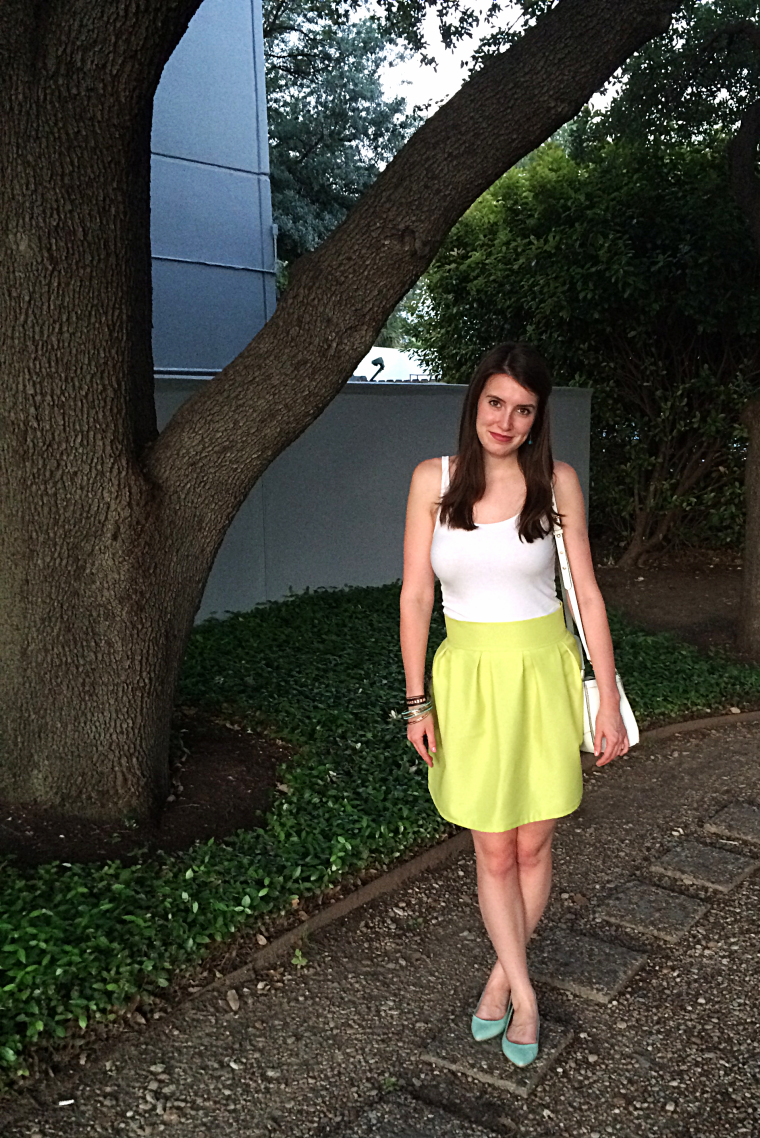
I’ve been color obsessing this Spring. Anything in pink or chartreuse has been calling out to me like an adorable little puppy telling me to buy it.
Clothing Details: Skirt – Made by Me || Tank Top – H&M || Shoes – Express (similar – similar) || Purse – Rebecca Minkoff || Bracelets – H&M (similar) || Earrings – Vintage
I’d been obsessing over some beautiful pieces on the web (see inspiration below) and decided it was time to make myself a great statement piece that could be dressed up with some heels or made casual with a plain tee.
Chartreuse is a surprisingly easy color to wear for people with pink undertones in their skin. Even paler people (like me!) can rock this Spring trend. When paired with a white top, or even a light pink or blue, this color becomes softer and fresh! I decided to go with a simple box pleat skirt shape to let the color do the talking. This skirt is a lot of fun and an easy project with the use of an iron. The hardest part will be finding the right fabric! (Chartreuse is not the most popular in fabric stores, so it seems.) I found mind at Jo-Ann’s.
Chartreuse Pleated Skirt Tutorial
Supplies:
1 yard Chartreuse Fabric – non stretch cotton or polyester
Thread to match
Invisible Zipper to match
Pins
Iron
Sewing Machine – with invisible zipper foot
1. Take your fabric and fold it in half so you have 1/2 yard along the seam. Cut from the folded edge to the other side about 7″ from the edge of the fabric. You now have a skirt piece and a waistband piece.
2. Use the skirt piece to create box pleats. To do this for my skirt, I followed the box pleat pattern shown below. The first pleat is about 2″ (1 1/2″ for a half box pleat with a 1/2″ for the zipper later on) and then there are small 1/2″ overlaps with a 1/2″ gap between them, followed by a 3″ box pleat. The 1/2″ overlaps with 1/2″ gap between them and 3″ box pleats are repeated until you reach the end of the fabric. As you go, pin the pleats down. Carefully iron down the pleats at the top of the skirt, taking pins out as you need to to keep the pleats in place.
3. Sew a straight stitch about 1/4″ from the edge of the fabric through your pleats to keep them in place.
4. Use the waist piece and fold it in half length wise. Iron the waist piece in half and then sew a straight stitch along the open edge about a 1/4″ from the edge of the fabric.
5. Pin the waist piece to the skirt with the waist on top of the outside of the skit and the sewn lines matching up. Sew another straight stitch about a 1/2″ from the edge of the fabric. Then sew a zig zag stitch next to this on the side closest to the edge of the fabric to strengthen the seam.
6. Wrap the skirt around you and cut away any extra fabric so that there is about a 1/2″ of fabric left on both sides of the skirt. From here, watch this tutorial for attaching a hidden zipper. I found watching videos was the easiest way to learn how to attach a hidden zipper. They look scary but I promise they’re a breeze with an invisible zipper foot!
7. Hem the bottom of the skirt by cutting it to the desired length plus about 1″. Iron the hem up about a 1/4″ and sew a straight stitch, and then iron that up about a 1/2″ and sew another straight stitch.


I’m really enjoying the theme/design of your site. Do you ever run into any internet browser compatibility problems? A handful of my blog audience have complained about my website not operating correctly in Explorer but looks great in Firefox. Do you have any advice to help fix this problem?
LikeLike
I just use a free theme from the WordPress.com options! This seems to work well with all internet browsers.
LikeLike
I’m curious to find out what blog platform you have been using? I’m having some small security problems with my latest site and I would like to find something more safeguarded. Do you have any recommendations?
LikeLike
I use WordPress for my blog.
LikeLike
Hello! I’m at work surfing around your blog from my new iphone! Just wanted to say I love reading your blog and look forward to all your posts! Keep up the excellent work!
LikeLike
Thank you so much! I am glad that you found Bunny Baubles and that you have enjoyed it!
LikeLike
Good blog! I truly love how it is easy on my eyes and the data are well written. I’m wondering how I could be notified when a new post has been made. I have subscribed to your feed which must do the trick! Have a great day!
LikeLike
I’m so glad you like the format and the posts! Thanks for subscribing, if you have signed up on the right hand side of the page where it says “Get Bunny Baubles Email” then you will be sent the newest posts directly to your inbox! You can also follow us on Facebook at Bunny Baubles Blog page or on Instagram @bunnybaubles. I always post the link to new posts.
LikeLike
After examine just a few of the blog posts in your web site now, and I truly like your approach of blogging. I bookmarked it to my bookmark web site list and will probably be checking again soon. Pls take a look at my web site as well and let me know what you think.
LikeLike
Thanks so much, glad you liked the post!
LikeLike
Thank you for another informative blog. Where else could I get that type of info written in such an ideal way? I have a project that I’m just now working on, and I have been on the look out for such info.
LikeLike
Great! I’m glad you found my blog and enjoyed the post.
LikeLike
Great post by the way
LikeLike
Thanks so much, Lauren!
LikeLike
Hello my friend! I want to say that this post is amazing, nice written and include approximately all significant infos. I’d like to see more posts like this.
LikeLike
Thank you so much! I write many posts like this one, so check back each week for more!
LikeLike
Great blog post by the way 🙂
LikeLiked by 1 person
Thank you!
LikeLike
Great blog post by the way 🙂
LikeLiked by 1 person