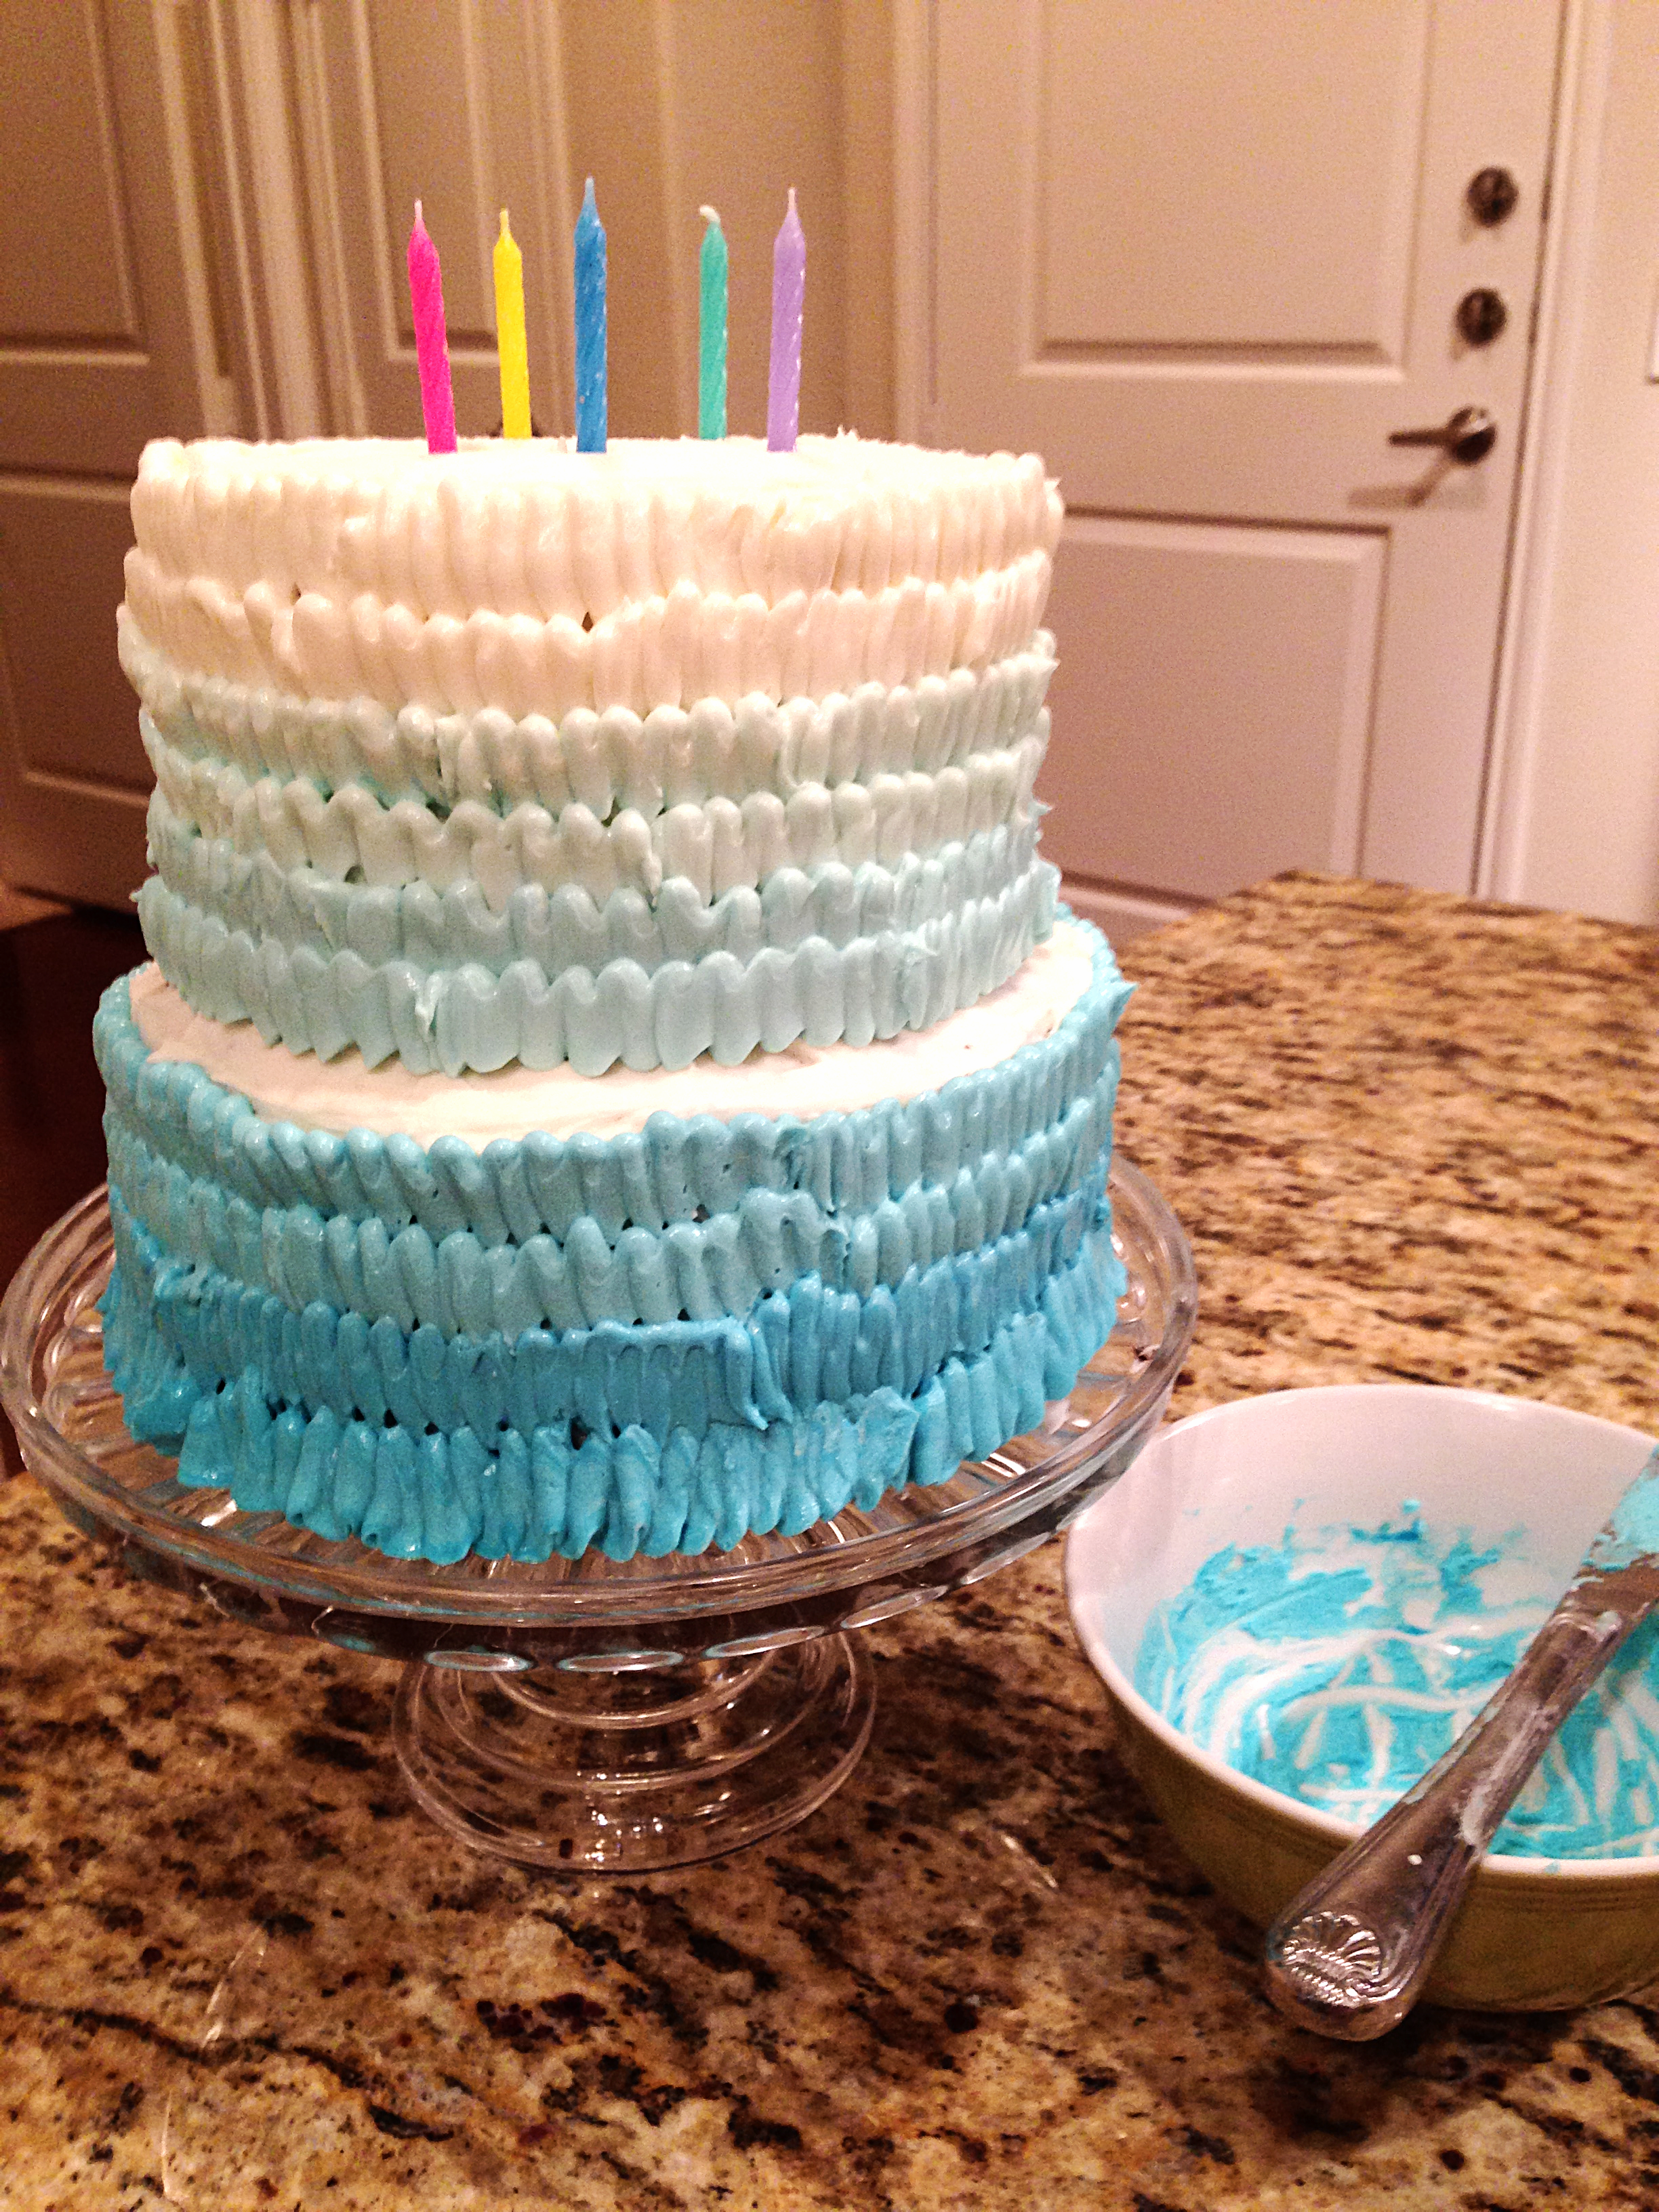
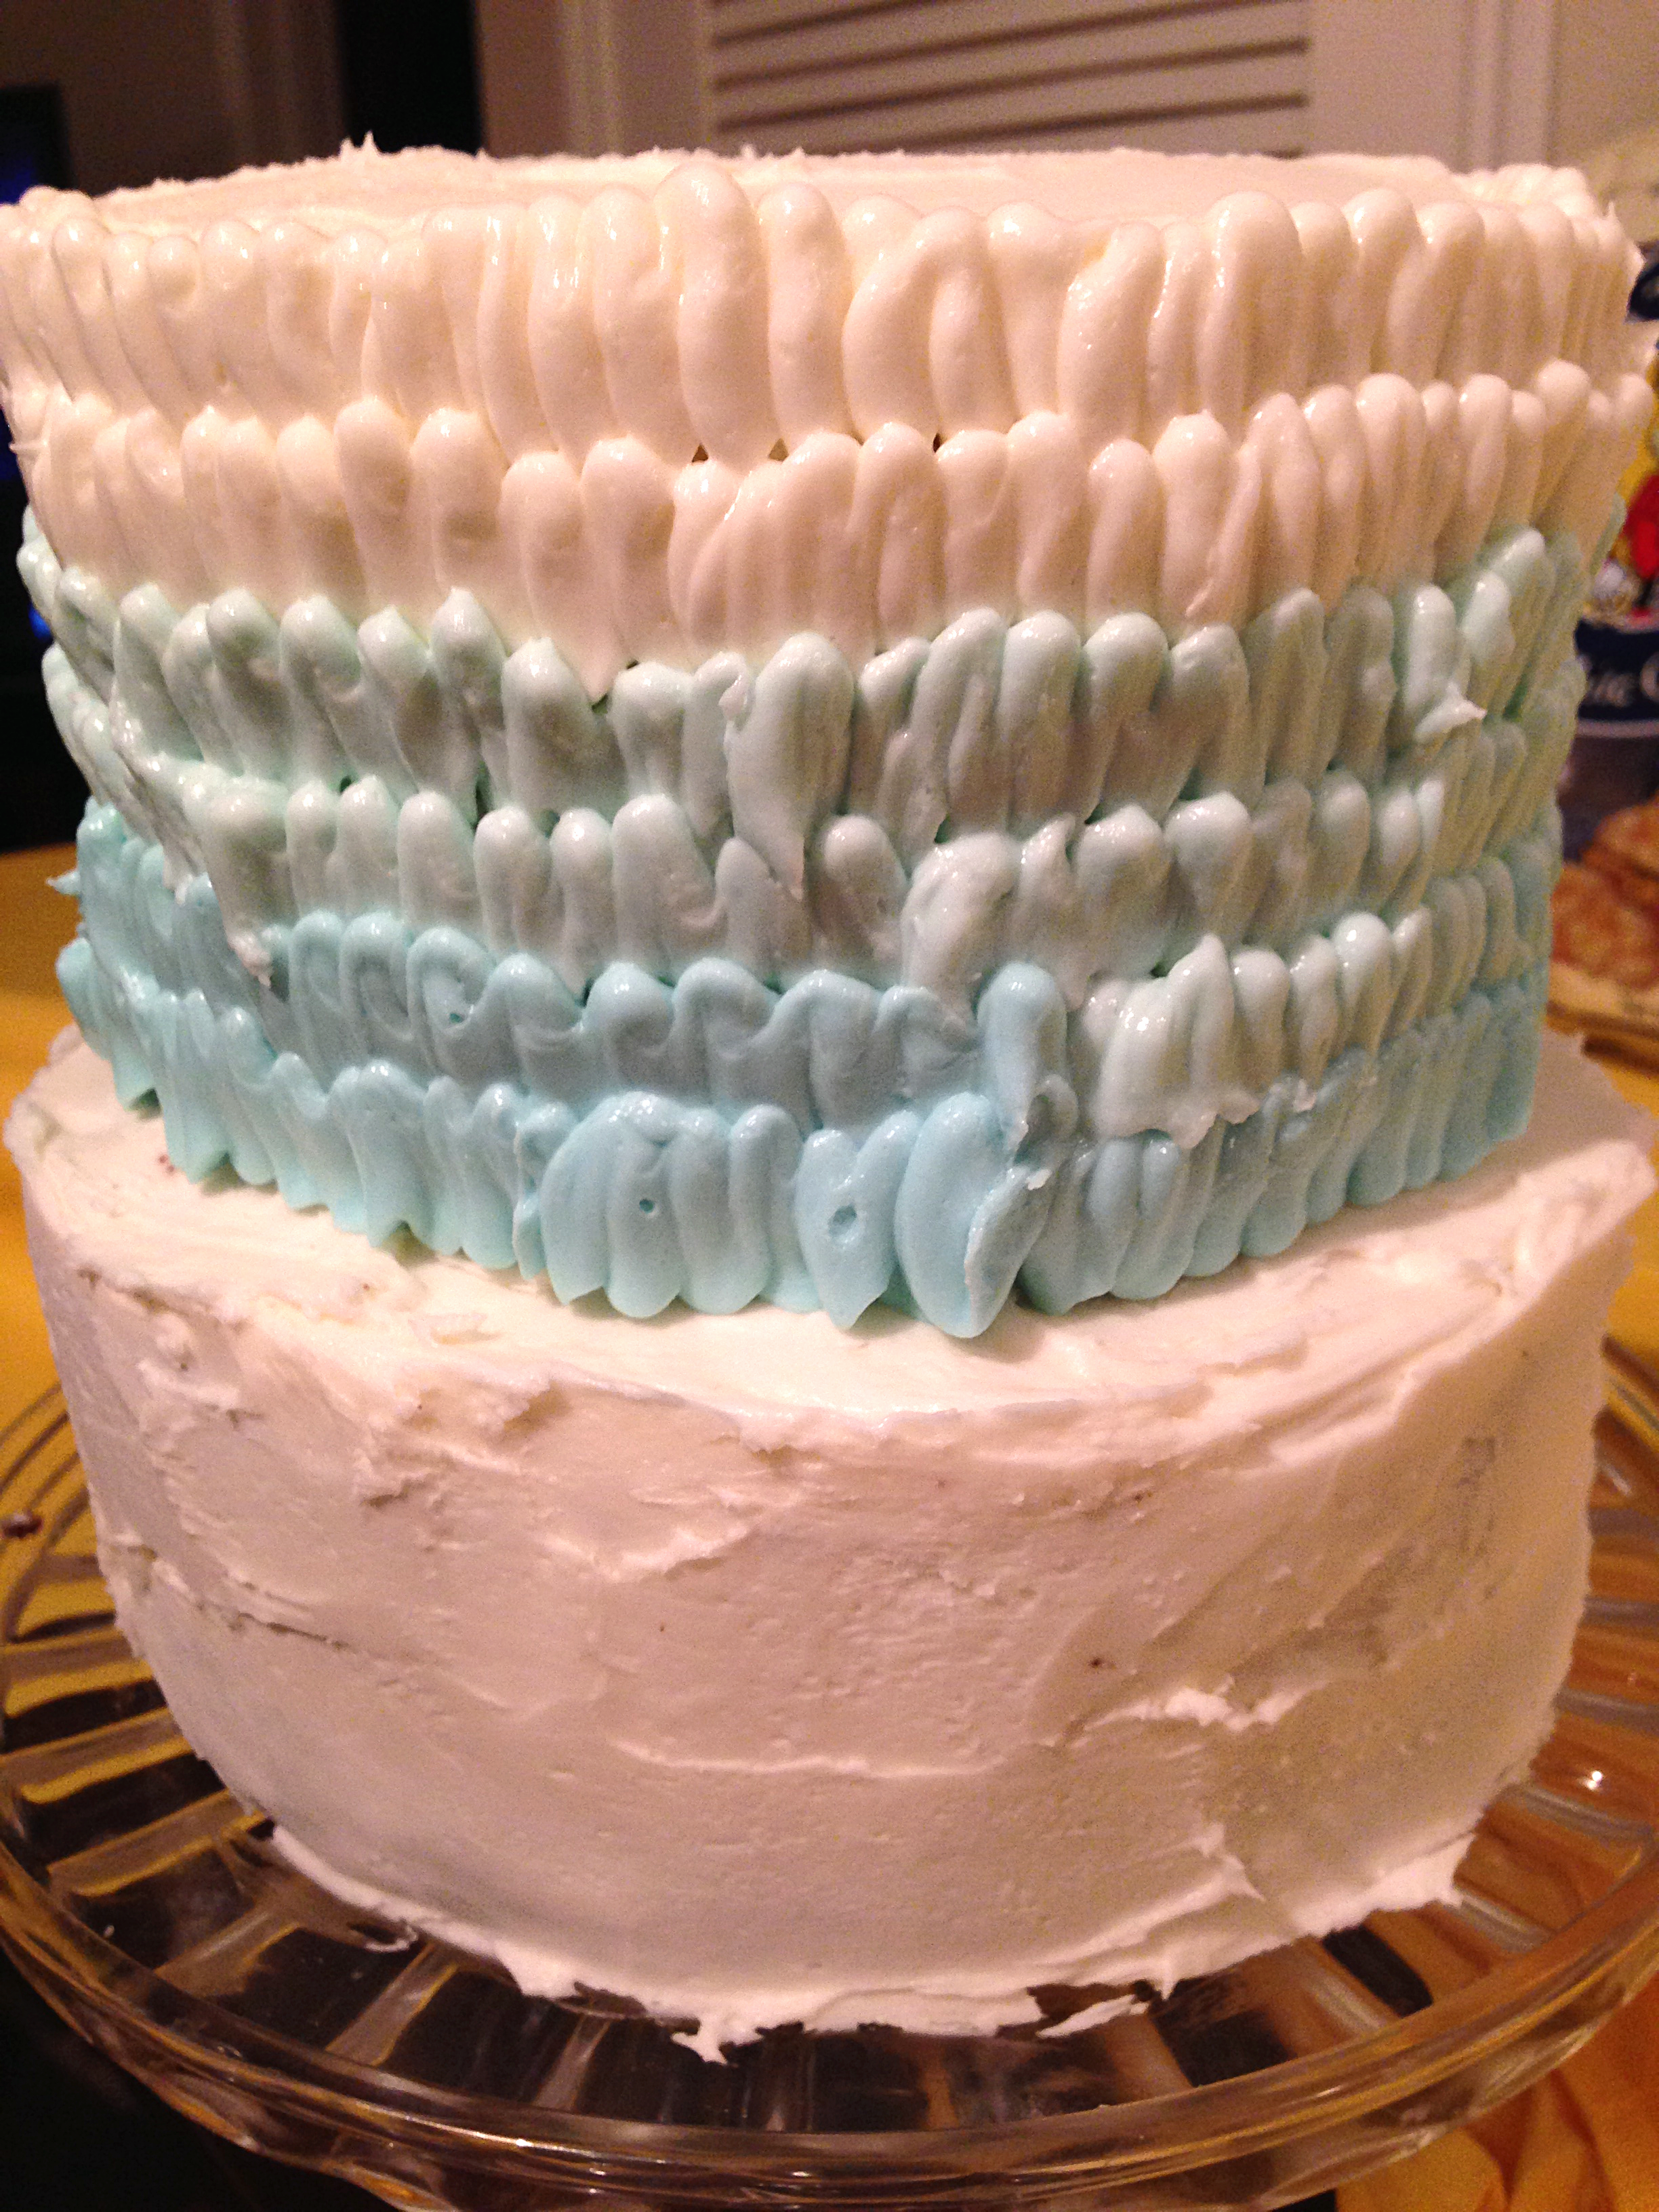
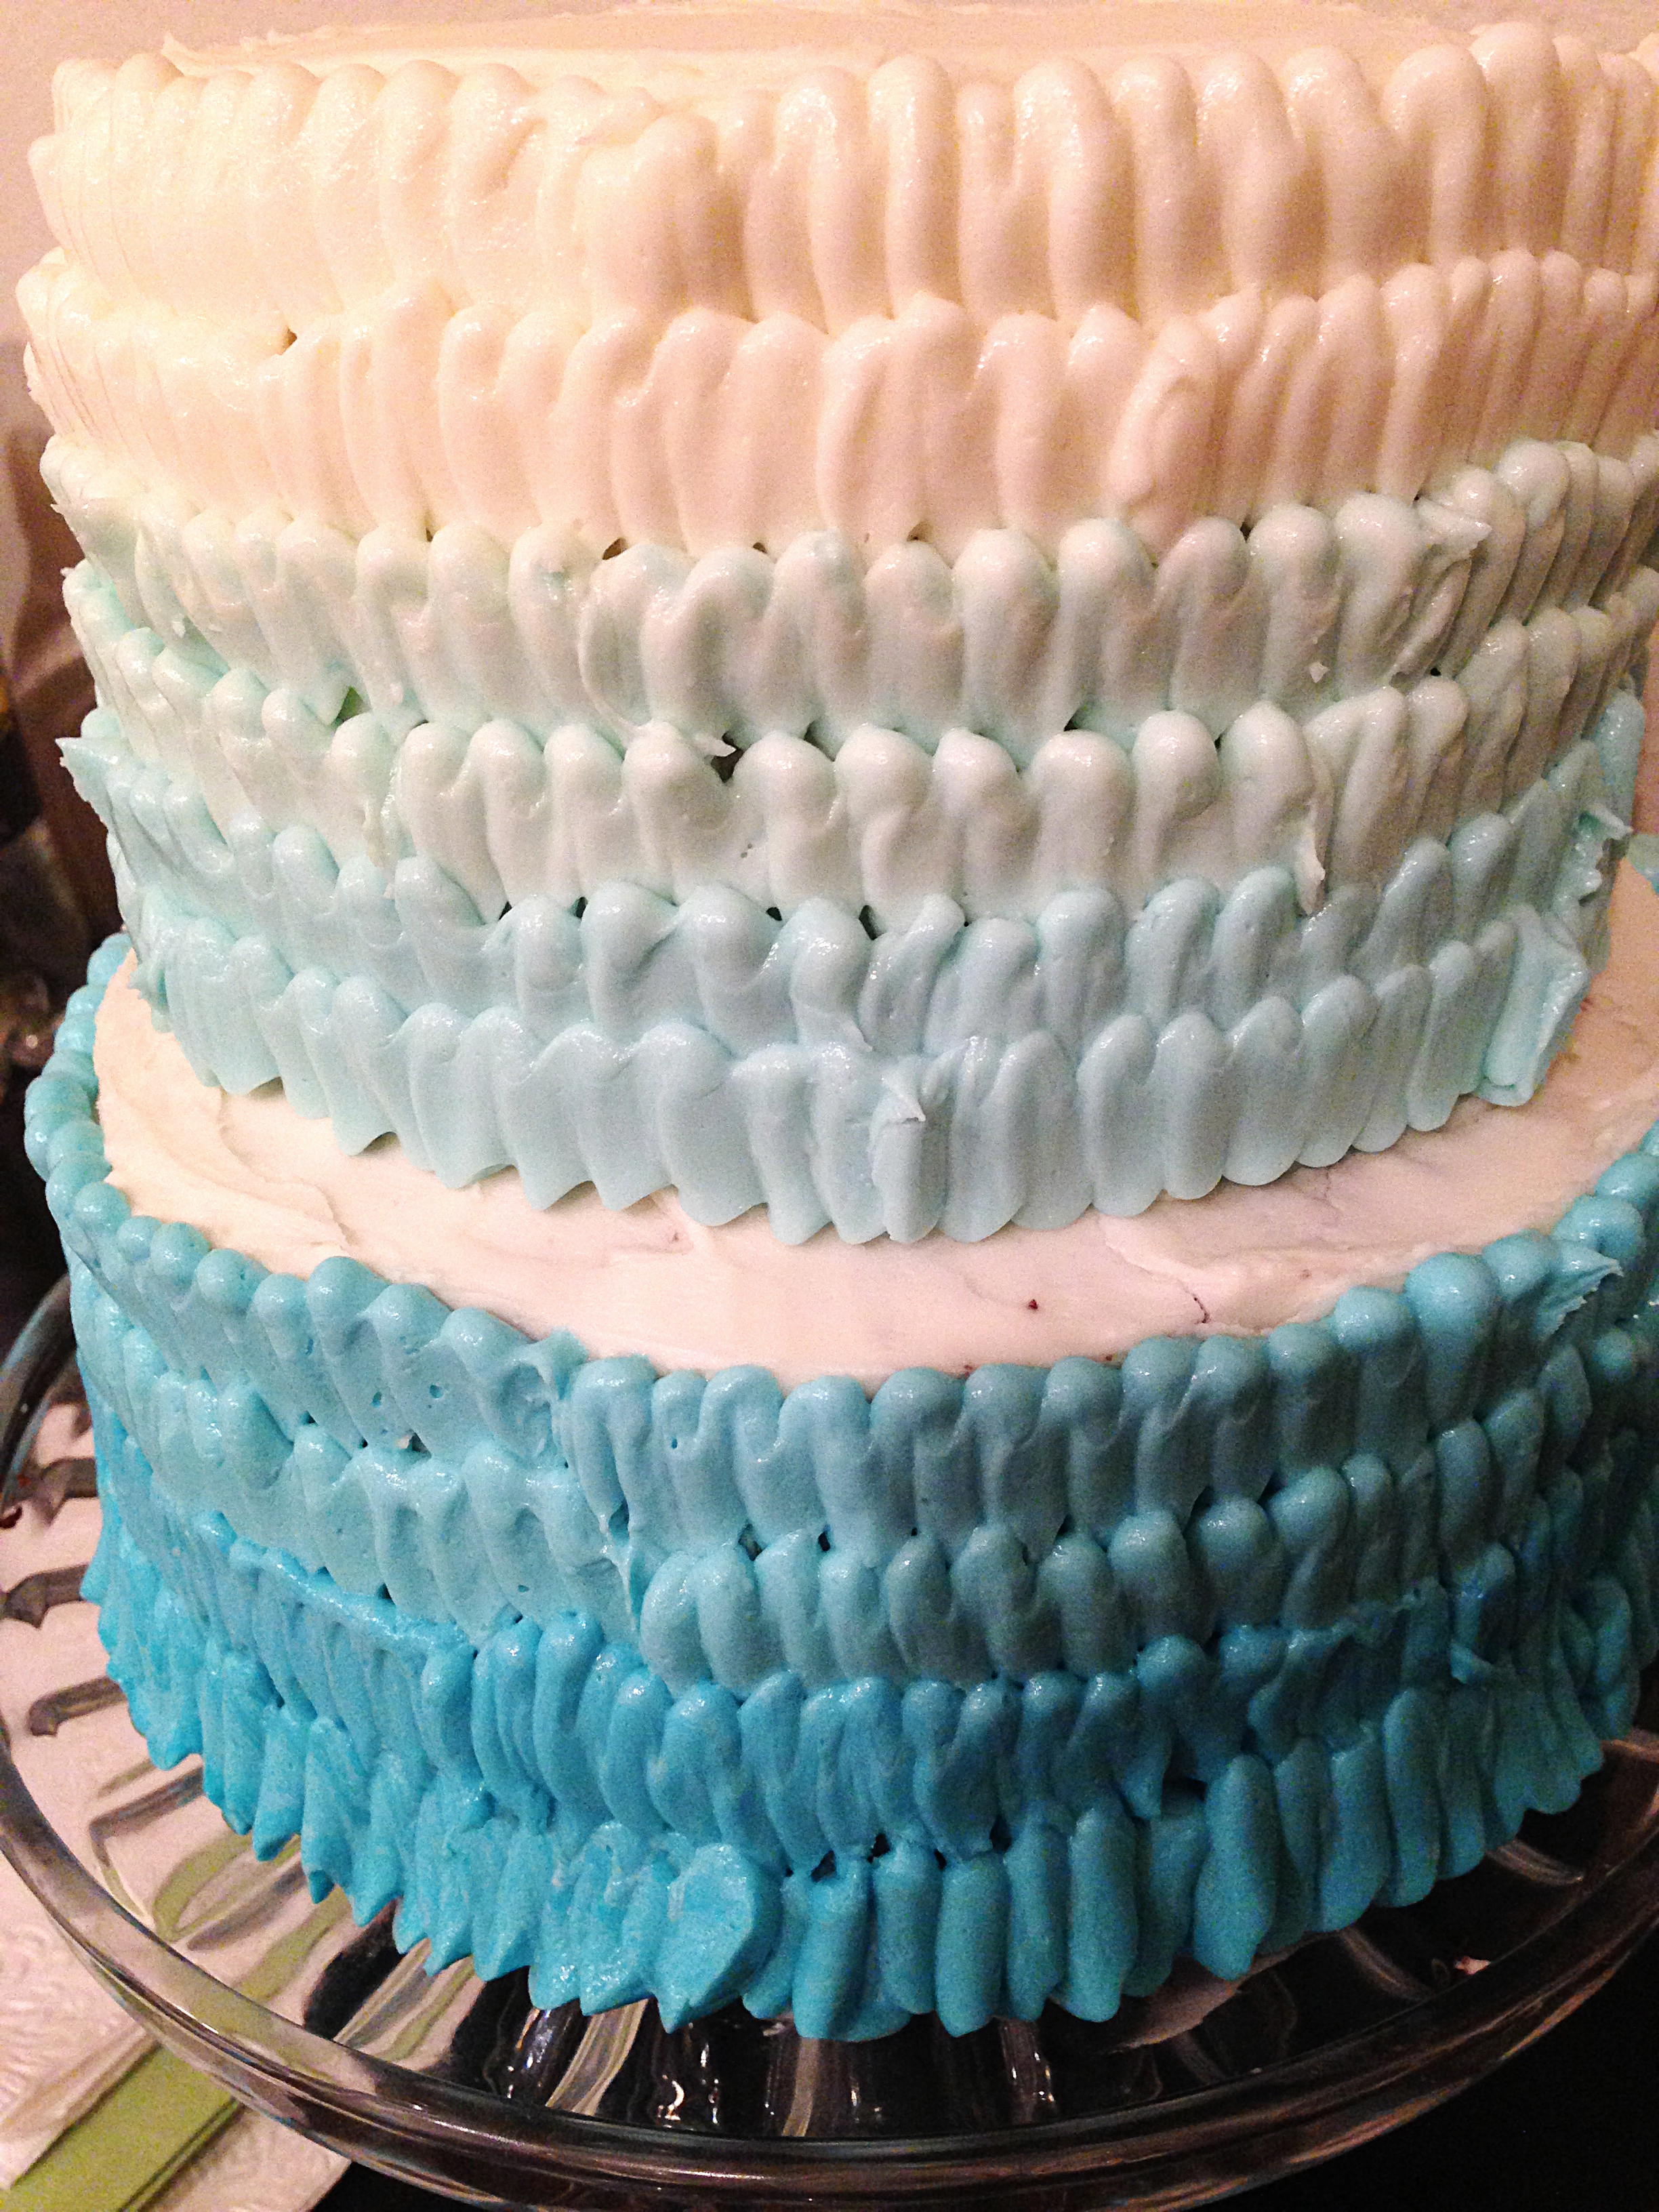
It was Megan’s birthday in early May, so obviously we started cake brainstorming in April. She doesn’t love really girly things, so pink flowers were pretty much out of the question. What we settled on, instead, were ruffles, ombré ones to be exact! Making ombré frosting is super simple because you only need one color for food coloring and a simple batch of plain frosting. The ruffle pattern is also a good starter decorating pattern because it’s pretty forgiving, it’s just a lot of squiggles all layered on top of one another so if you need to stop for a tea break you can’t really tell where you stopped.
Guys. Disclaimer: making this cake was super fun… More cakes are sure to come in the near future so I hope you’re OK with that. Hope you love this cake as much as we did!
Supplies/Ingredients:
1 batch of Buttercream Frosting per full cake (I doubled mine because this cake was 4 layers)
1 bottle of Food Coloring (only used about ~10-15 drops total)
5 bowls
1 spoon
1 piping bag
1 large petal tip
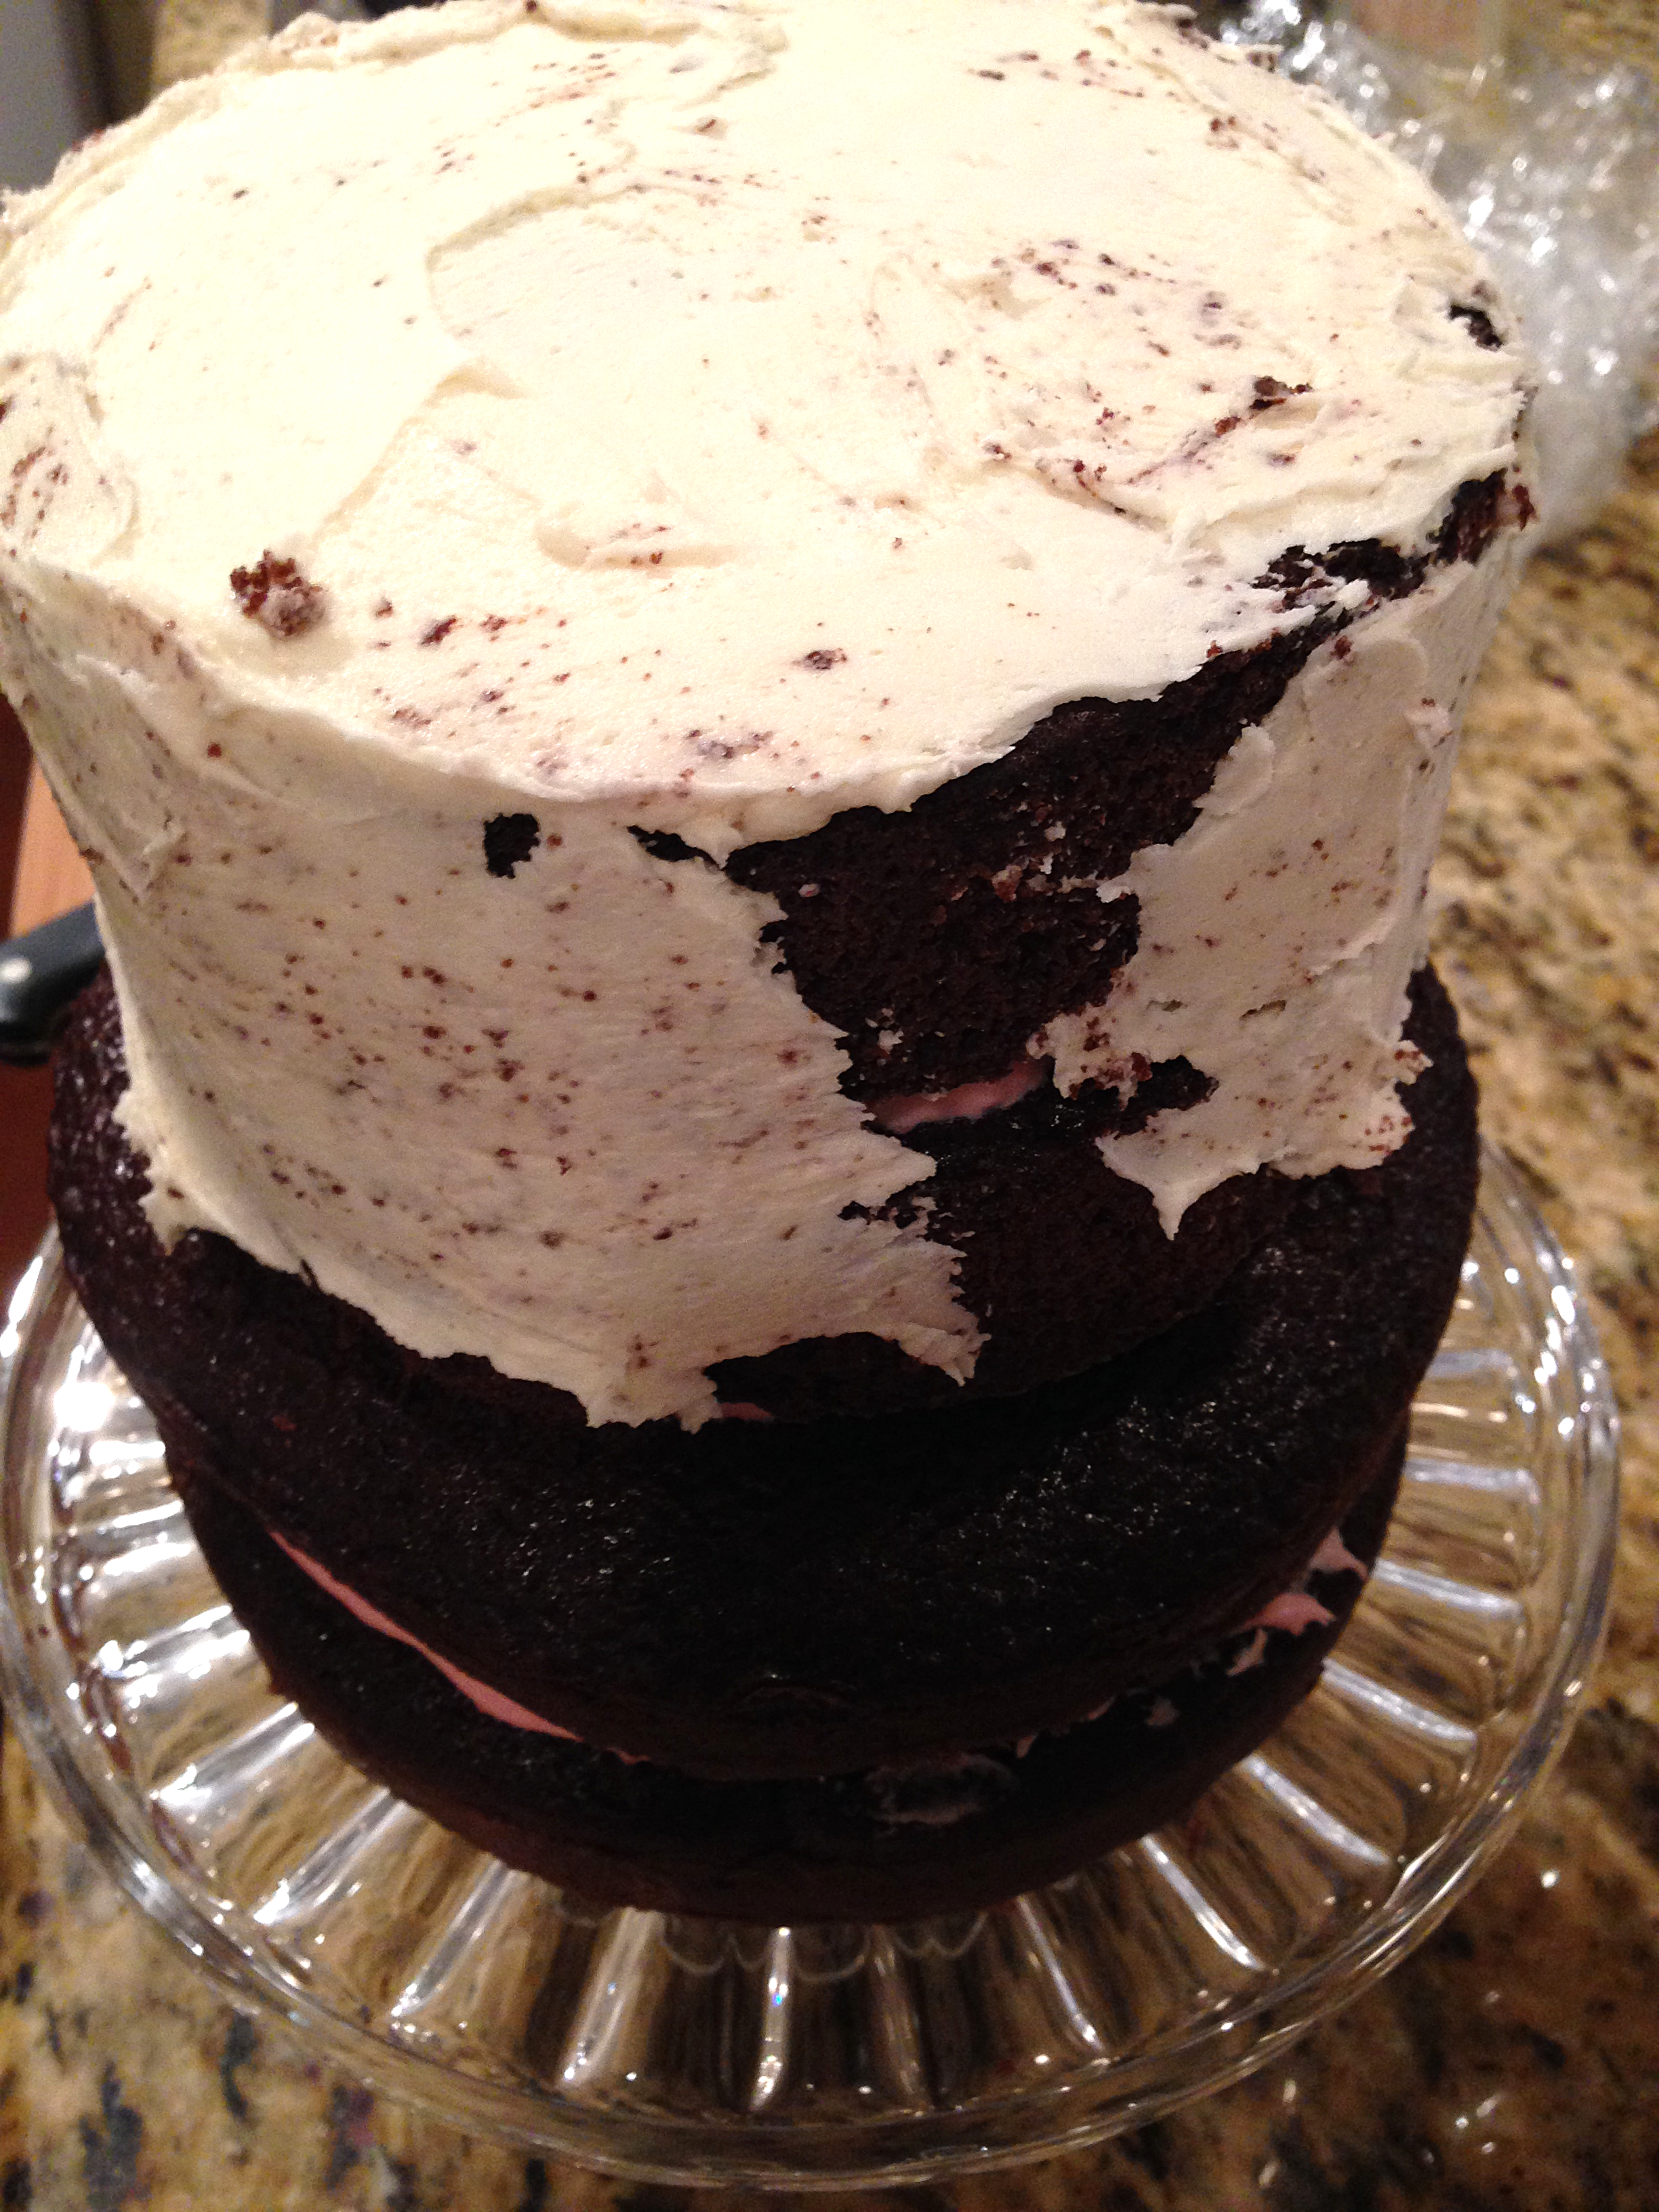
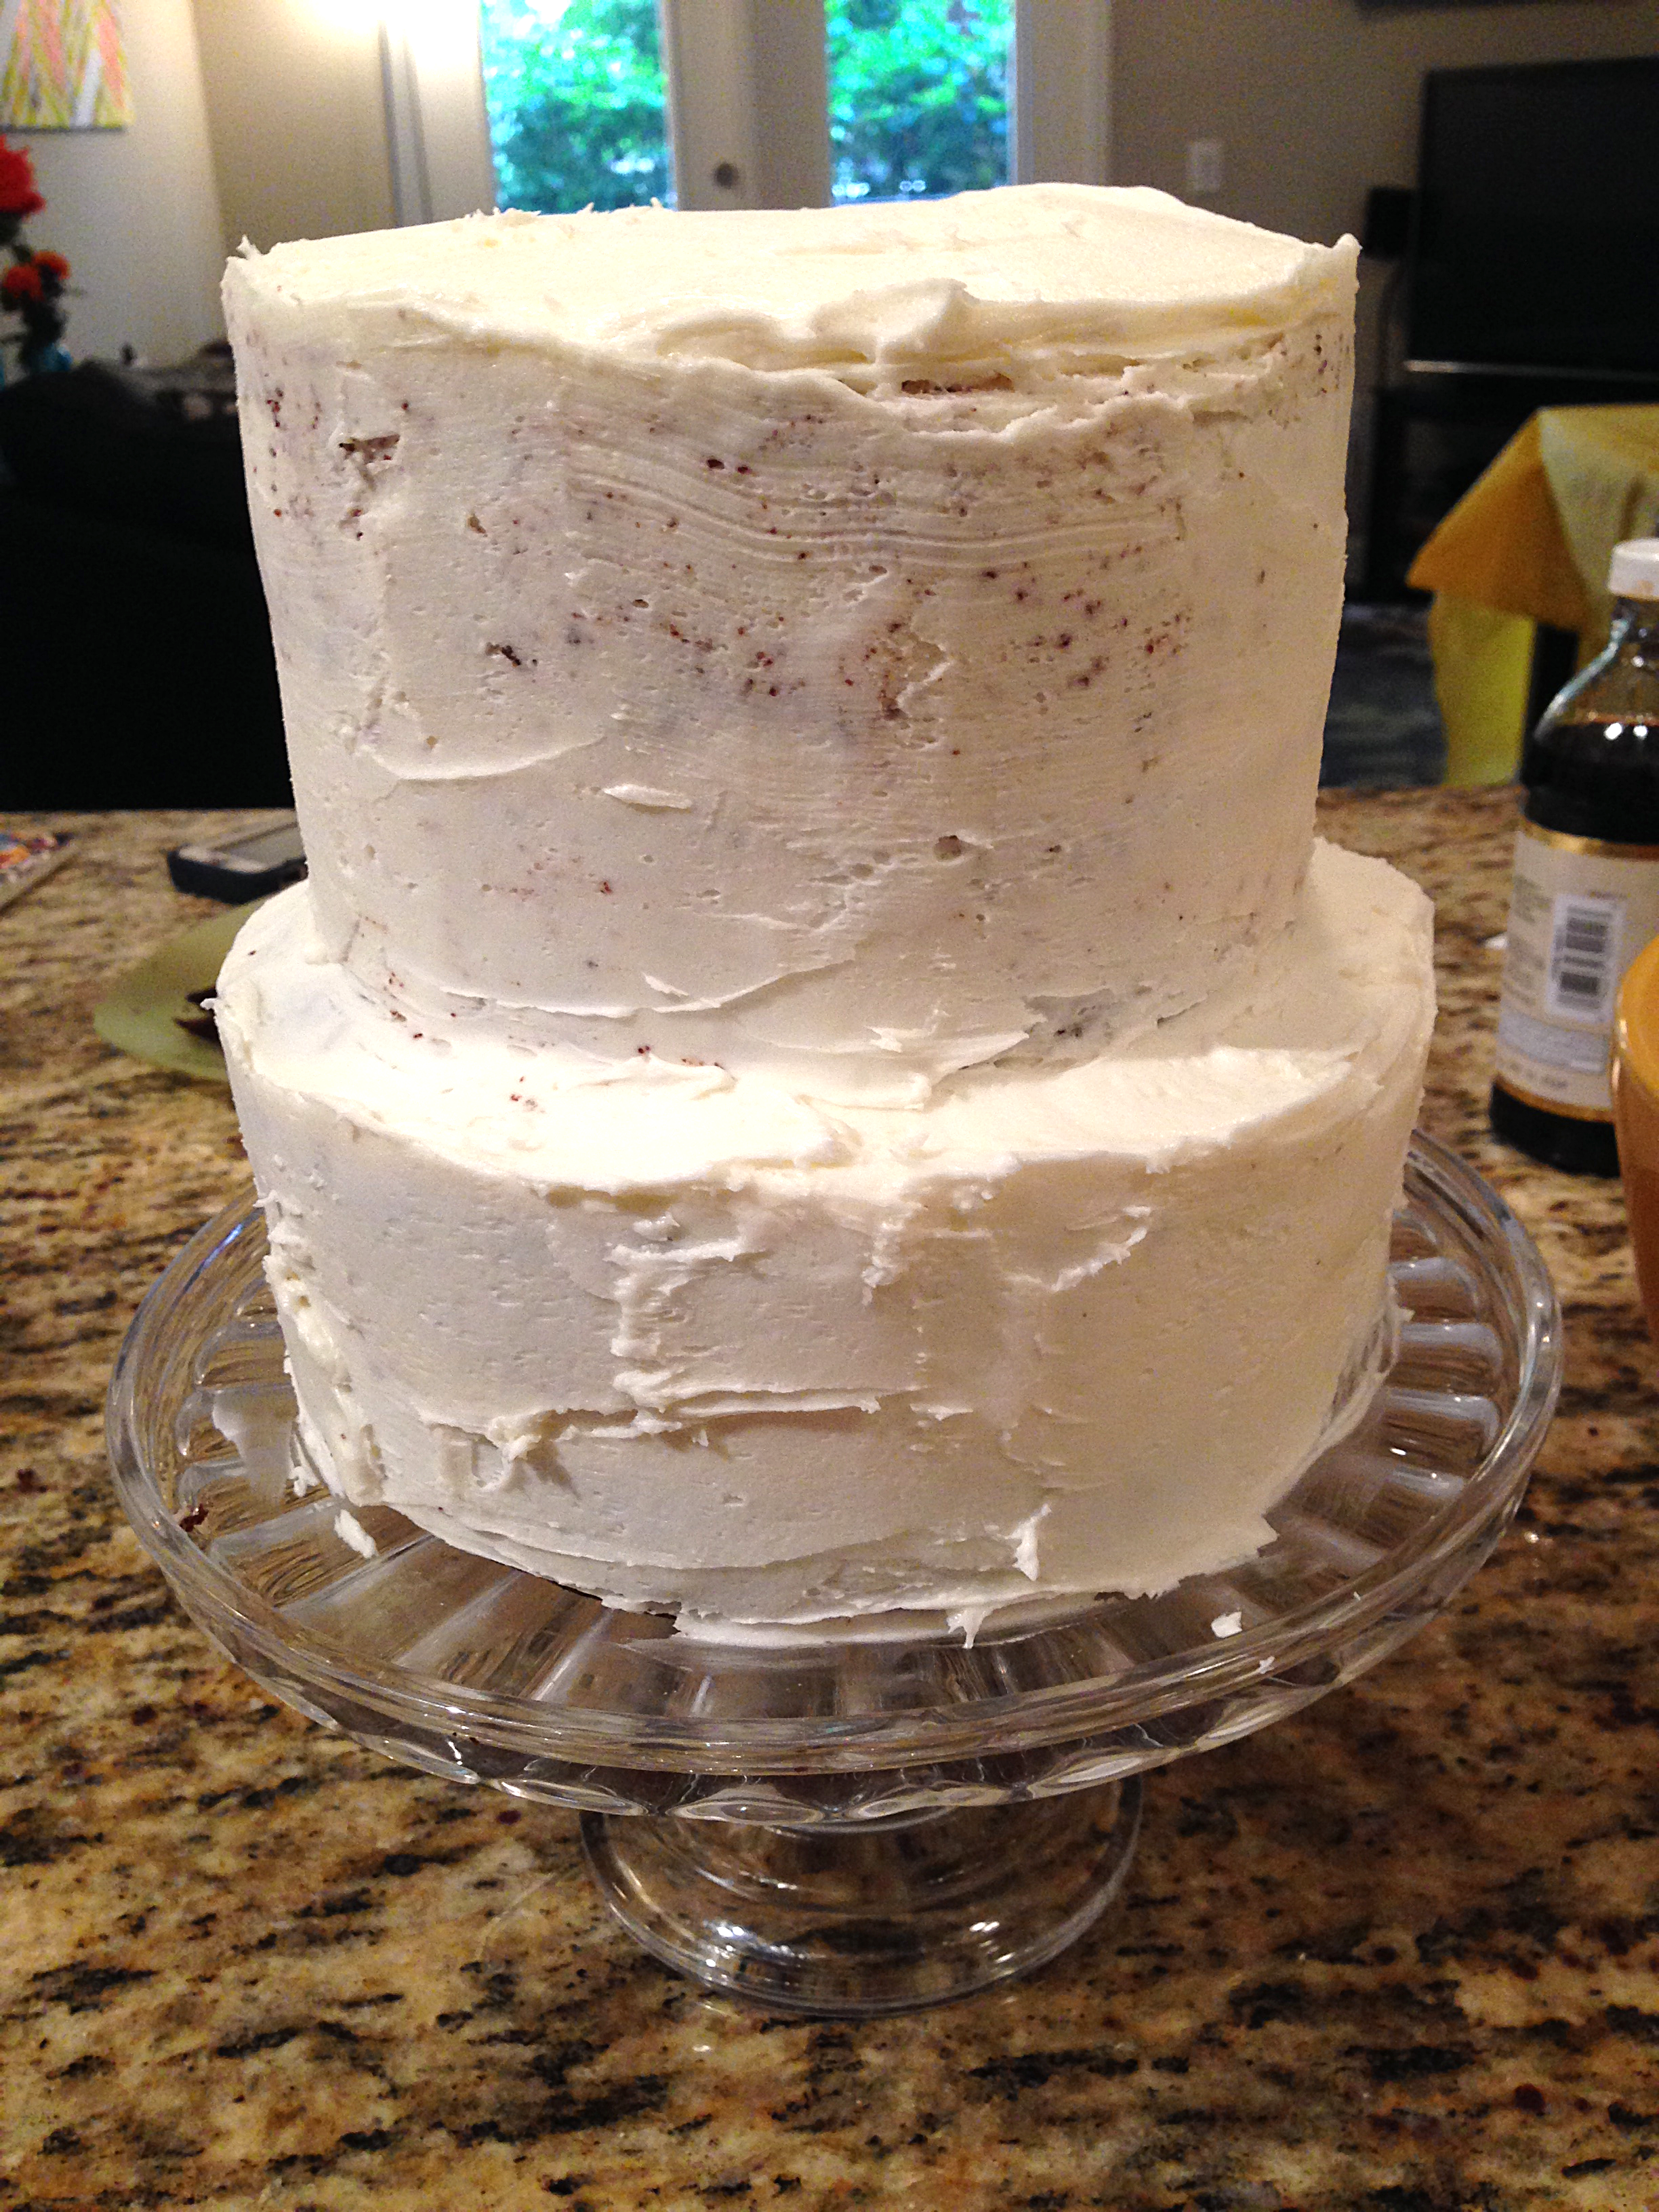
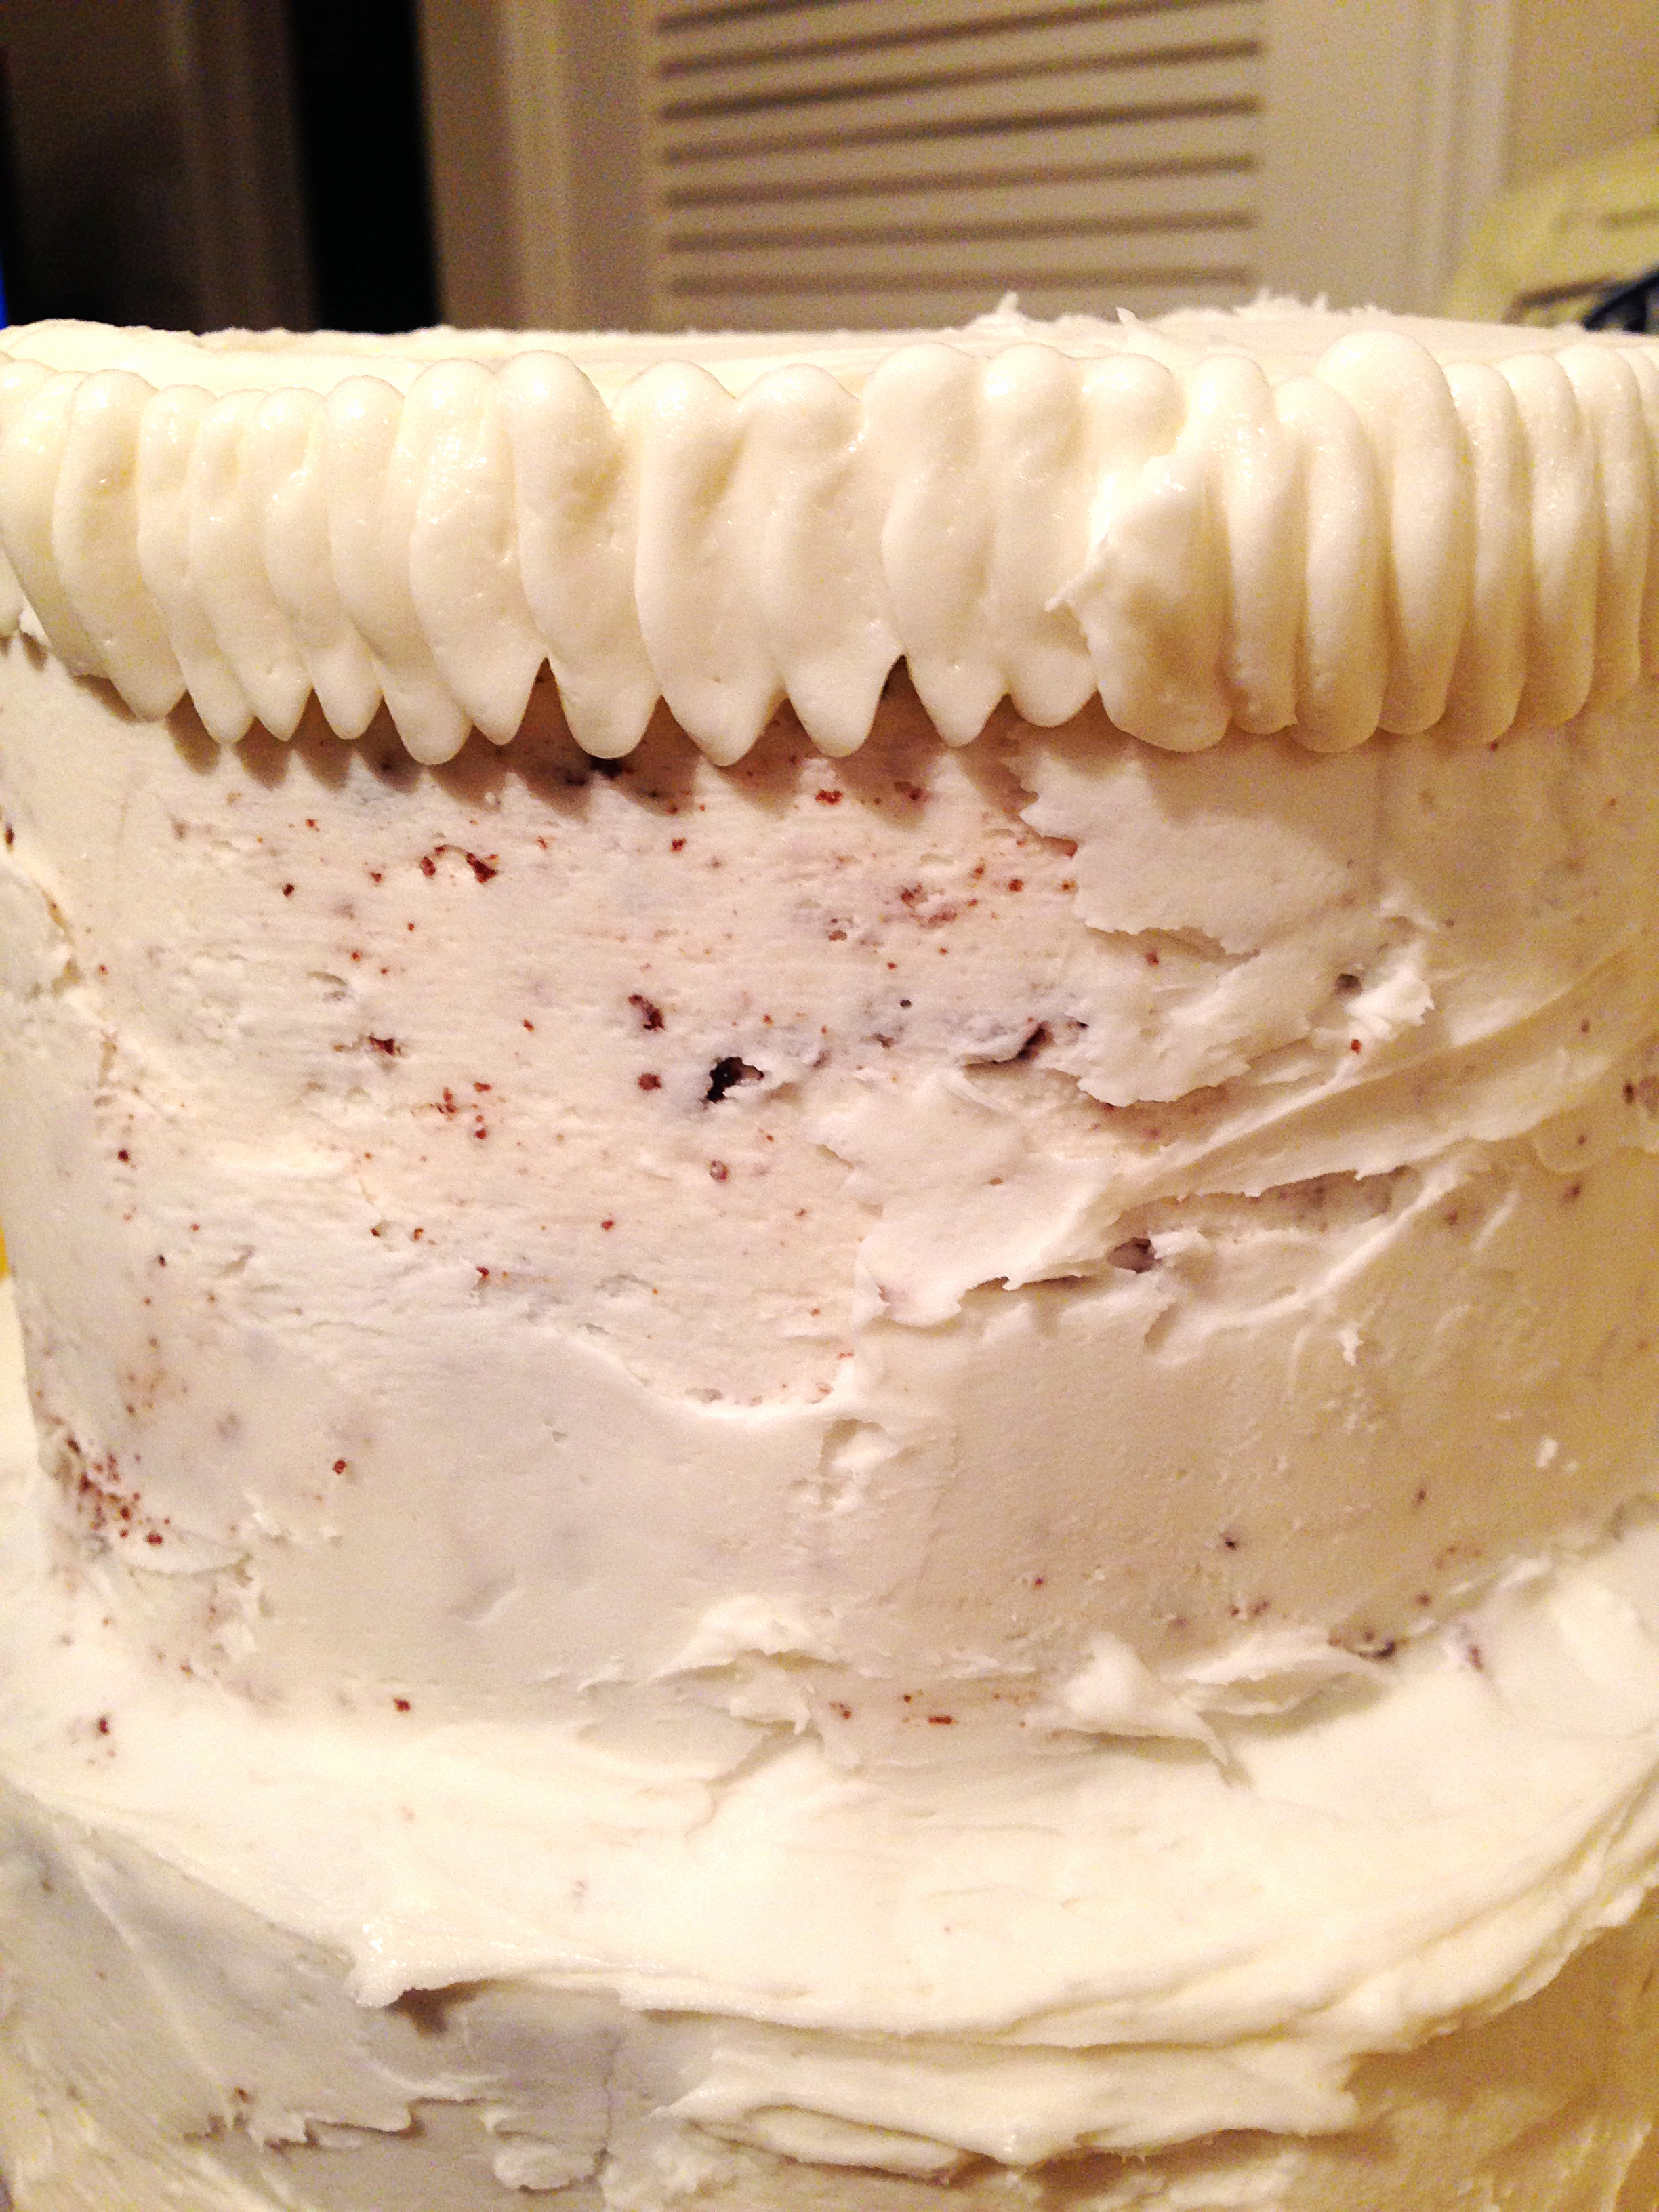
1. Follow my layer cake creation tips tutorial to get a perfectly stacked cake and cover with a crumb coat of frosting to prep the cake for decorating.
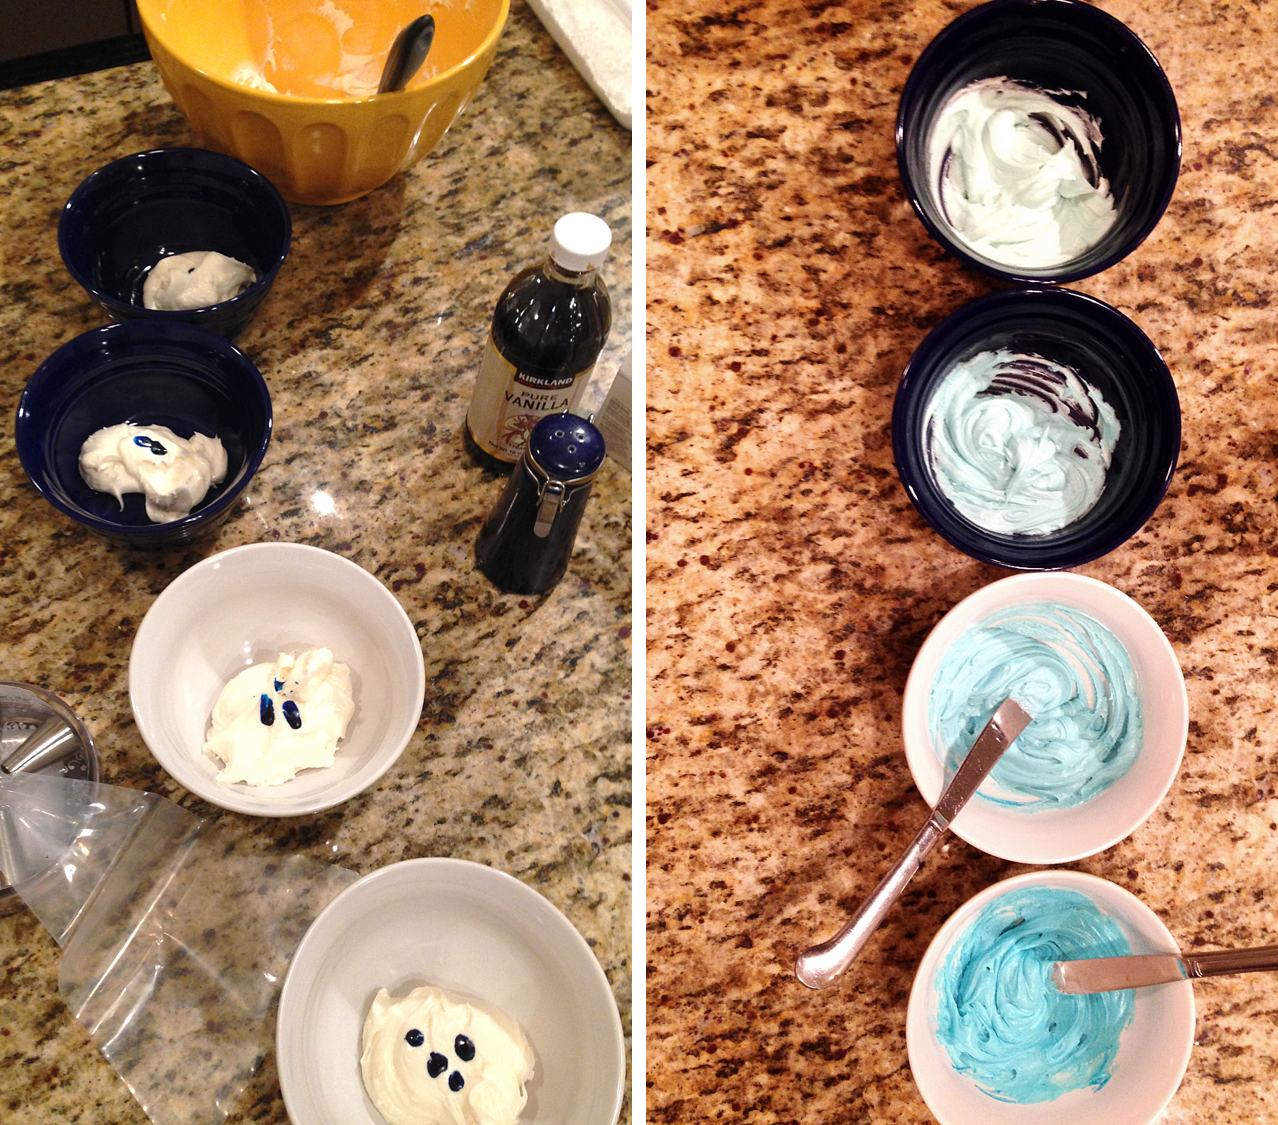
2. Prepare your batch (or two) of buttercream frosting and separate evenly into 5 bowls. Place no food coloring in the first bowl, 1 drop in the second, 2 in the third, 3 in the fourth, and 5 in the fifth. Stir up the frosting in each bowl with a spoon starting with the second bowl and moving toward the fifth so you don’t get too much color in any of the light colored bowls.
Note: The frosting colors can all be adjusted from these numbers of drops to get more variation in the colors for the ombré. These numbers worked well with the gel food coloring I used.
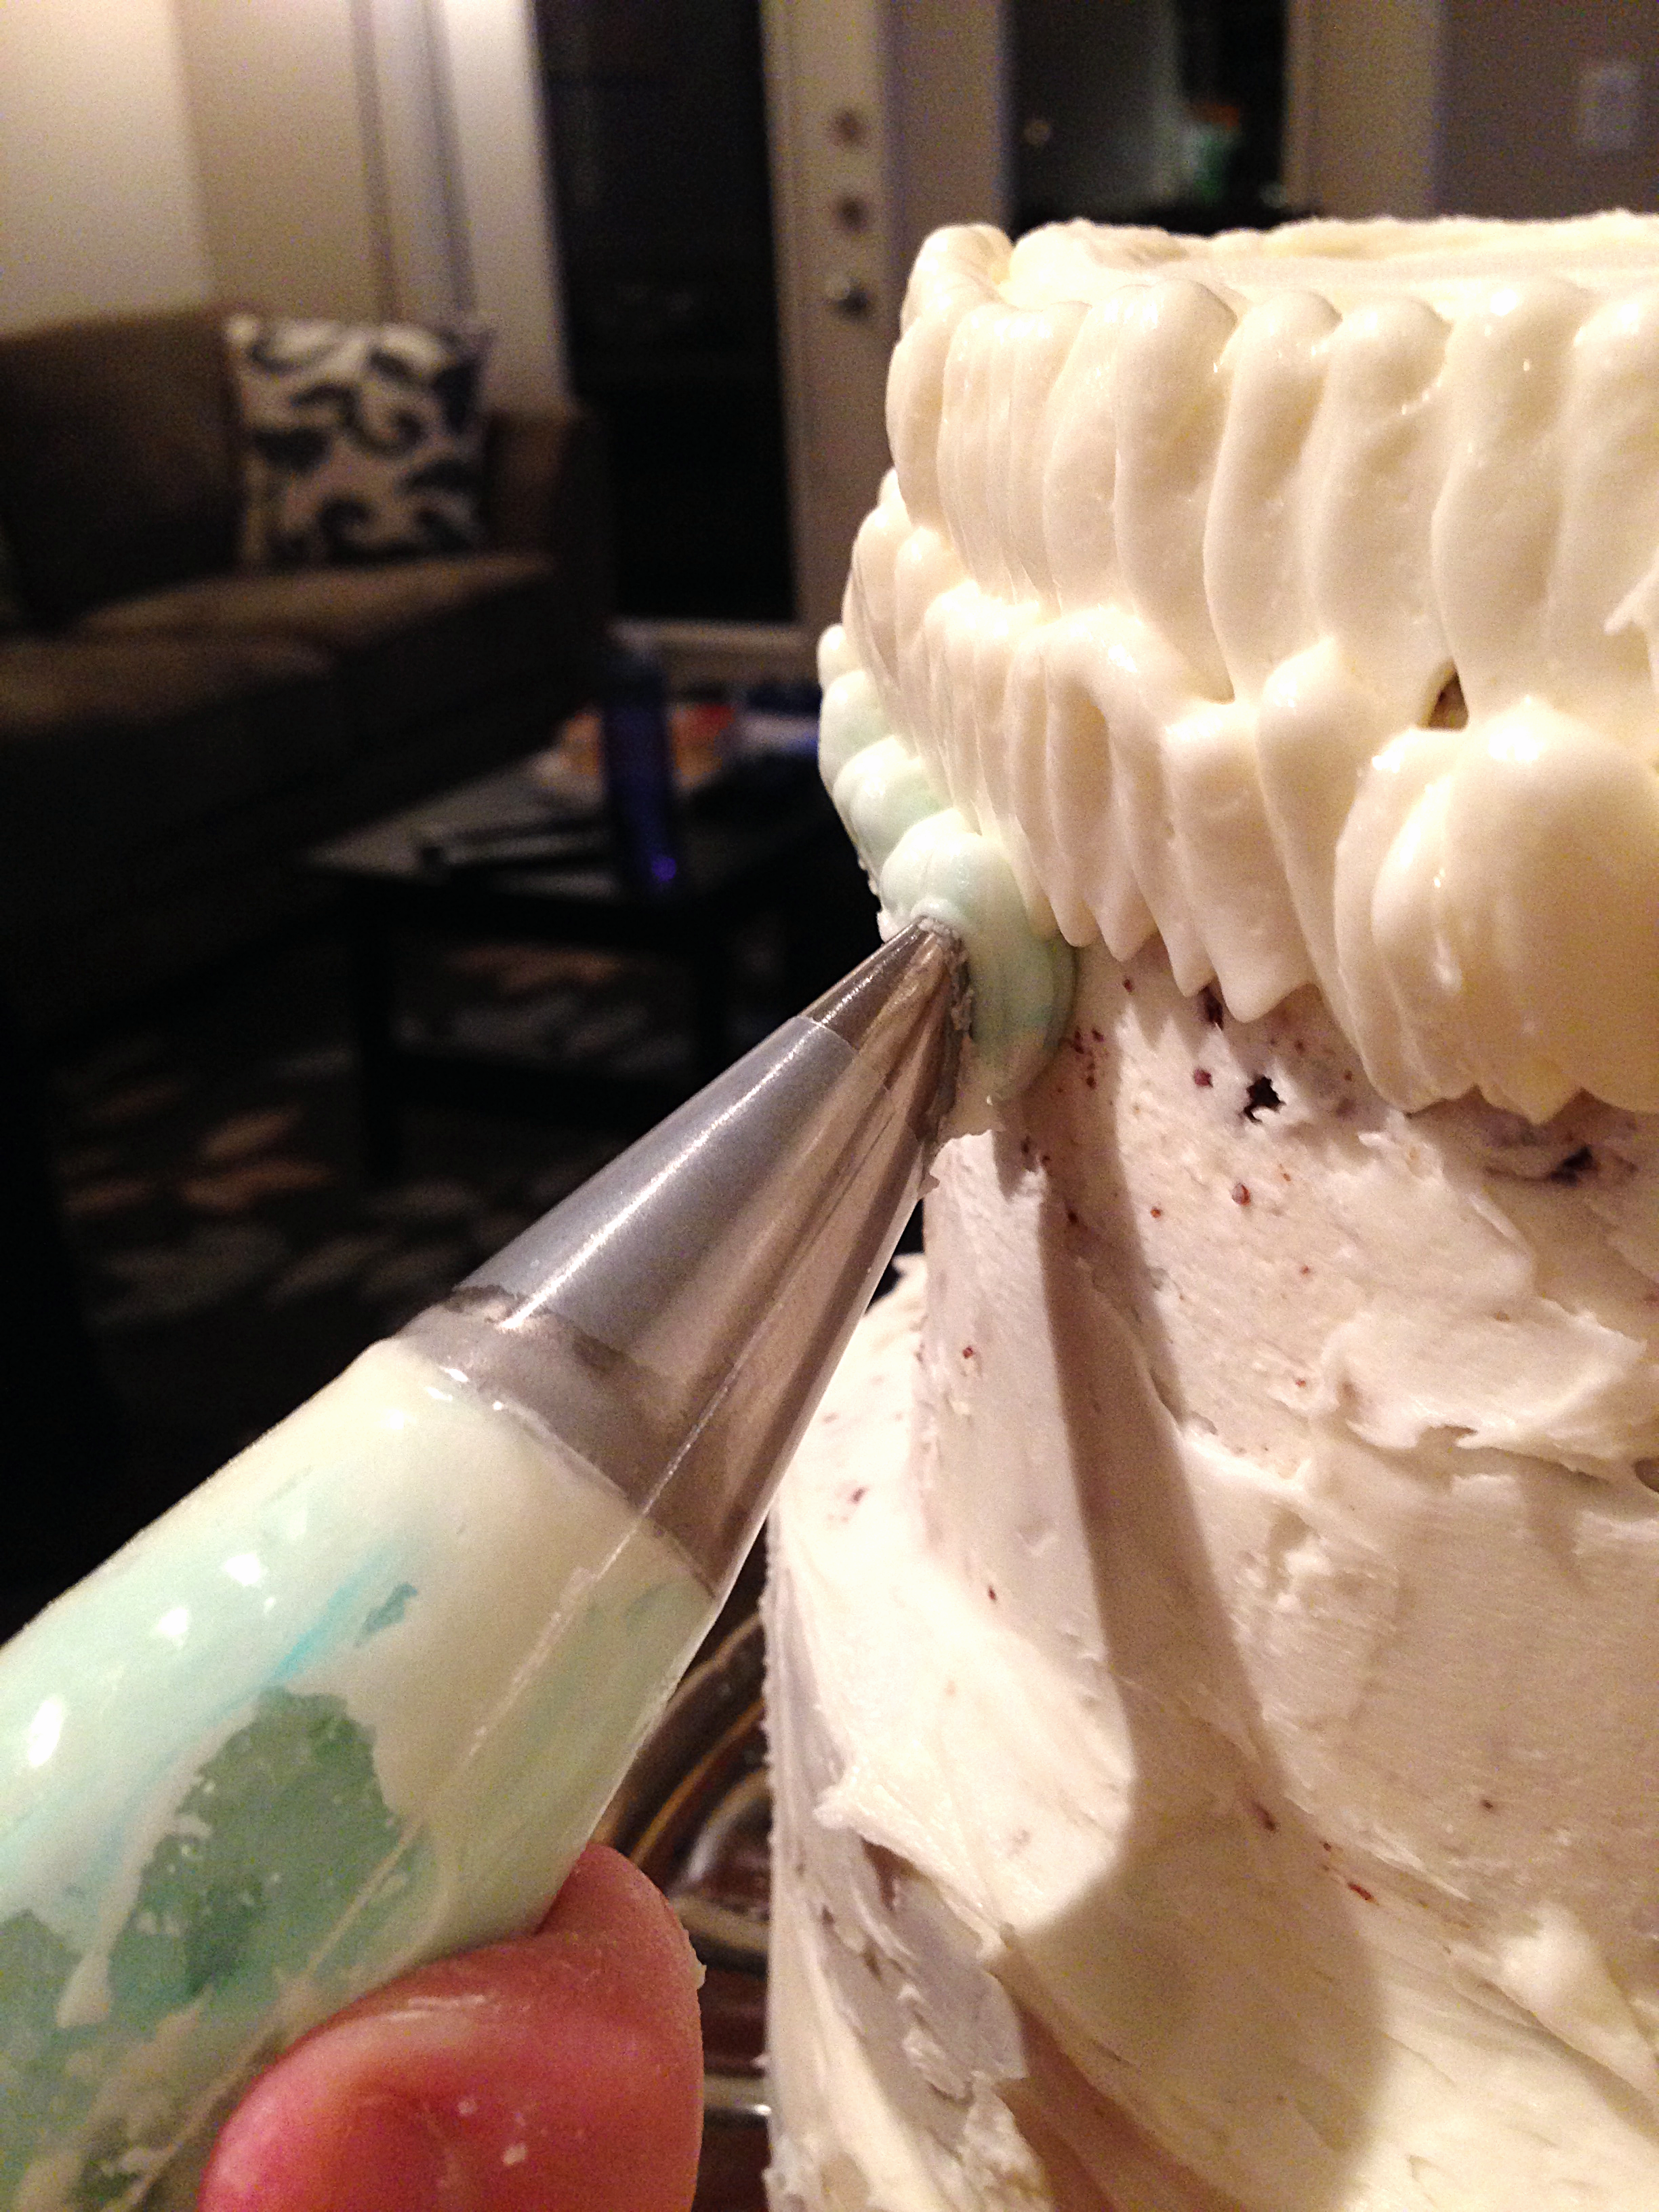
3. Take your first bowl of frosting (white) and scoop it into the piping bag with large petal tip with a spoon. Push all of the frosting to the tip and roll the top of the bag closed.
4. Start your first ribbon on the cake by starting at the top of the top layer of cake. Position the petal tip so the opening is lengthwise up and down. Squeeze the piping bag lightly as you make a squiggle motion up and down about a 1/2″ tall all the way around the cake. Once you have reached the other side, repeat this process right below the first ribbon, slightly overlapping it. (If you have a shorter two later cake, only do one ribbon of each color.)
5. If you have any more frosting leftover, squeeze this into the second bowl and mix it up. By adding the extra frosting you don’t waste so much and you can make sure you have more than enough frosting for the next layer… Getting almost all the way around the cake with one color and realizing you have to mix up just the same color again to match it isn’t so fun.
6. Repeat step 4 and 5 until you have gone through all of the colors. That’s all there is to it! Top with some candles and start the party!
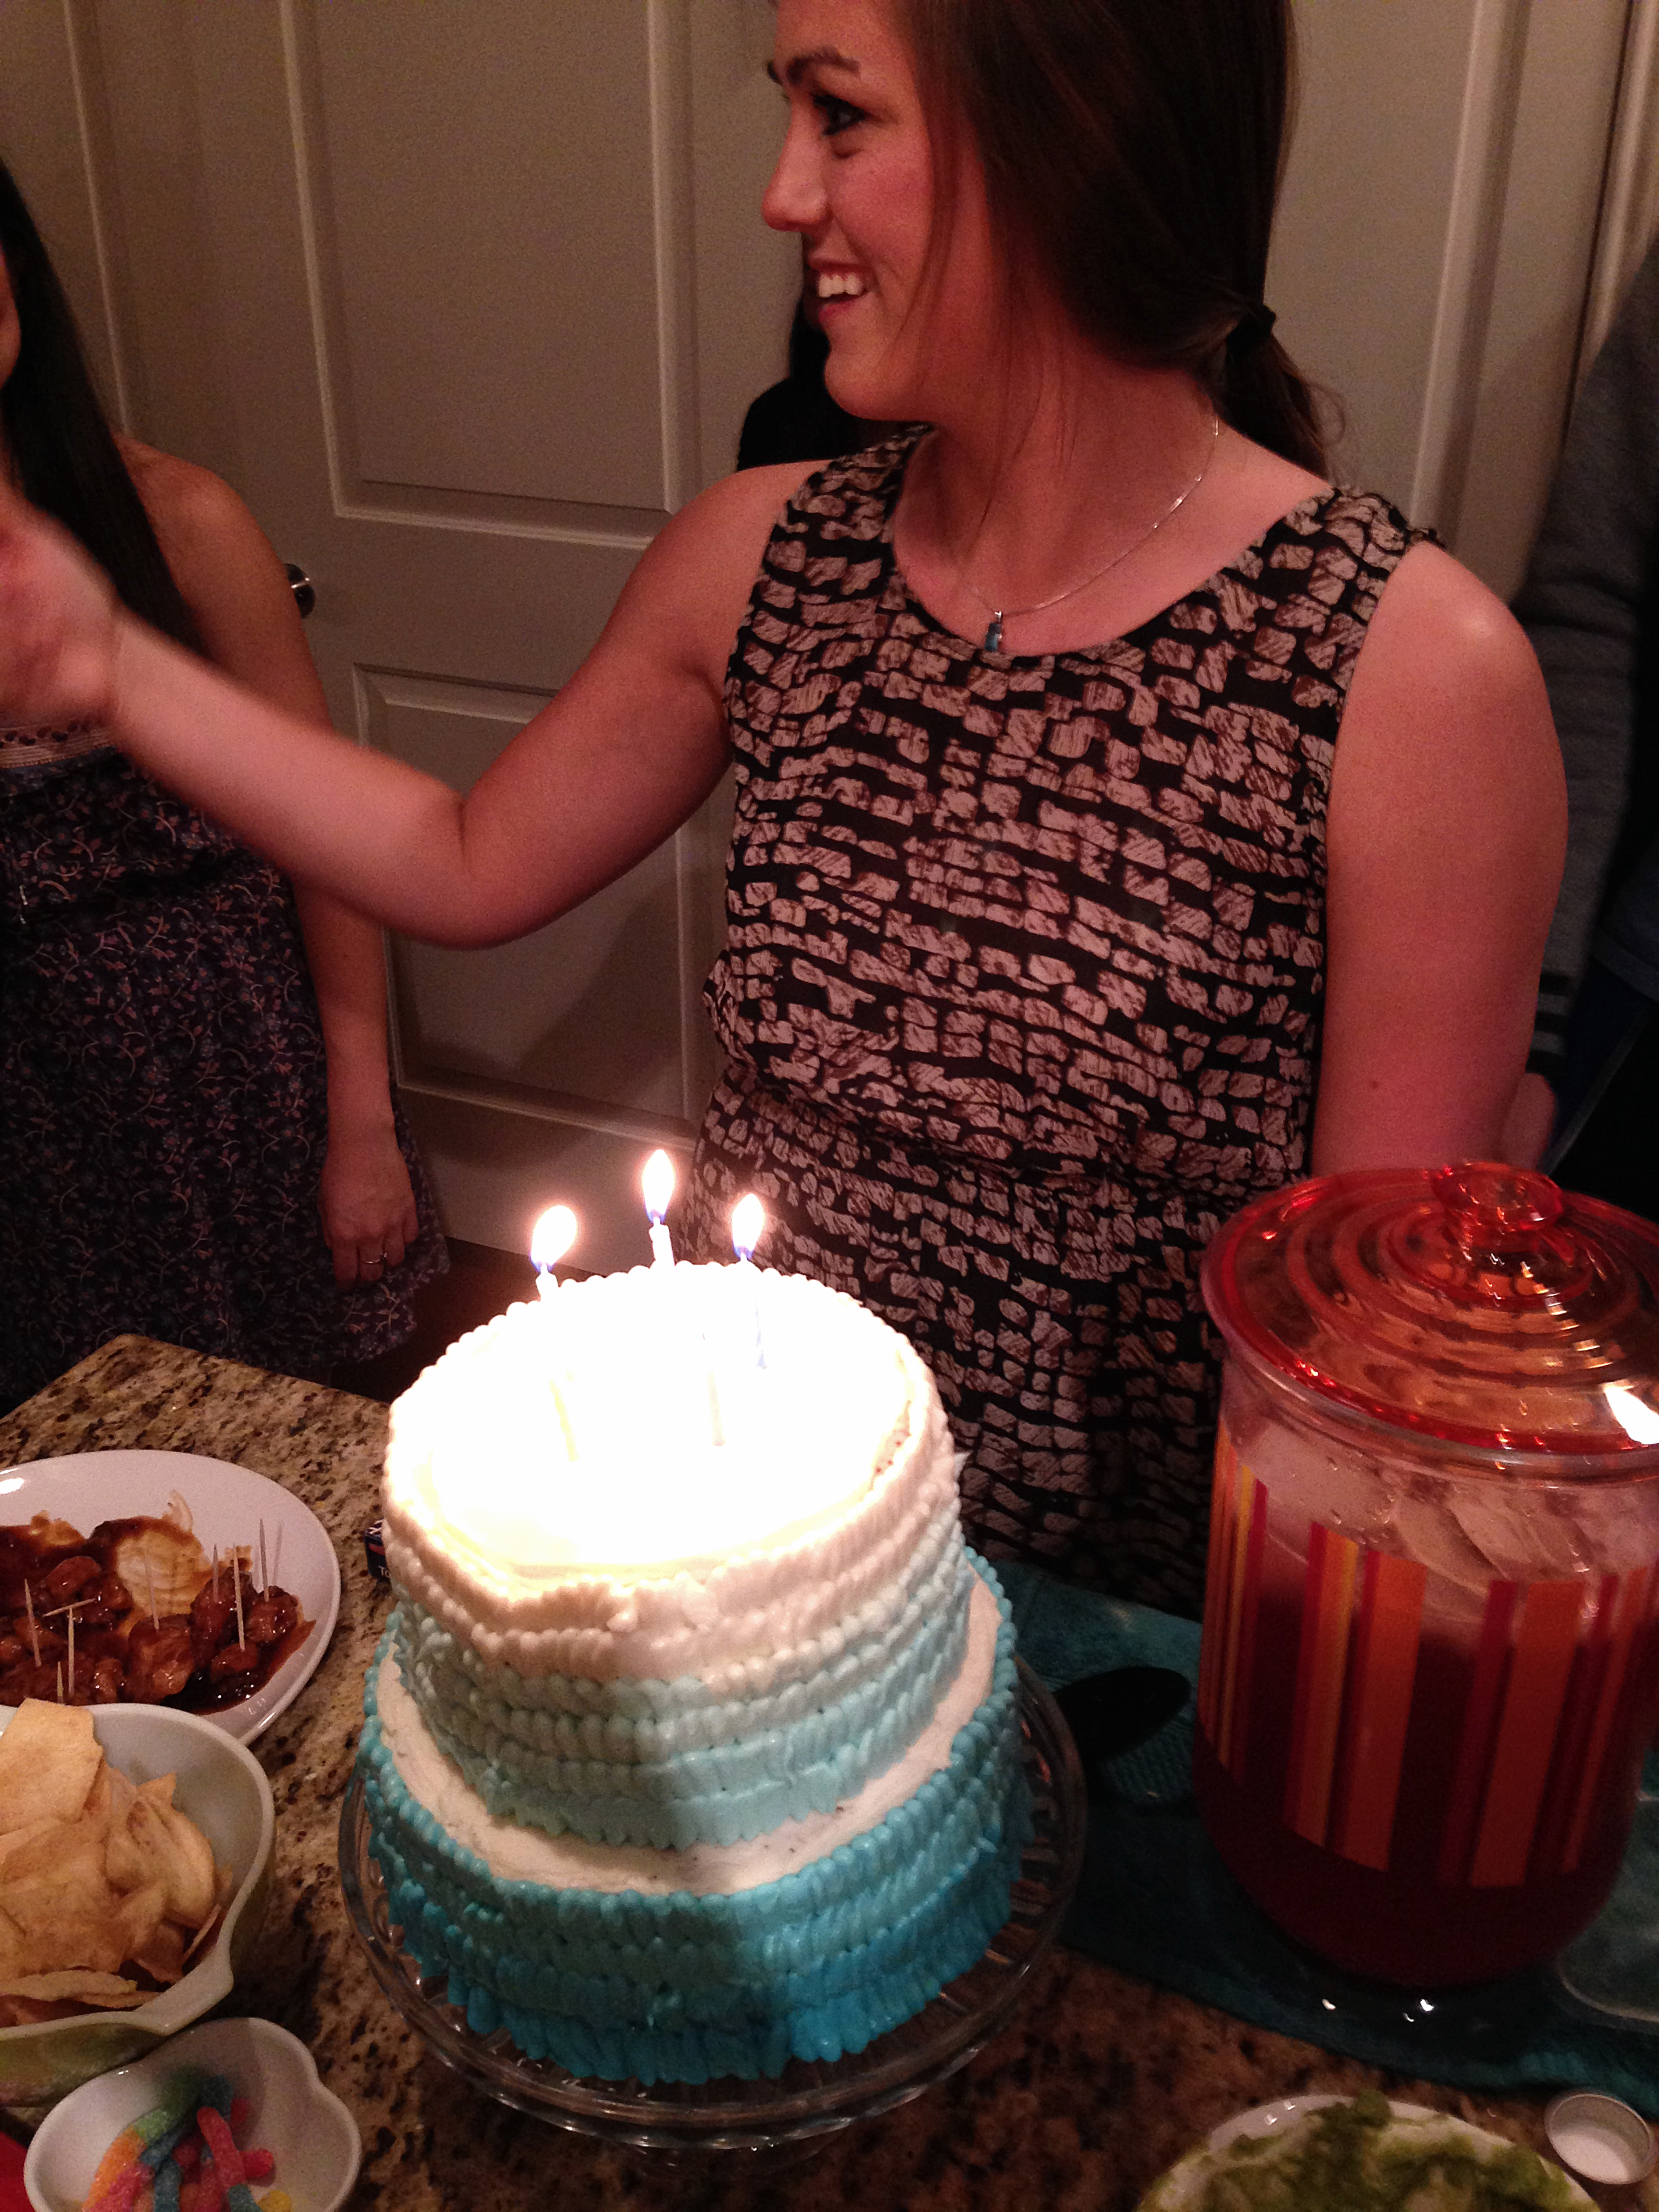
Happy Birthday Megan! One of my most supportive readers and supportive eaters. Here’s to another year of eating cake, thanks for not making me eat all of these sweets alone! 🙂

4 thoughts on “Ombré Ruffle Cake Decorating Tutorial”