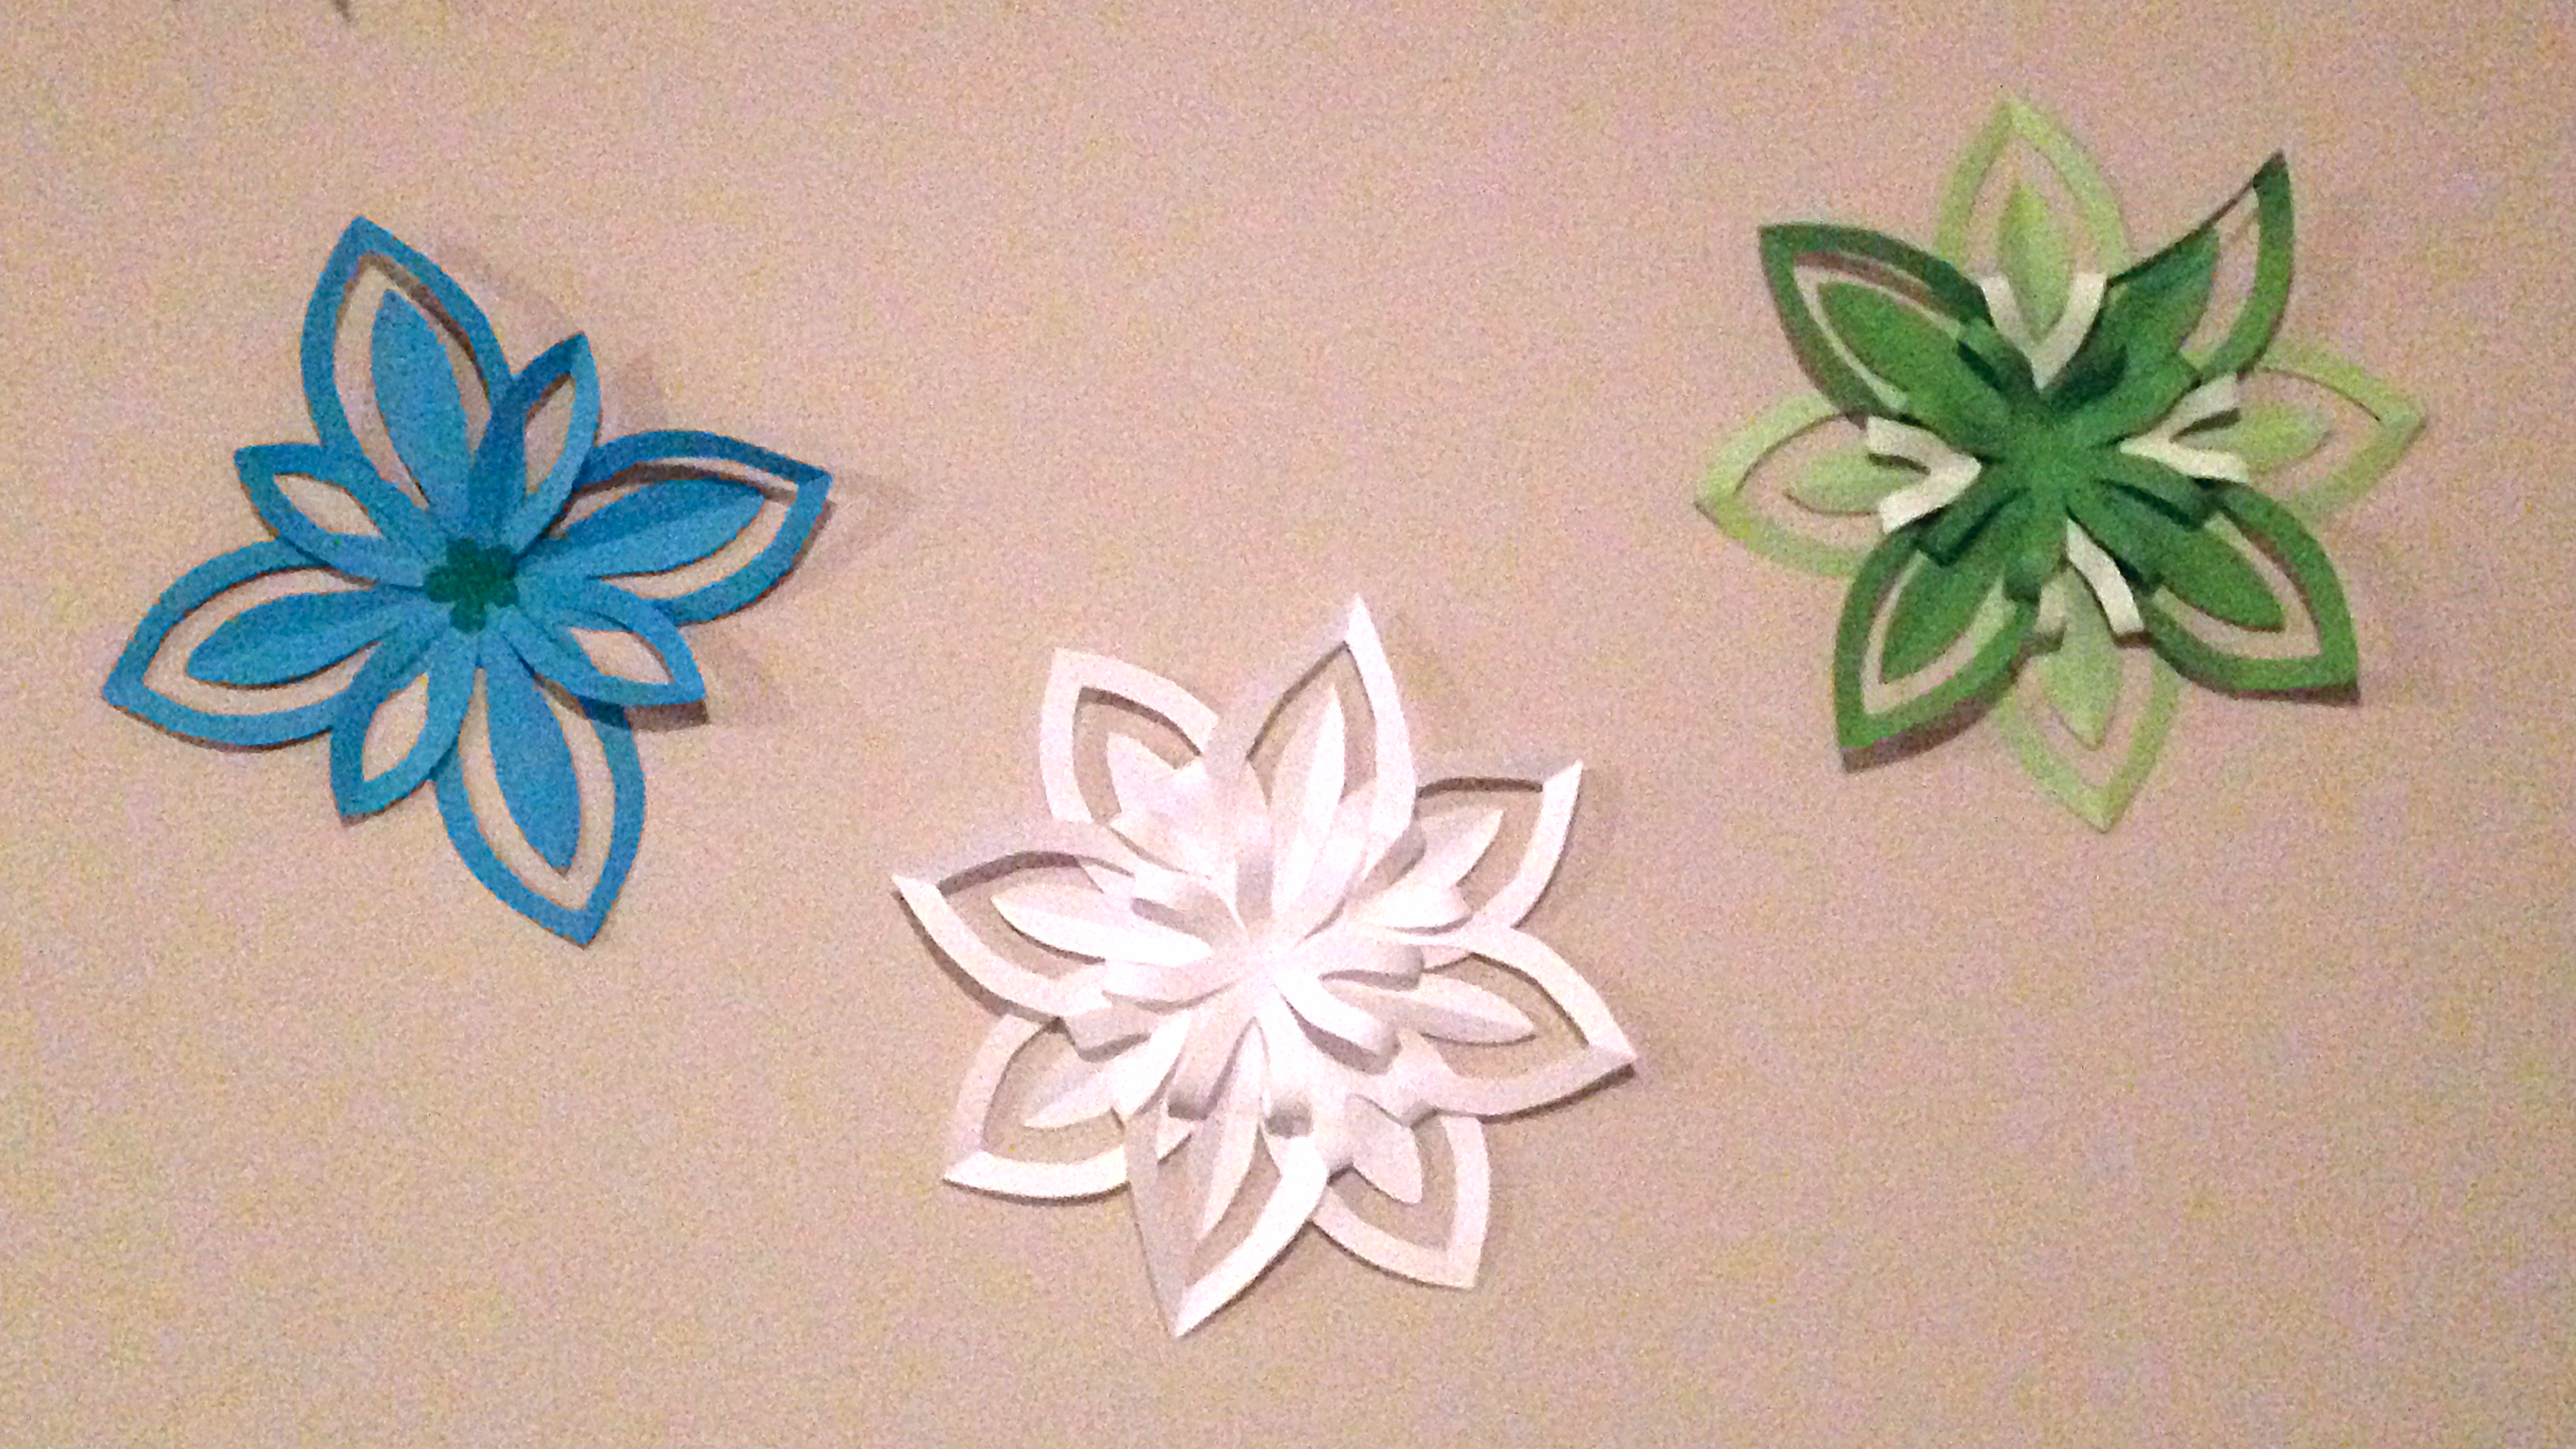
When we moved into our new apartment, Megan and I had little to no décor to accent the place. Having not started work, the budget was low and the urge for crafting was high… or at least for me it was. What better than an afternoon of crafting and tea? We set to work making these adorable flowers that pop off the wall and really bring some fun to a boring white space. Costing approximately 50 cents a pop, they were definitely on par with the budget decorations.
Supplies:
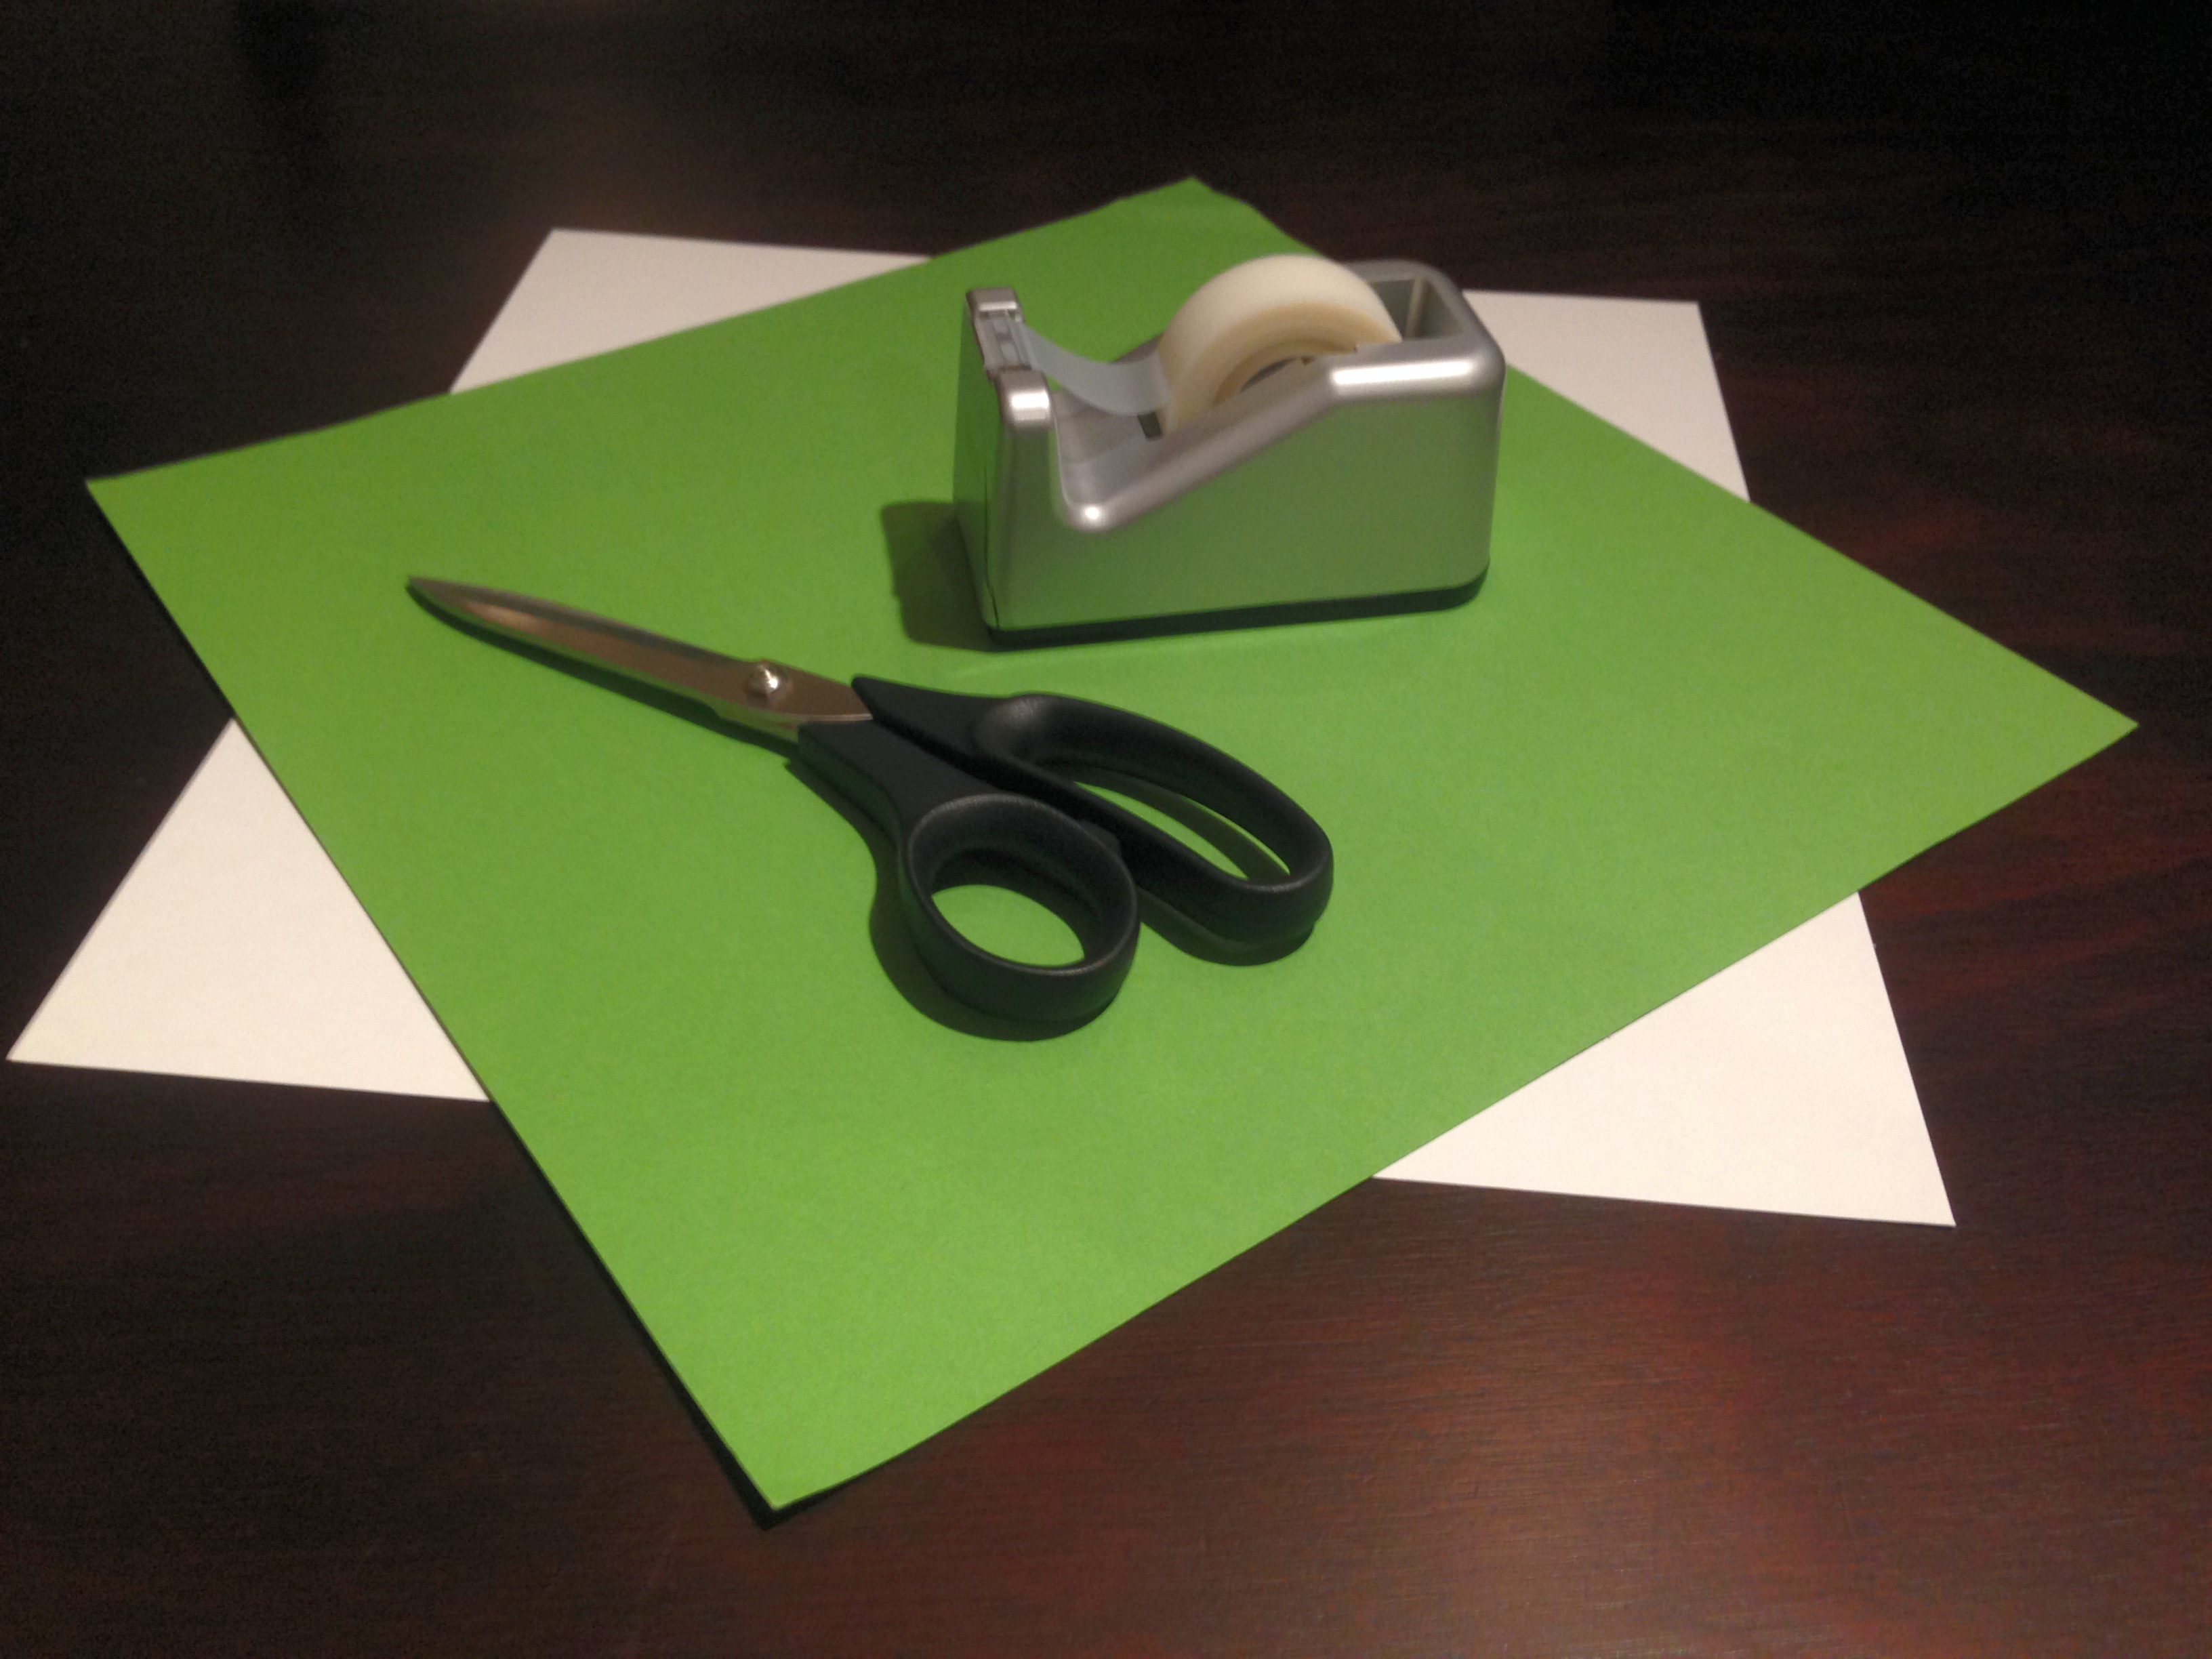
12″ x 12″ pieces of paper (2 pieces per flower)
Scissors
Scotch tape
1. You first start by folding the paper on the diagonal twice to make a small triangle.

2. From here, you cut out a curved triangular section from the long side of the triangle as shown below. The end result is a sort of rounded L-shape.

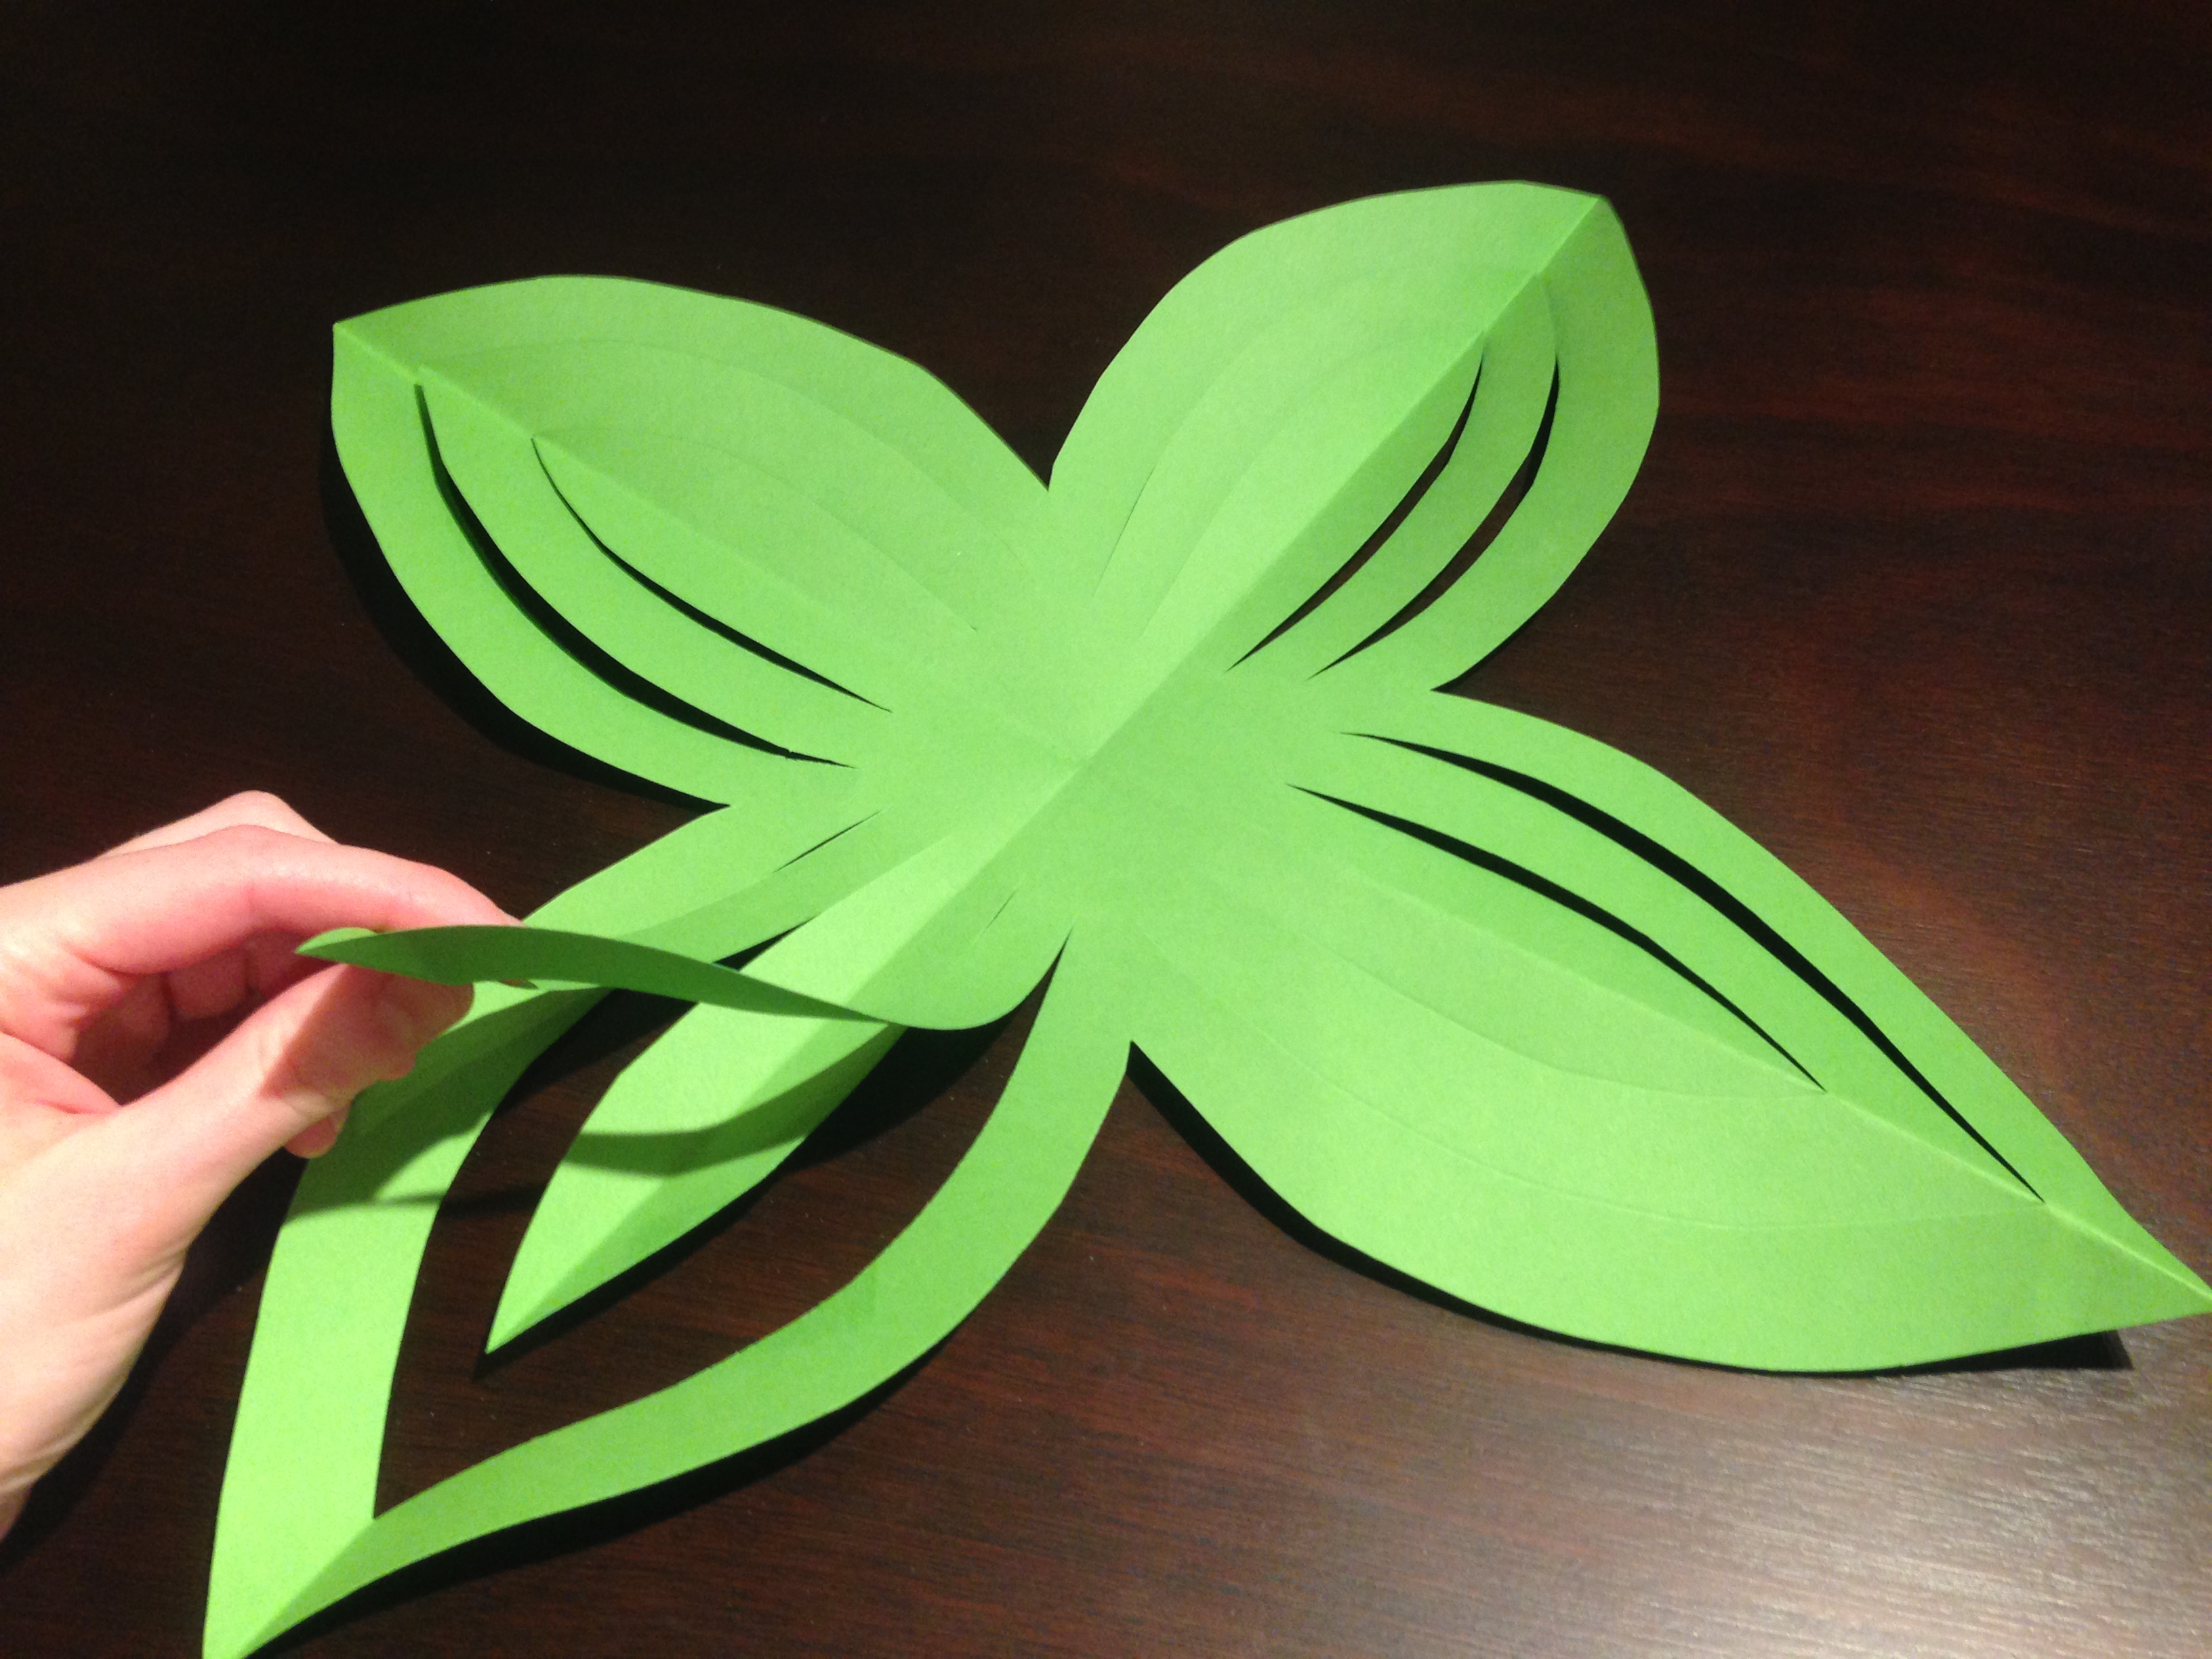
3. Two cuts are then made on each side of the L-shaped piece to make slits and the paper is unfolded.


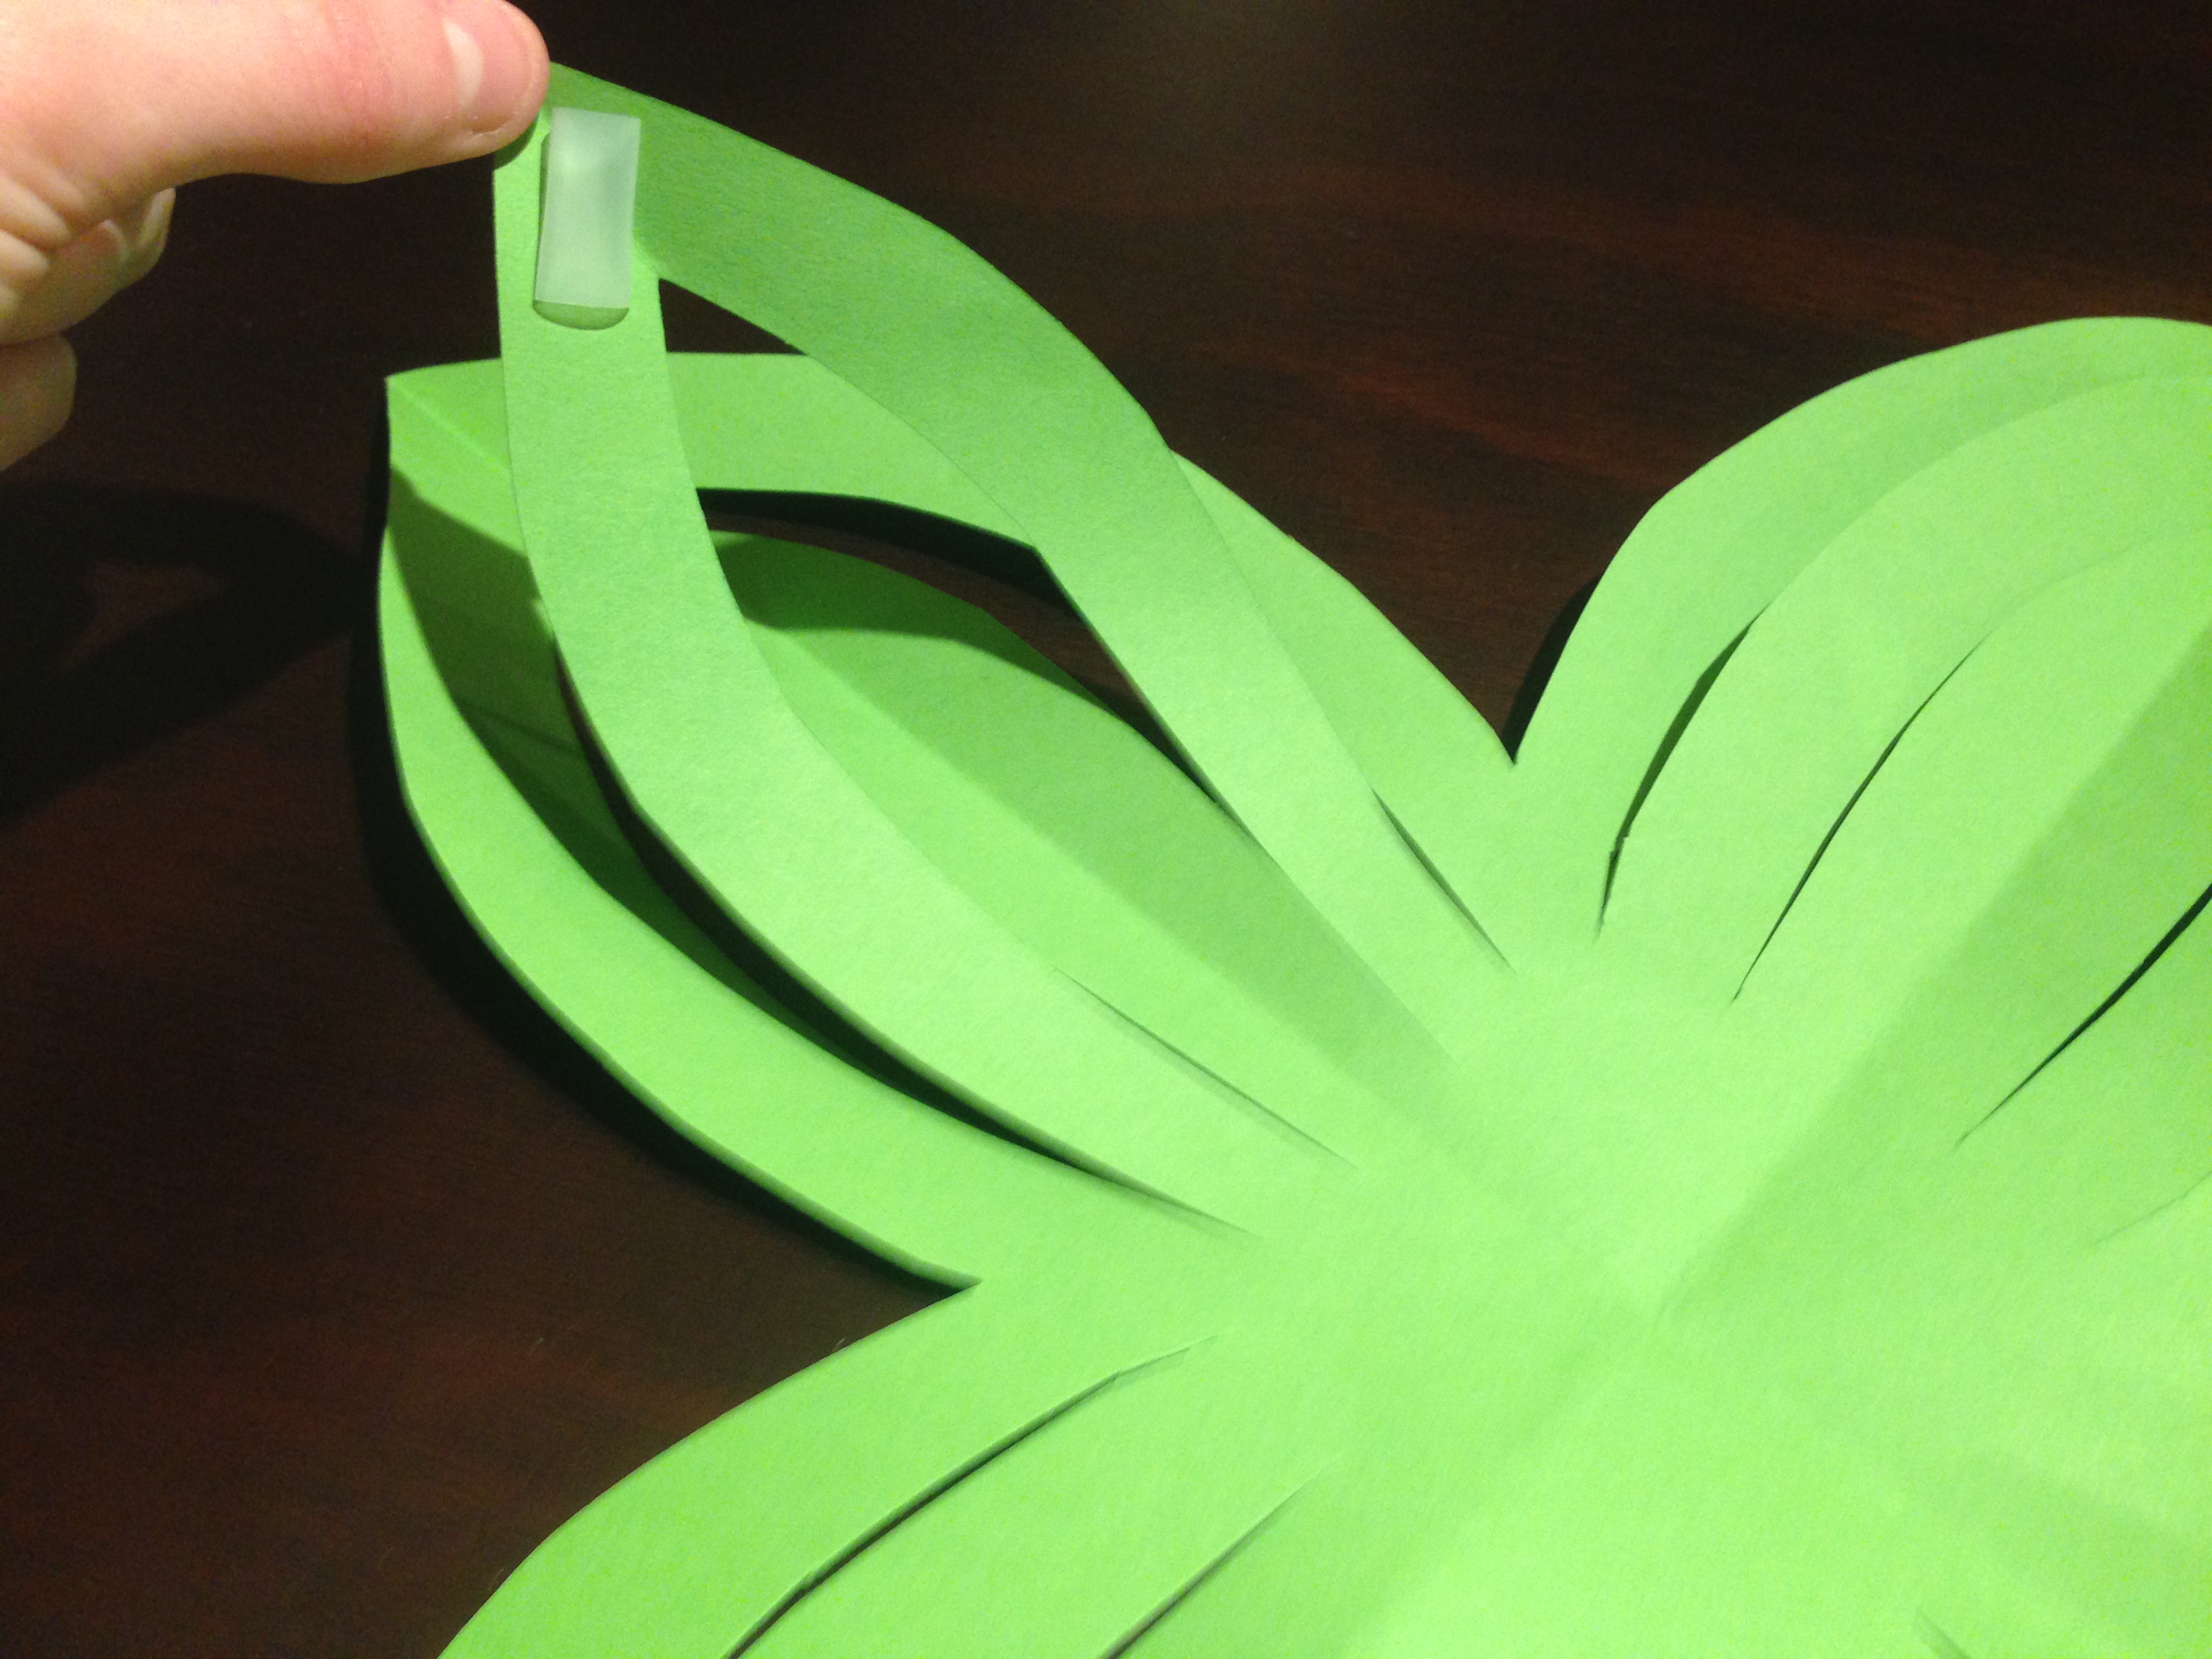
4. Once unfolded, the paper has four petal sections with three cut pieces. You take the middle cut portion from each petal and fold it inwards to the center of the flower and hold with a rolled piece of tape. Honestly at this point I was pretty pleased with these cute little flowers…I could have put them up on the wall just like this!

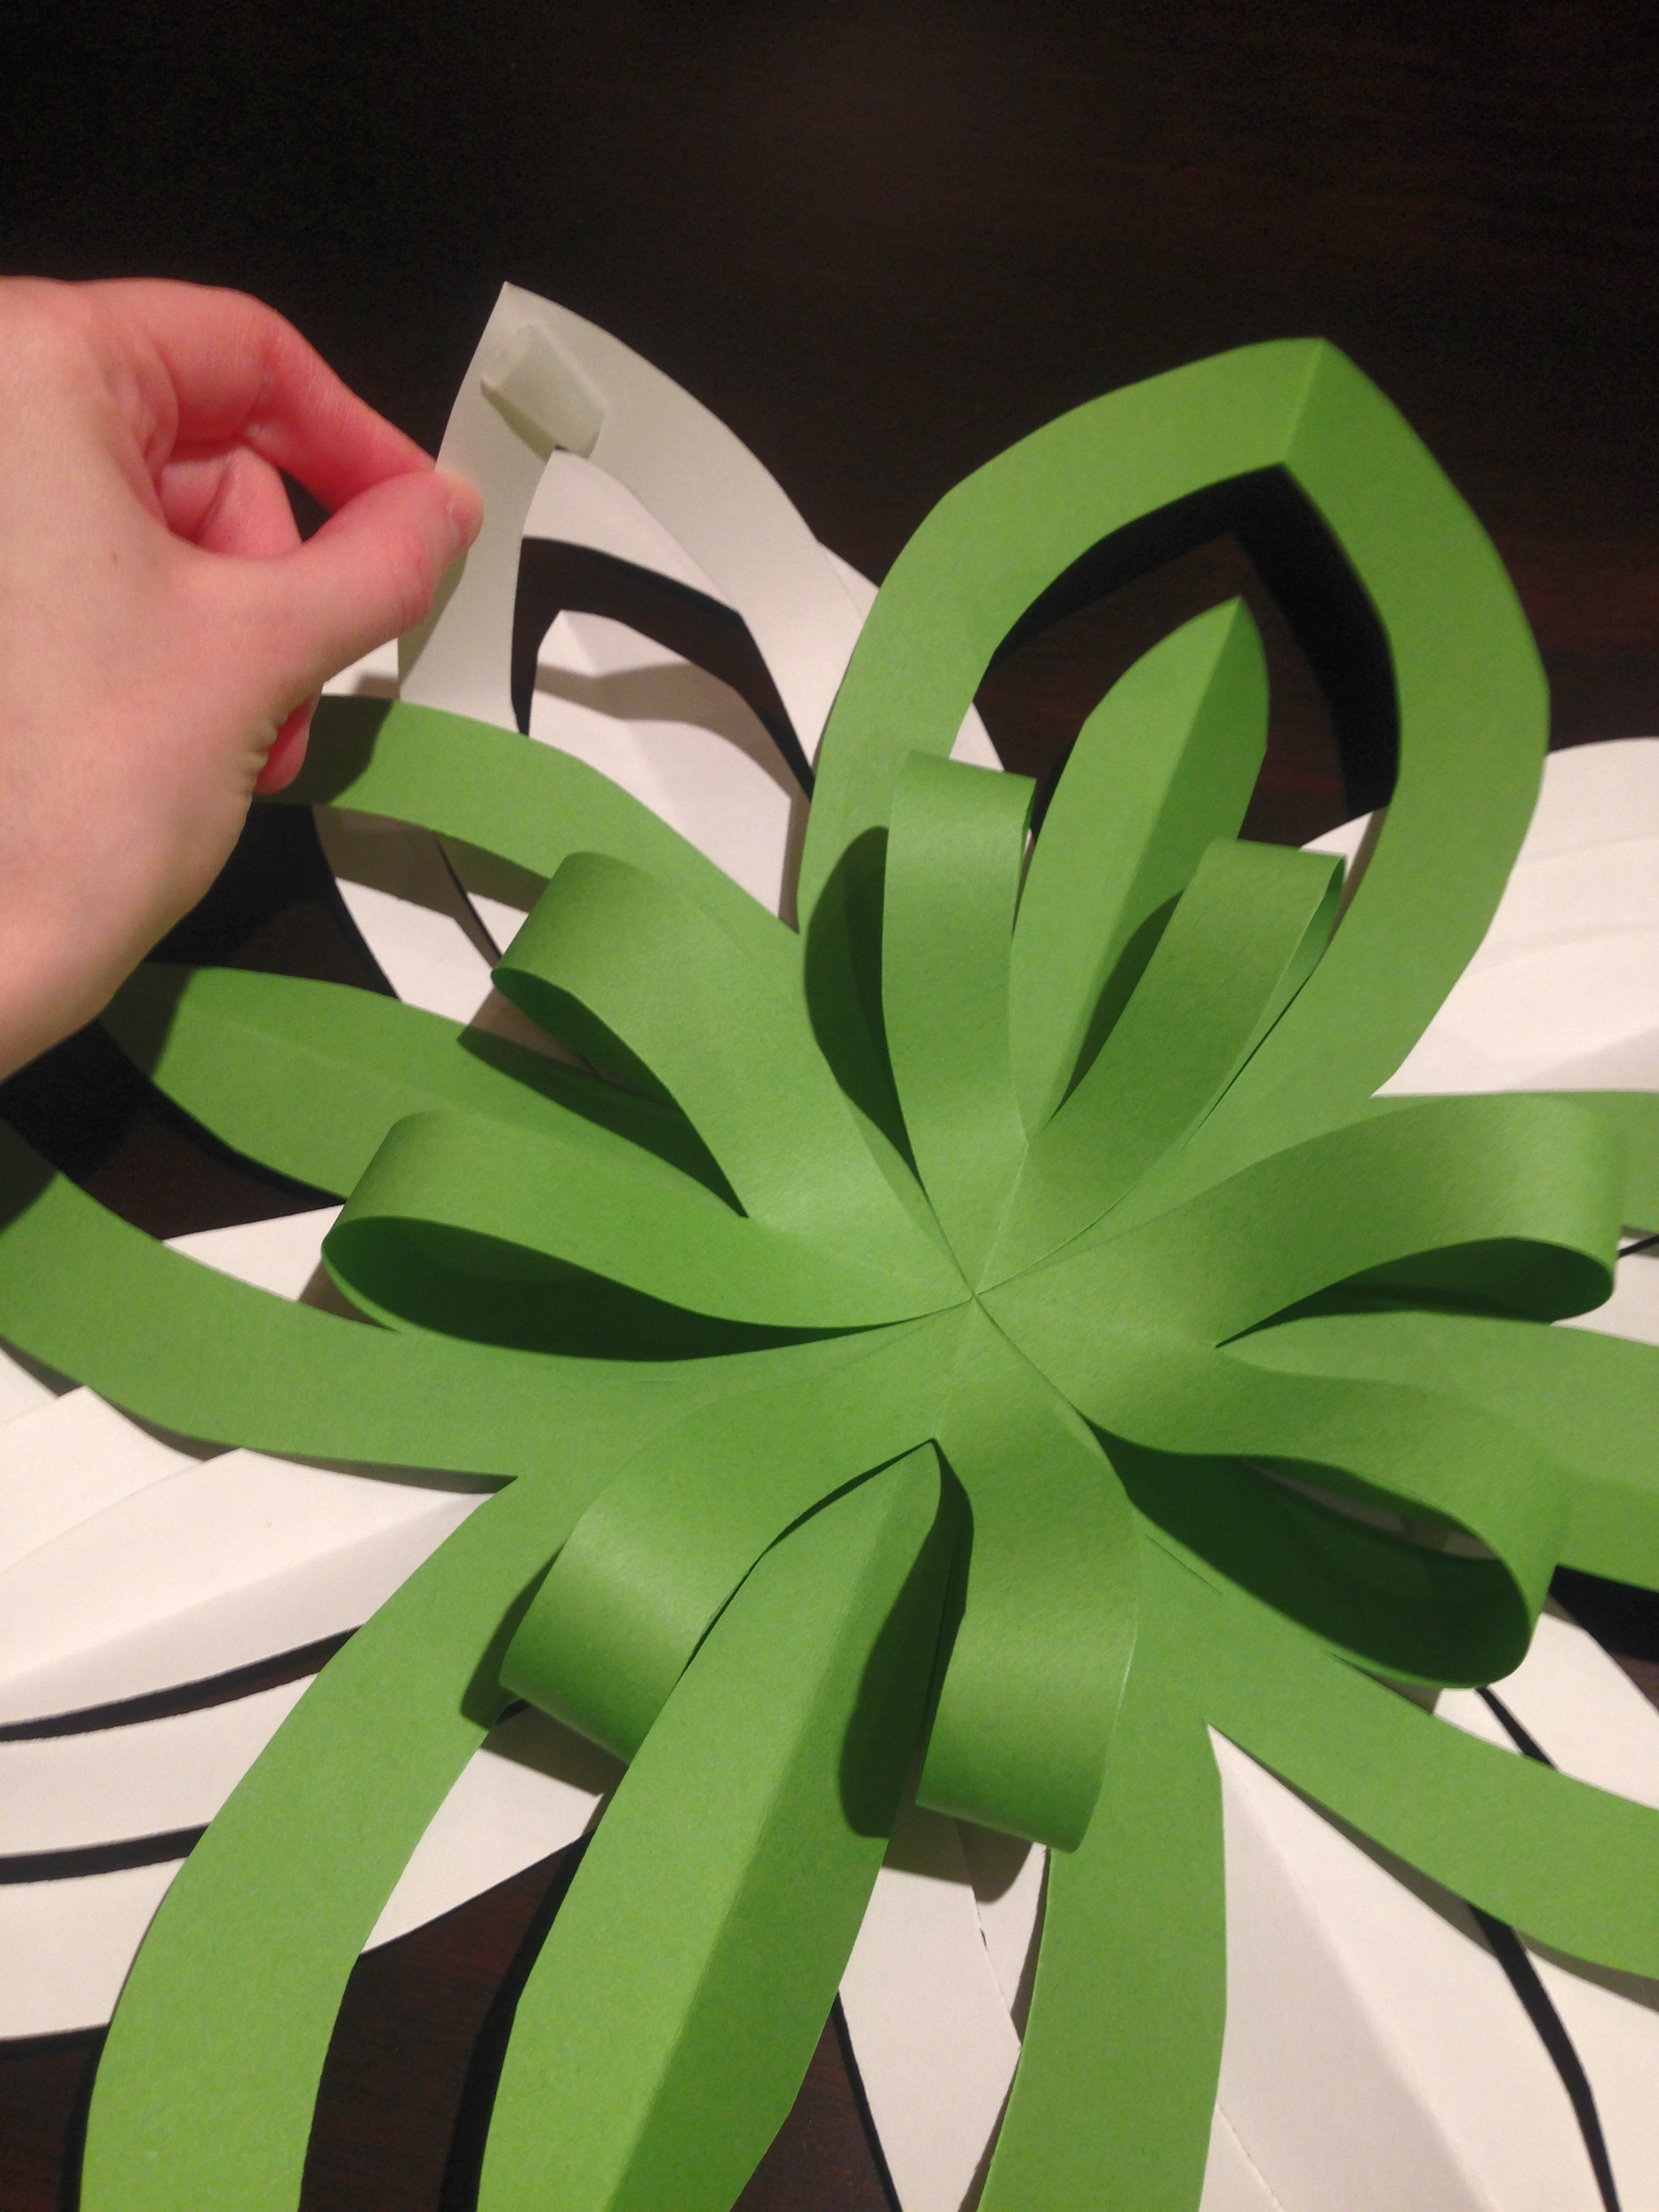
5. Once you have finished step 4 you have half of the flower! Repeat steps 1-3 with another piece of paper. Place this piece of paper behind the first (completed in step 4) at an angle perpendicular to the flower petals and secure it with tape on the back.


6. Fold the same middle slit portion of the flower toward the center, this time bringing it over the first flower in order to intertwine the two. Secure each petal with a rolled piece of tape, and you have a completed flower!
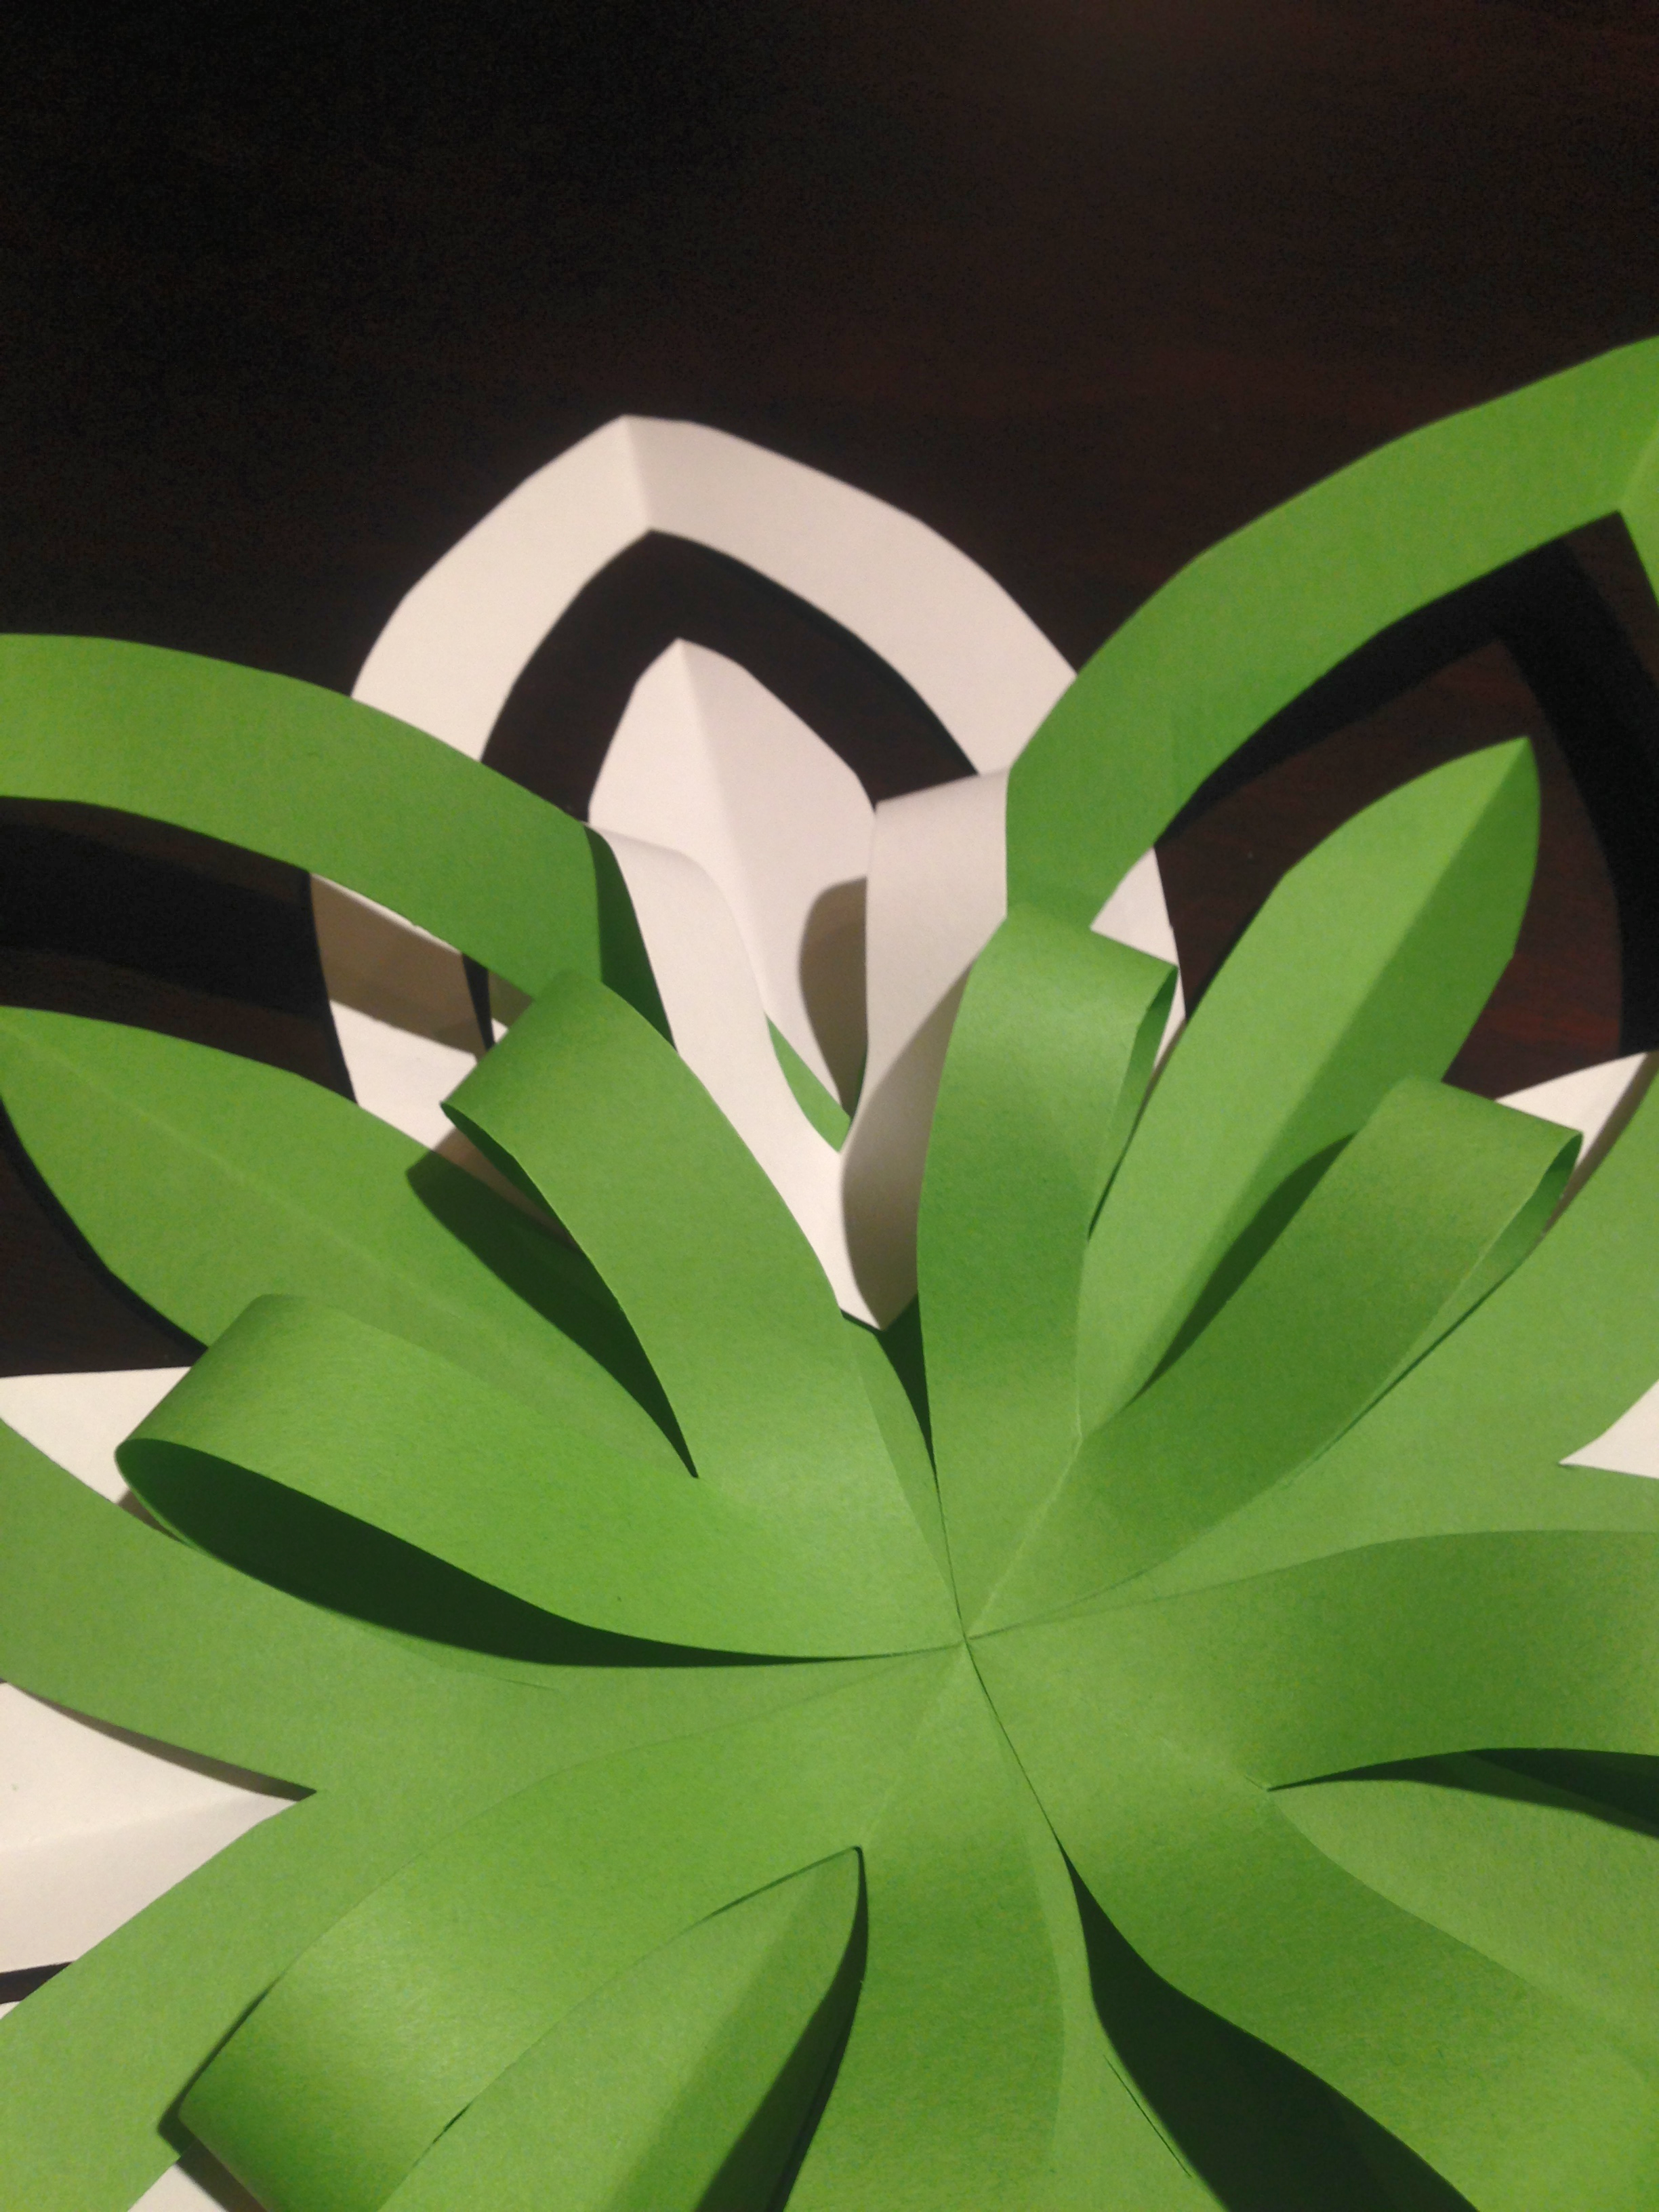

I like to make these flowers with two different colors to really make them pop, or introduce a circle of paper to the center of the flower for even more color. Secure them to the wall with some painters tape to avoid peeling the paint off of your walls later on. Good luck crafting bunnies!

Recently, I taught my 3rd graders how to make paper snowflakes and I ended up with a paper blizzard. This may be their next rainy day recess lesson. Surely, I will have a paper garden by week’s end! Thank you for the inspiration!
LikeLike
That would be beautiful! Good luck with your garden! 🙂
LikeLike
Beautiful Julia! We’re going to try these with Nora today.
Mom
Sent from my iPhone
>
LikeLike