
Ah summertime. All I want to wear is blue and white and pastels and whatever fabric I can get my hands on that is as thin as possible without being see through. Oh, and off the shoulder everything. I will never get tired of making off the shoulder dresses for three separate reasons:
- They are so so so cute. I love the flirty fit and they are really comfortable without being too casual.
- They are also so so so easy to make. In the way that I create them with two separate sleeves that attach to a bodice, there is pretty much nothing to the fit. In other words, it will always fit the first time around which is a huge win in saving you from seam ripping for hours.
- I love how the sleeves never creep up your shoulders using the pattern I use. Because the sleeves are separately attached below your arm pits, they will never end up annoyingly on top of your shoulders.
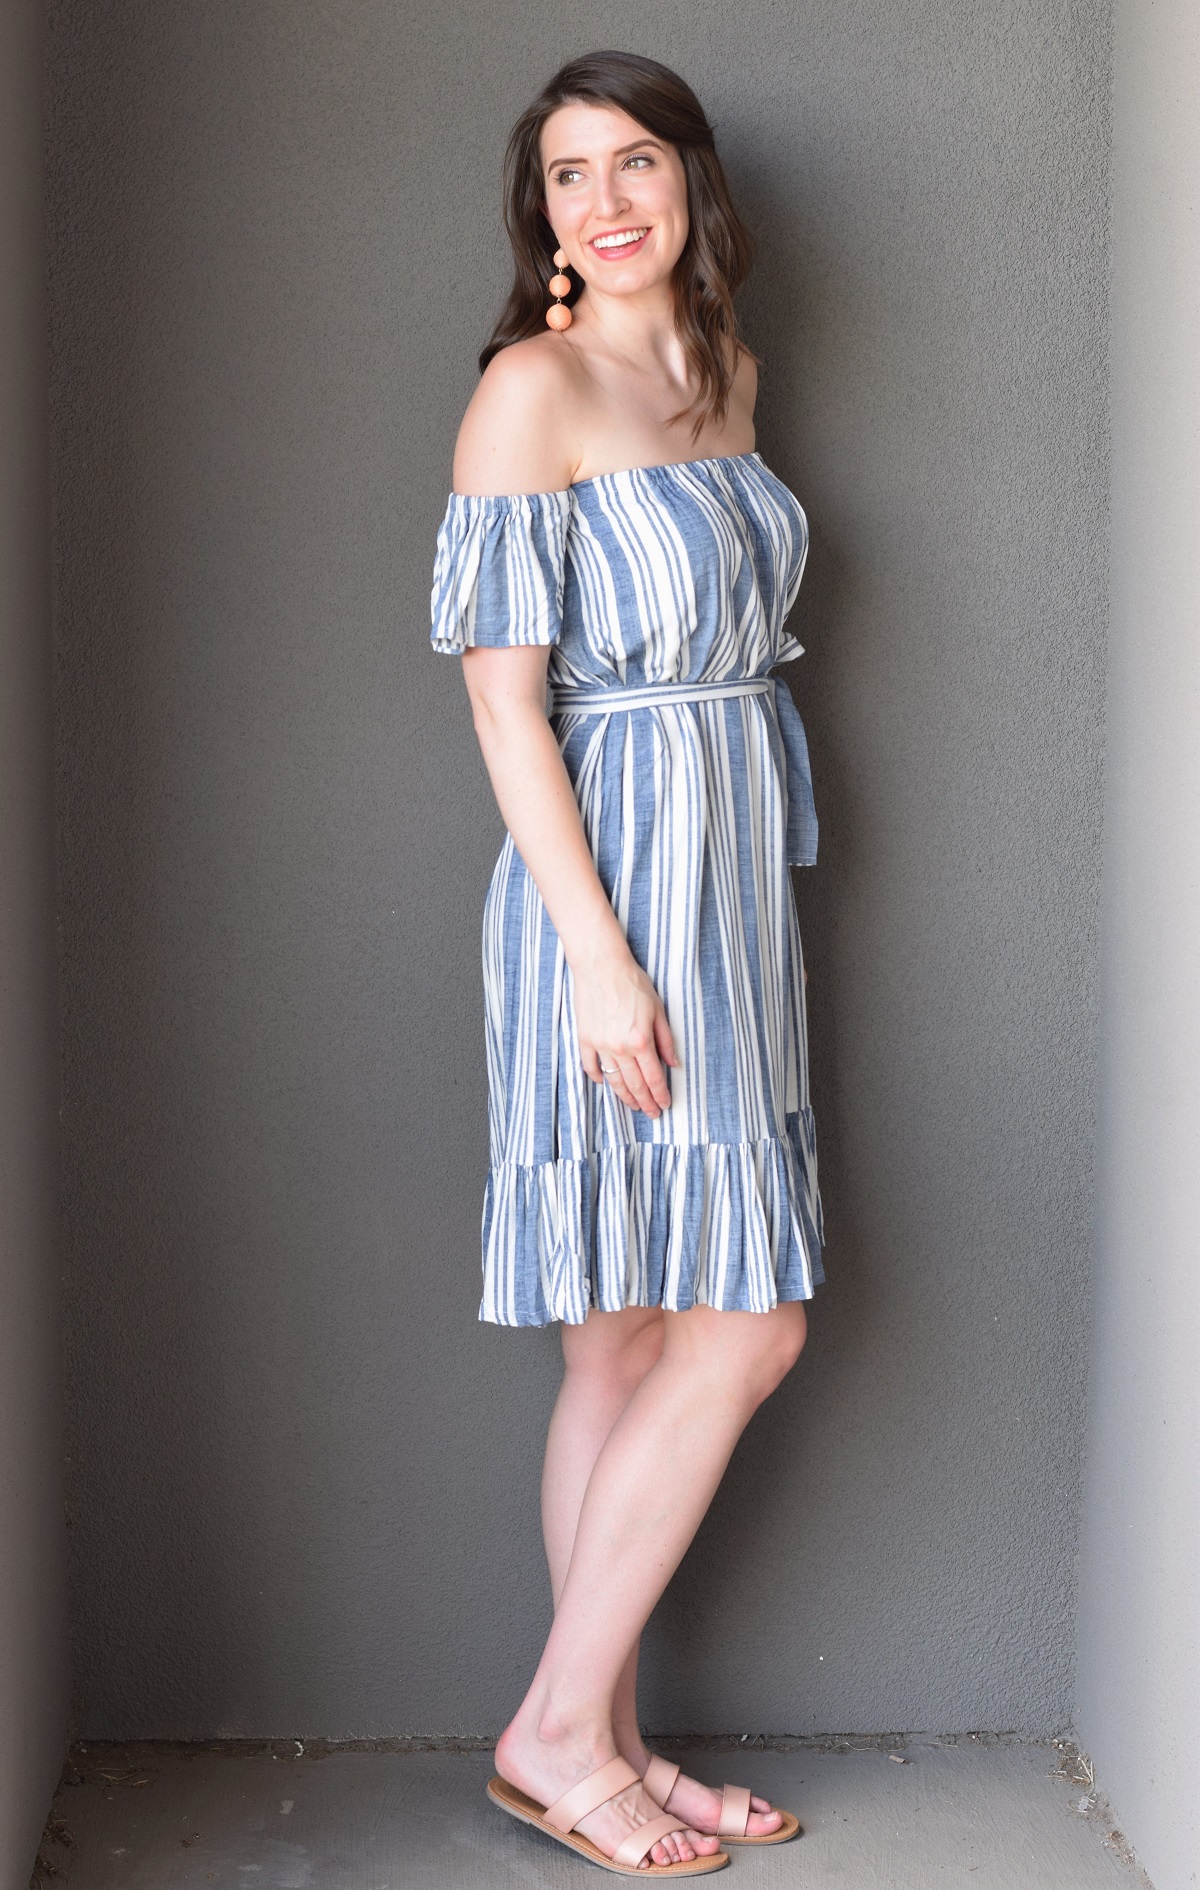

Clothing Details: Dress – Made by Me (similar striped dress) || Ball Earrings (Peach color sold in stores only) – Charming Charlie || Double Strap Sandals – Old Navy
Truth be told, this dress is almost exactly the same pattern as the one I shared in my off the shoulder maxi dress tutorial. The only difference is that I added a belt instead of elastic in the middle of the dress, and the hem line is shorter. I also have an insane addiction to stripes. I like to think these consistencies in my wardrobe make it more cohesive… I’m just going to keep telling myself that…

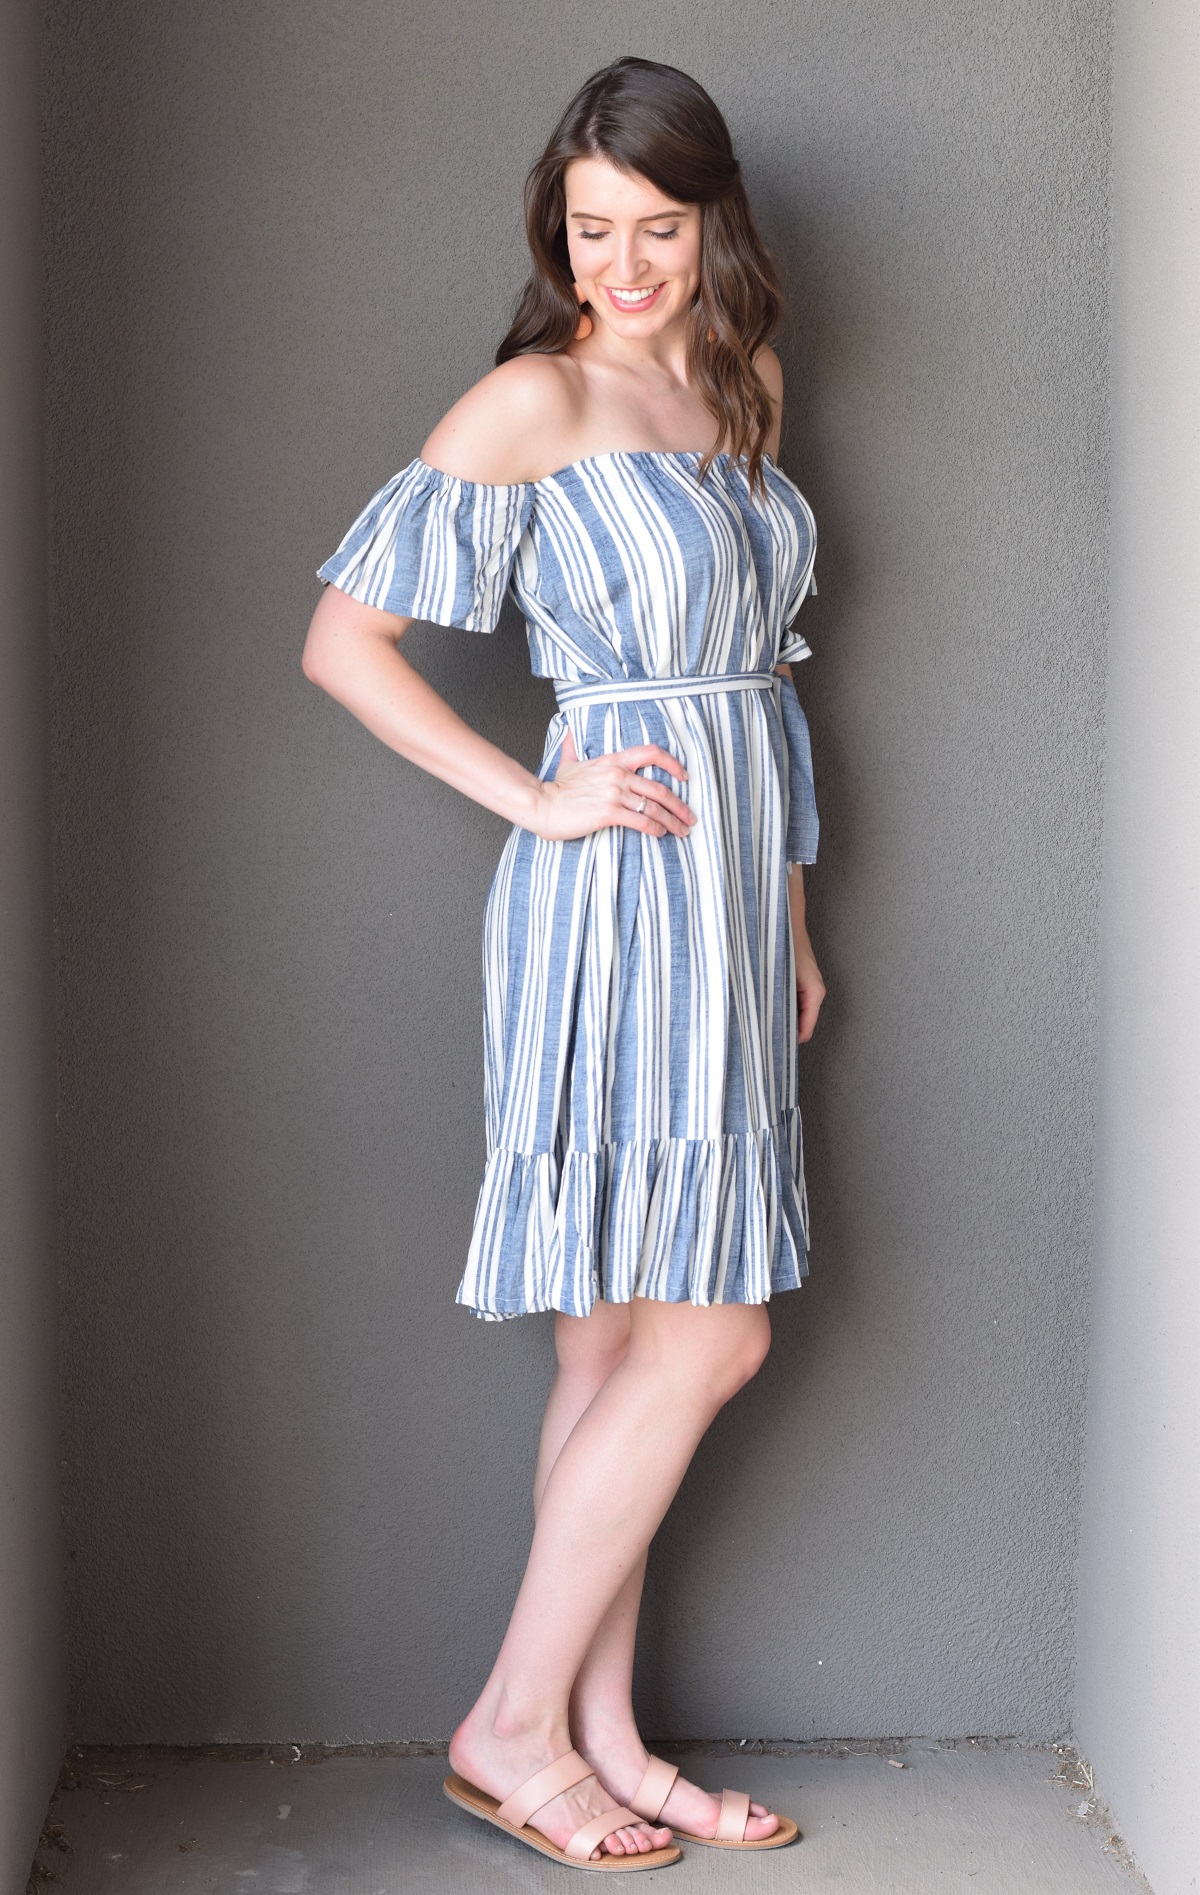
Needless to say, I’m pretty much obsessed with this dress. You know it’s a great one when it comes together with no hiccups and you put it on immediately after it’s finished, and that’s how this dress was for me. I found the perfect lightweight fabric at Joann’s and ended up using the backside of it because I liked the lighter color palette for Summer. It felt wrong initially, but I decided to break the rules for once and go for it. It’s so soft, so lightweight, and the fit is really flattering. Without the belt, it also transforms into an entirely different feeling dress, so it will be perfect to take along on my upcoming vacation to Hawaii!

If you are looking for a great beginner project, this one is a great option since the fit is so simple! It takes a bit of time to iron the seams and create the ruching along the bottom, but nothing really difficult. Check out the sewing tutorial below to make your own belted off the shoulder dress with a ruffle hem!

Belted Off the Shoulder Dress with Ruffle Hem
Supplies
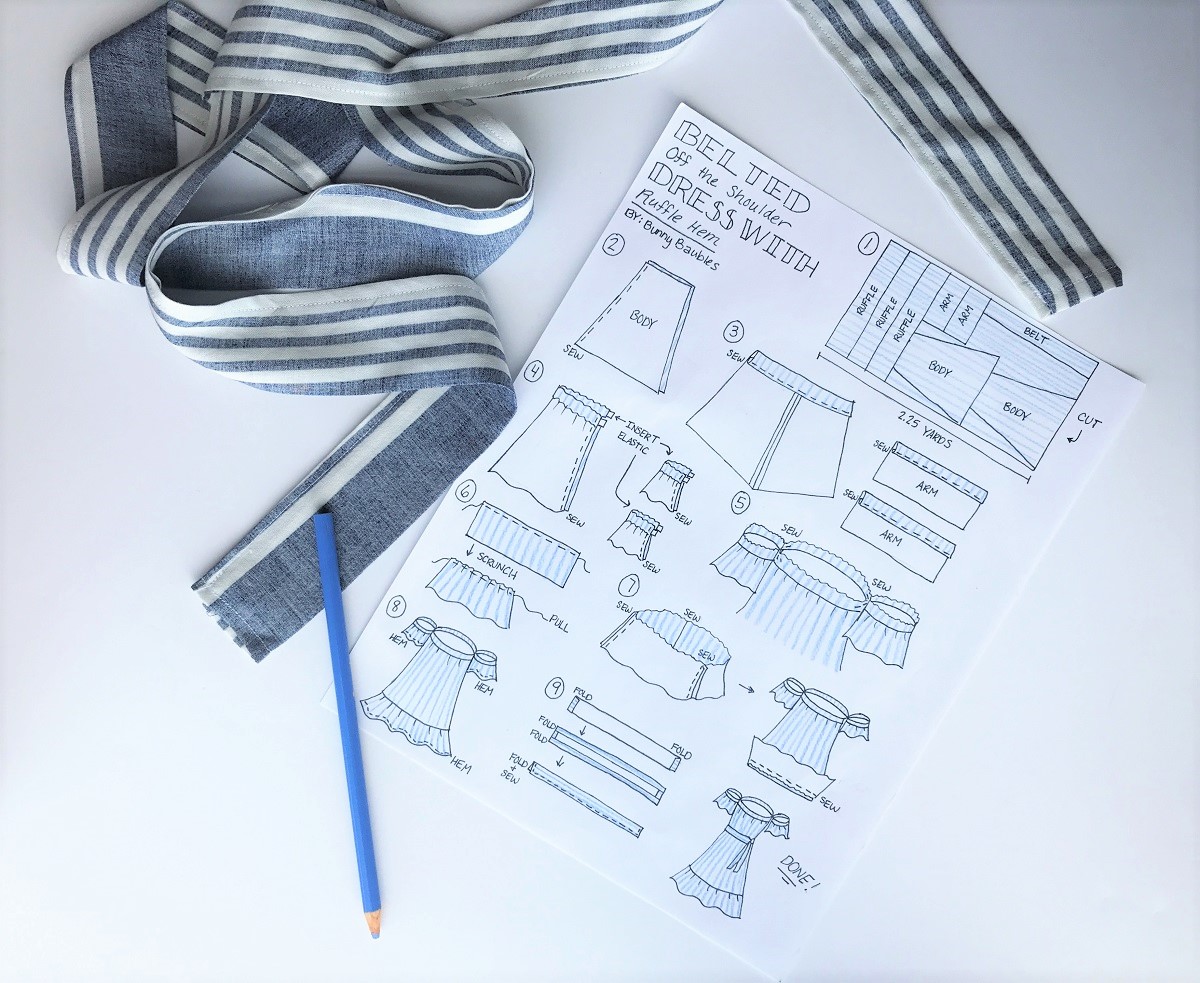
2.25 yards of Lightweight Fabric (Striped fabric from Joann’s)
3/8″ Wide Elastic – you will need enough length to cover 2x the width around your arm plus the width around the top of your bust, I used 1.5 yards
Thread to match
Sewing Machine
Pins
Large Safety Pin
Scissors
Measuring Tape
Iron and Ironing Board
Time
5 hours
Difficulty
Easy
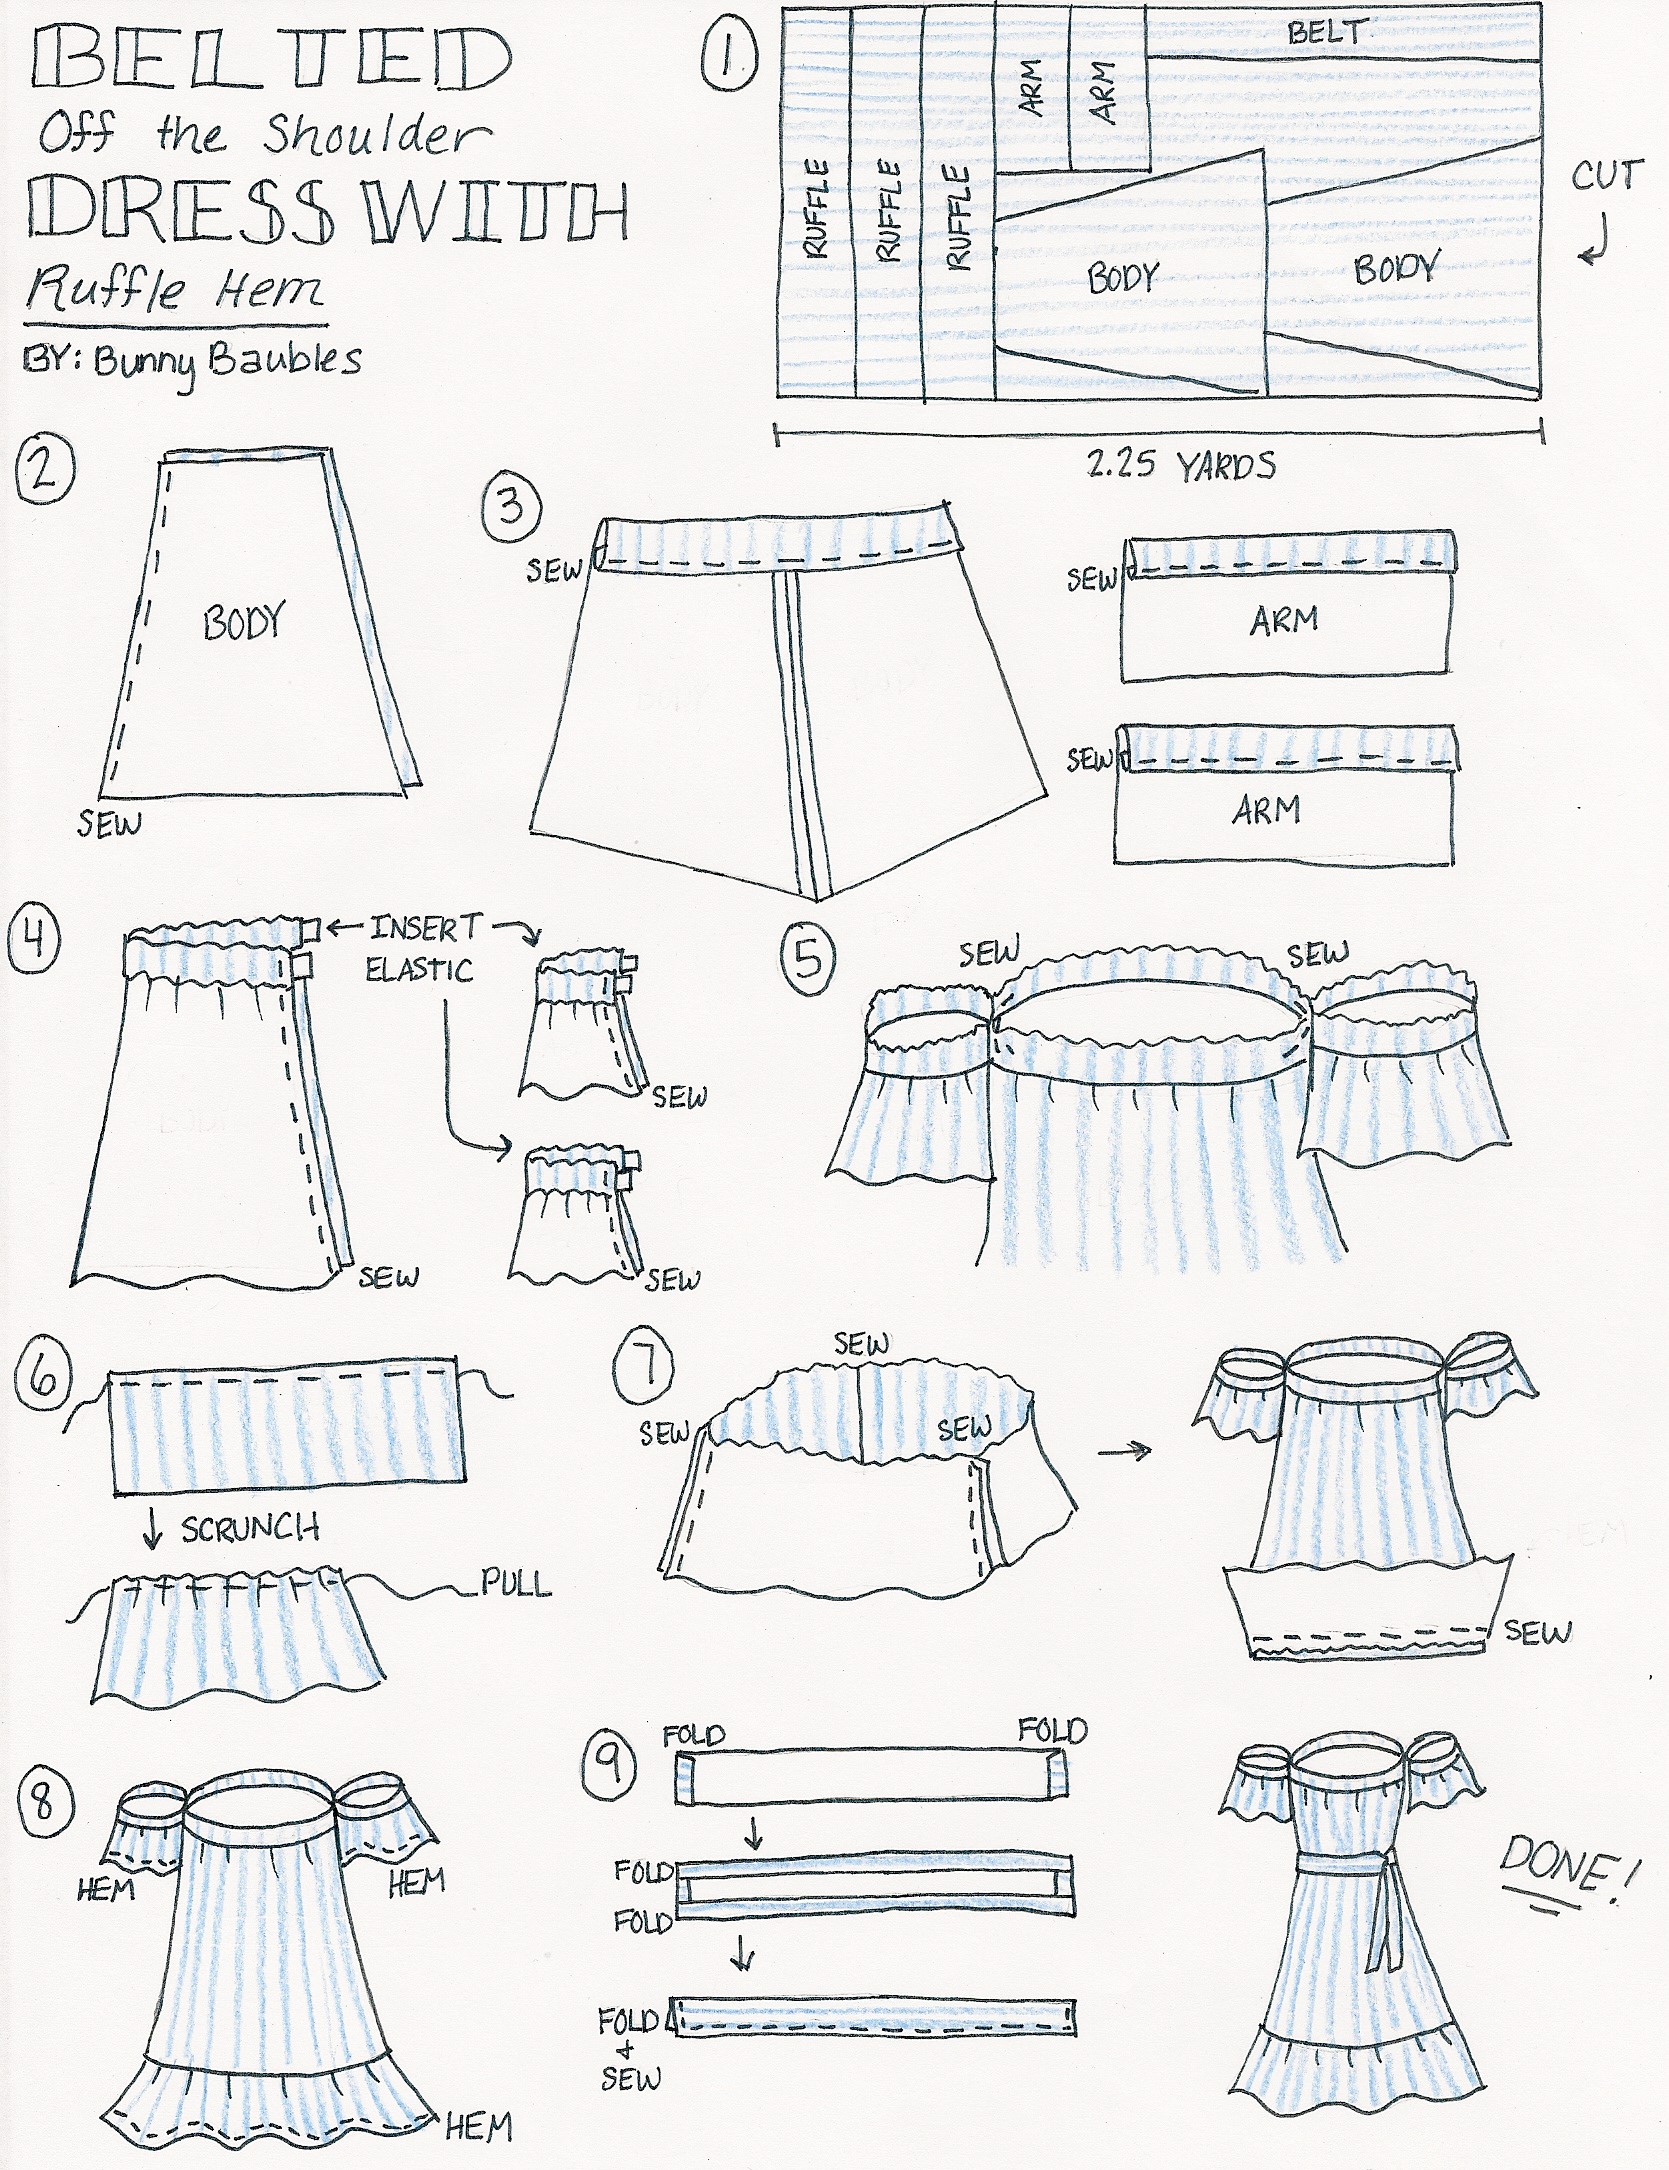
1. Start by cutting out all of your pieces per the instructions above. You will need two BODY pieces that are 28″ long with the top side being your bust measurement minus 8″ and the bottom being your bust measurement plus 2″. For me this was 22″ on the top and 32″ on the bottom. You will also need two ARM pieces that are 22″ wide by 8″ long, as well as 3 RUFFLE pieces. that are 54″ wide (or as wide as the fabric is) by 8″ long. For the belt you will need one BELT piece that is 5″ wide and as long as your waist measurement x2.
2. Start by placing one BODY piece on top of the other with the right sides of the fabric touching. Sew along one of the long, diagonal edge.
3. To make the pocket for the elastic, fold the top edge over 1/4″ to the backside and iron in place, and then fold it over 1″ more and iron and pin it in place. Sew along the folded edge about 3/4″ from the edge of the fabric to make a pocket for the elastic. Repeat this along the 22″ side of the ARM pieces.
4. Cut your elastic in to 3 pieces so you have two that are the measurement around your arm and one is the measurement around your bust. Attach a safety pin to the end of the elastic for the bust and thread it through the pocket of the BODY pieces making sure the elastic is sticking out of both ends. Repeat on the ARM pieces.
Fold the BODY pieces and the ARM pieces so that the edges where the elastic is sticking out are lined up with the right side of the fabric touching, and pin along the side of the fabric. Sew over the elastic and along the edge of the fabric on the BODY pieces and ARM pieces. Flip all of the pieces so that they are right side out.
5. The next step is to connect the ARMs to the BODY. Pin the seam of the ARM pieces just at the top to the seams of the BODY. Sew the ARMs to the BODY with a 1-2″ seam.
6. To create the ruffle hem on the dress, sew a basting stitch along the top edge of the 3 RUFFLE pieces about 1/2″ from the edge of the fabric. Hold one piece of thread at the end of each piece and push the fabric away from you to allow it to scrunch up. Repeat on each of the RUFFLE pieces until they the length of each of them added up is the same measurement as the bottom hem of the BODY. More instructions on creating a ruffle here.
7. Take each of the RUFFLE pieces and sew them together along the short sides. Turn the entire ruffle inside out and line it up so that the ruched side of the RUFFLE is lined up with the bottom hem of the BODY. Pin them together and sew along the seam you made in step 6.
8. To complete the dress, hem the bottom edge of the dress and the bottom edge of the sleeves to your desired length.
9. To create the belt, fold the short ends of the BELT piece over 1/4″ to the backside of the fabric and iron down. Then, fold the long edges of the fabric over 1/4″ to the backside of the fabric and iron down. Fold the entire belt in half along the long side so that the right side of the fabric is facing out, iron, and pin closed. Sew along all of the open edges of the fabric to create the belt. Tie it around your waist, and you’re done!

So creative and adorable. I don’t have a sewing machine, but this will definitely be on the back-burner! Thanks for sharing!
LikeLiked by 1 person
Awesome, I’m so glad to hear it! Thanks!
LikeLiked by 1 person
You are so talented! I like how you put “easy”… probably not for me haha. I can sew things that are square and that is about it!
LikeLiked by 1 person
Aw you are too sweet! Thank you! So it takes a while but the great thing about this dress is that there are no fitting issues – it is pretty much fool proof on the fit! That’s why I consider it an easy one, I didn’t have to seam rip anything which is usually an issue for me haha
LikeLiked by 1 person