
My closet is so packed to the brim it’s insane. In my defense, it’s really small, but it pushes me to live a simpler life with fewer things. I keep trying to clean out my closet and every time manage to get rid approximately one item. Then I come up with another sewing project and fill it up with 4 more new things… #crafterproblems. Since my closet is about to burst, I have to focus on making pieces that are more versatile. Let’s get down to the basics, shall we?

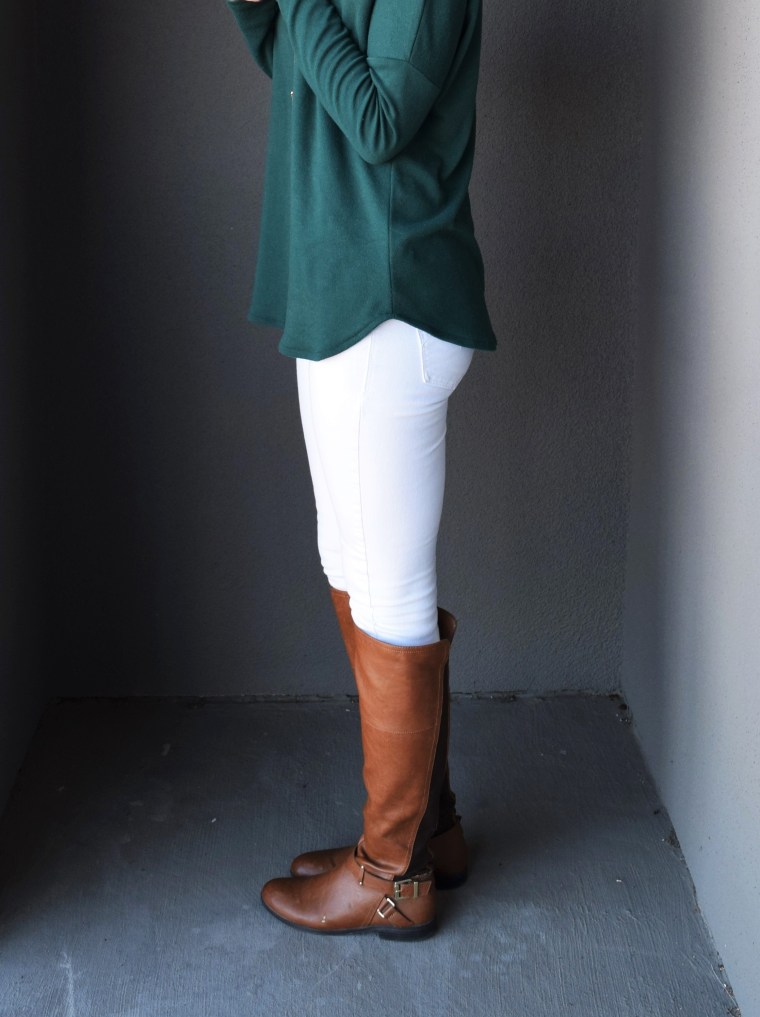
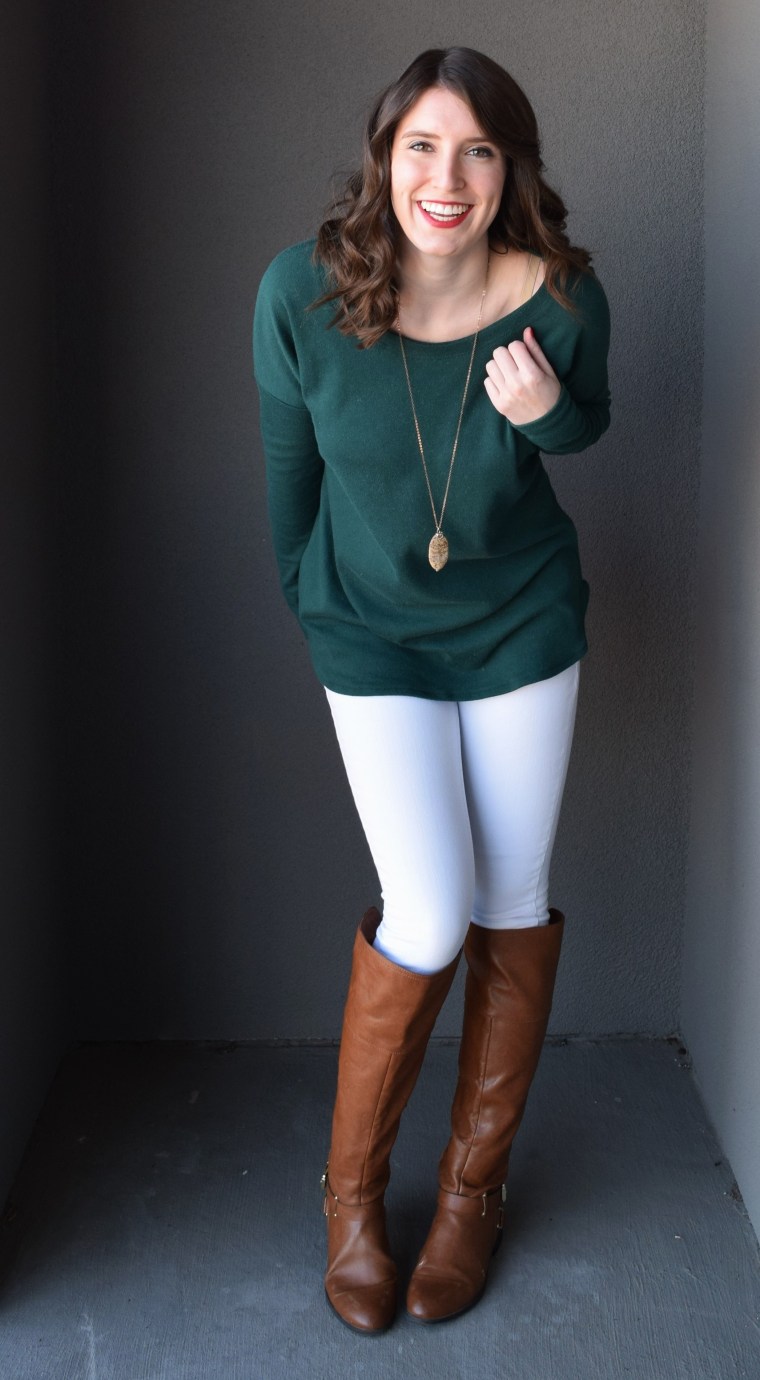
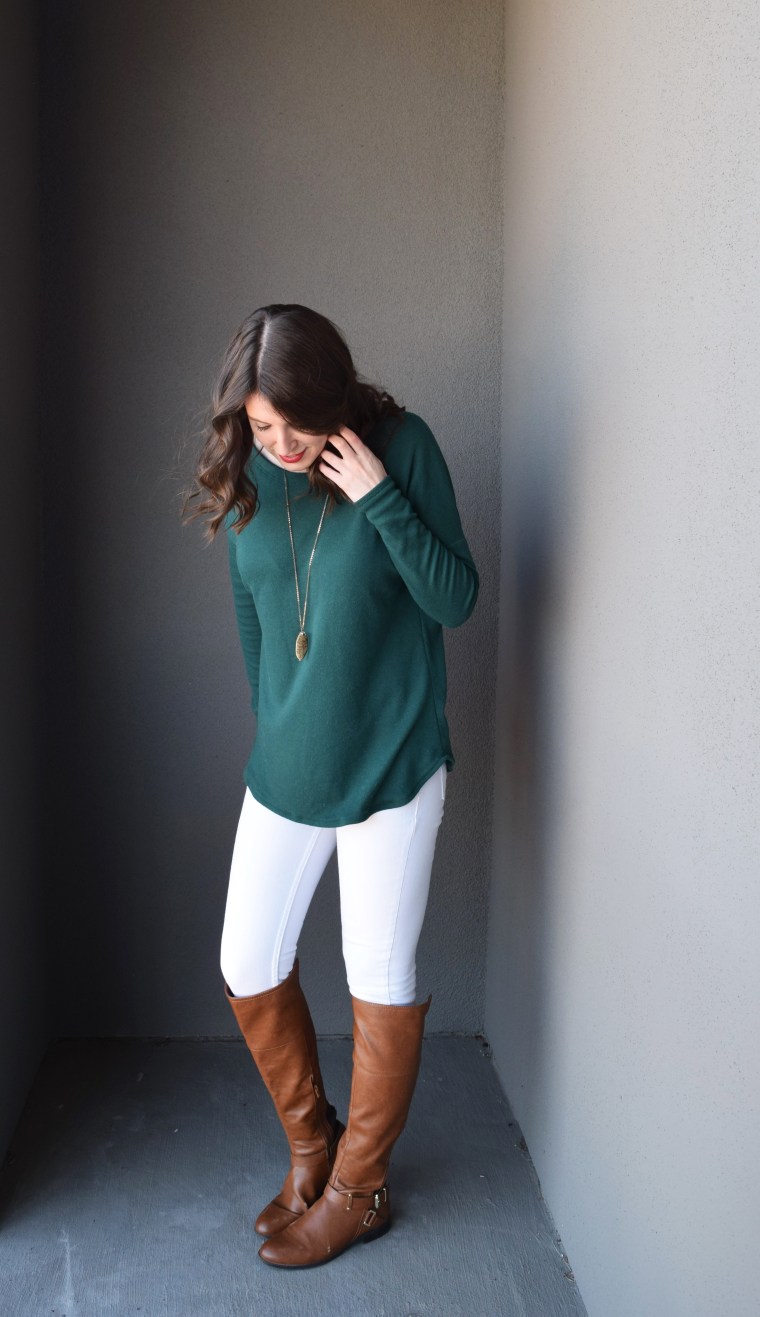
Outfit Details: Shirt (made by me!) || White Jeans || Boots || Necklace (similar)
Sometimes the basics are the hardest to find. For some reason, I can never seem to get long sleeve tees that fit in the body and have long enough, tailored arms. I like the arms to come down over my hands so I can wear them like gloves when I’m freezing in the office. Maybe that’s not the normal purpose, so I guess I understand why I can’t find these fancy shirts in the store…
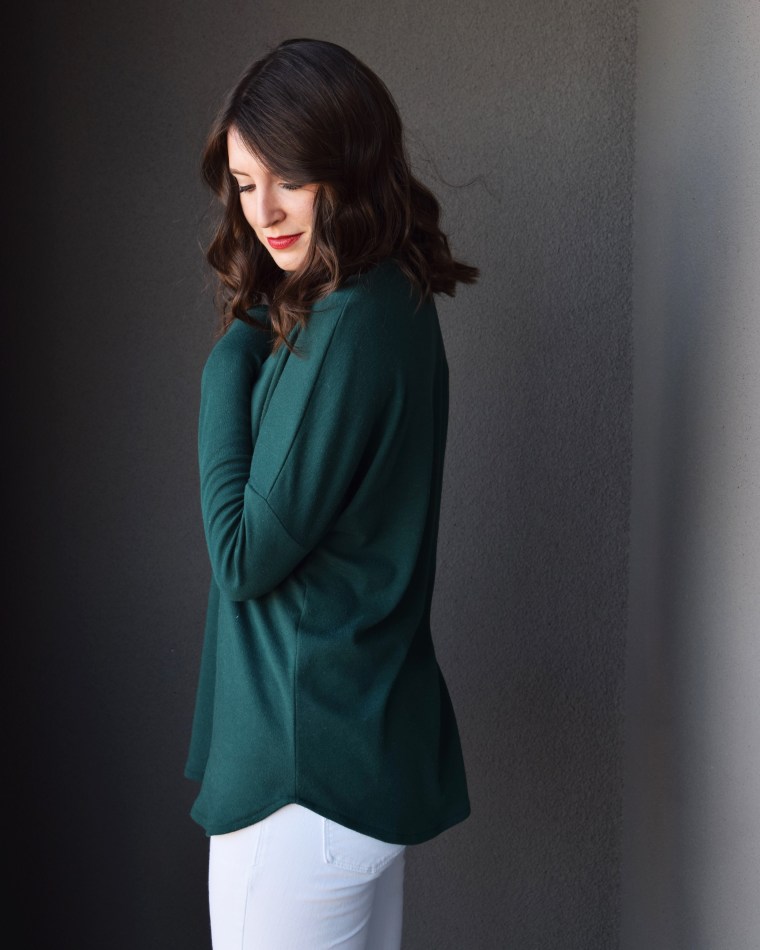
Anyhoo, if there is a need, there is a sewing project! Basing this drop shoulder pattern off of some shirts I had already owned, this top came together quite quickly. The shoulder design and the scooped hem make this tee special enough, while still being a basic. I also used this pattern to create my Valentine’s day dress! I have worn this shirt so many times this winter already, mixing and matching it with different pants, boots, and scarves, and will be sporting it for St. Pattie’s Day coming up since it’s the perfect green!
Drop Shoulder Long Sleeve Tee Tutorial
Supplies:
1 yard of stretch jersey
thread to match
sewing machine
scissors
pins
measuring tape

1. Fold your piece of fabric inward from both sides to meet in the middle so the overall length across is 30″ and the height is about 60″. Cut out the pieces shown above so you have a FRONT, BACK, two ARMS, and two NECKS. The FRONT and BACK pieces should measure about 14″ across on top (folded), 11″ across on bottom (folded), and 35″ long. The arms should be 7″ across on top (folded), 3.5″ across on bottom (folded), and 25″ long.
2. Place your FRONT and BACK back to back and line up the shoulders. Sew seams along them.
3. Unfold your FRONT and BACK pieces so they are wrong side up, and pin the wide part of your ARM pieces to the FRONT and BACK pieces at the arm sections. Sew along these seams.
4. Fold the FRONT and BACK pieces to line up wrong side out and line up the ARM pieces so that they are folded in half on themselves. Sew a seam from the ends of the ARM pieces along the underside of the arm to the arm pit, and then continue on to sew down the sides of the bodice. Repeat on the other side.
5. Flip the shirt right side out. Line up the NECK pieces along the front and back of the neck and pin in place. Sew 1/4″ from the edge of the fabric. Flip the NECK pieces inward and sew 1/4″ from the edge of the seam again to hold them in place. Hem the arms of the shirt to the desired length, XL in my case.
6. Complete the bottom hem of the shirt by cutting it to the longest desired length. To create a scoop shape, cut rounded corners on the sides, and then hem the bottom of the shirt.

Tq, it so cool and i like it
Btw, can i use the other material of fabric?
LikeLiked by 1 person
Thank you! I think you should be able to use anything with stretch that is not incredibly heavy weight.
LikeLike
ok, tq so much
LikeLiked by 1 person
The cutest top I’ve seen. Can wait to give it a go tonight. Been looking for something like this blouse for awhile now. Thank you for posting your how to.
LikeLiked by 1 person
Thanks so much Marjorie! The fit of this top is so comfy too. Hope you enjoy!
LikeLike
Goodness! This is too pro for me. Wish I could sew lol. But it looks lovely on you!! Lovely color too
LikeLiked by 1 person
Thank you so much! It’s taken many years of practice so don’t worry about that 🙂 if you’re looking for some practice projects the pencil skirt or maxi skirt projects I have are a great beginner ones!
LikeLike