
When you go to an outrageous tea party or want to be incredibly fancy, petit fours are the perfect dessert. The dainty little bite sized bursts of sweetness taste just as good as they look. A light cake, filled with tart fruit filling and an incredibly sweet glaze can be popped into your mouth quickly so you don’t have to carry it around or fumble with any wrapping, making it quite an elegant little dessert.
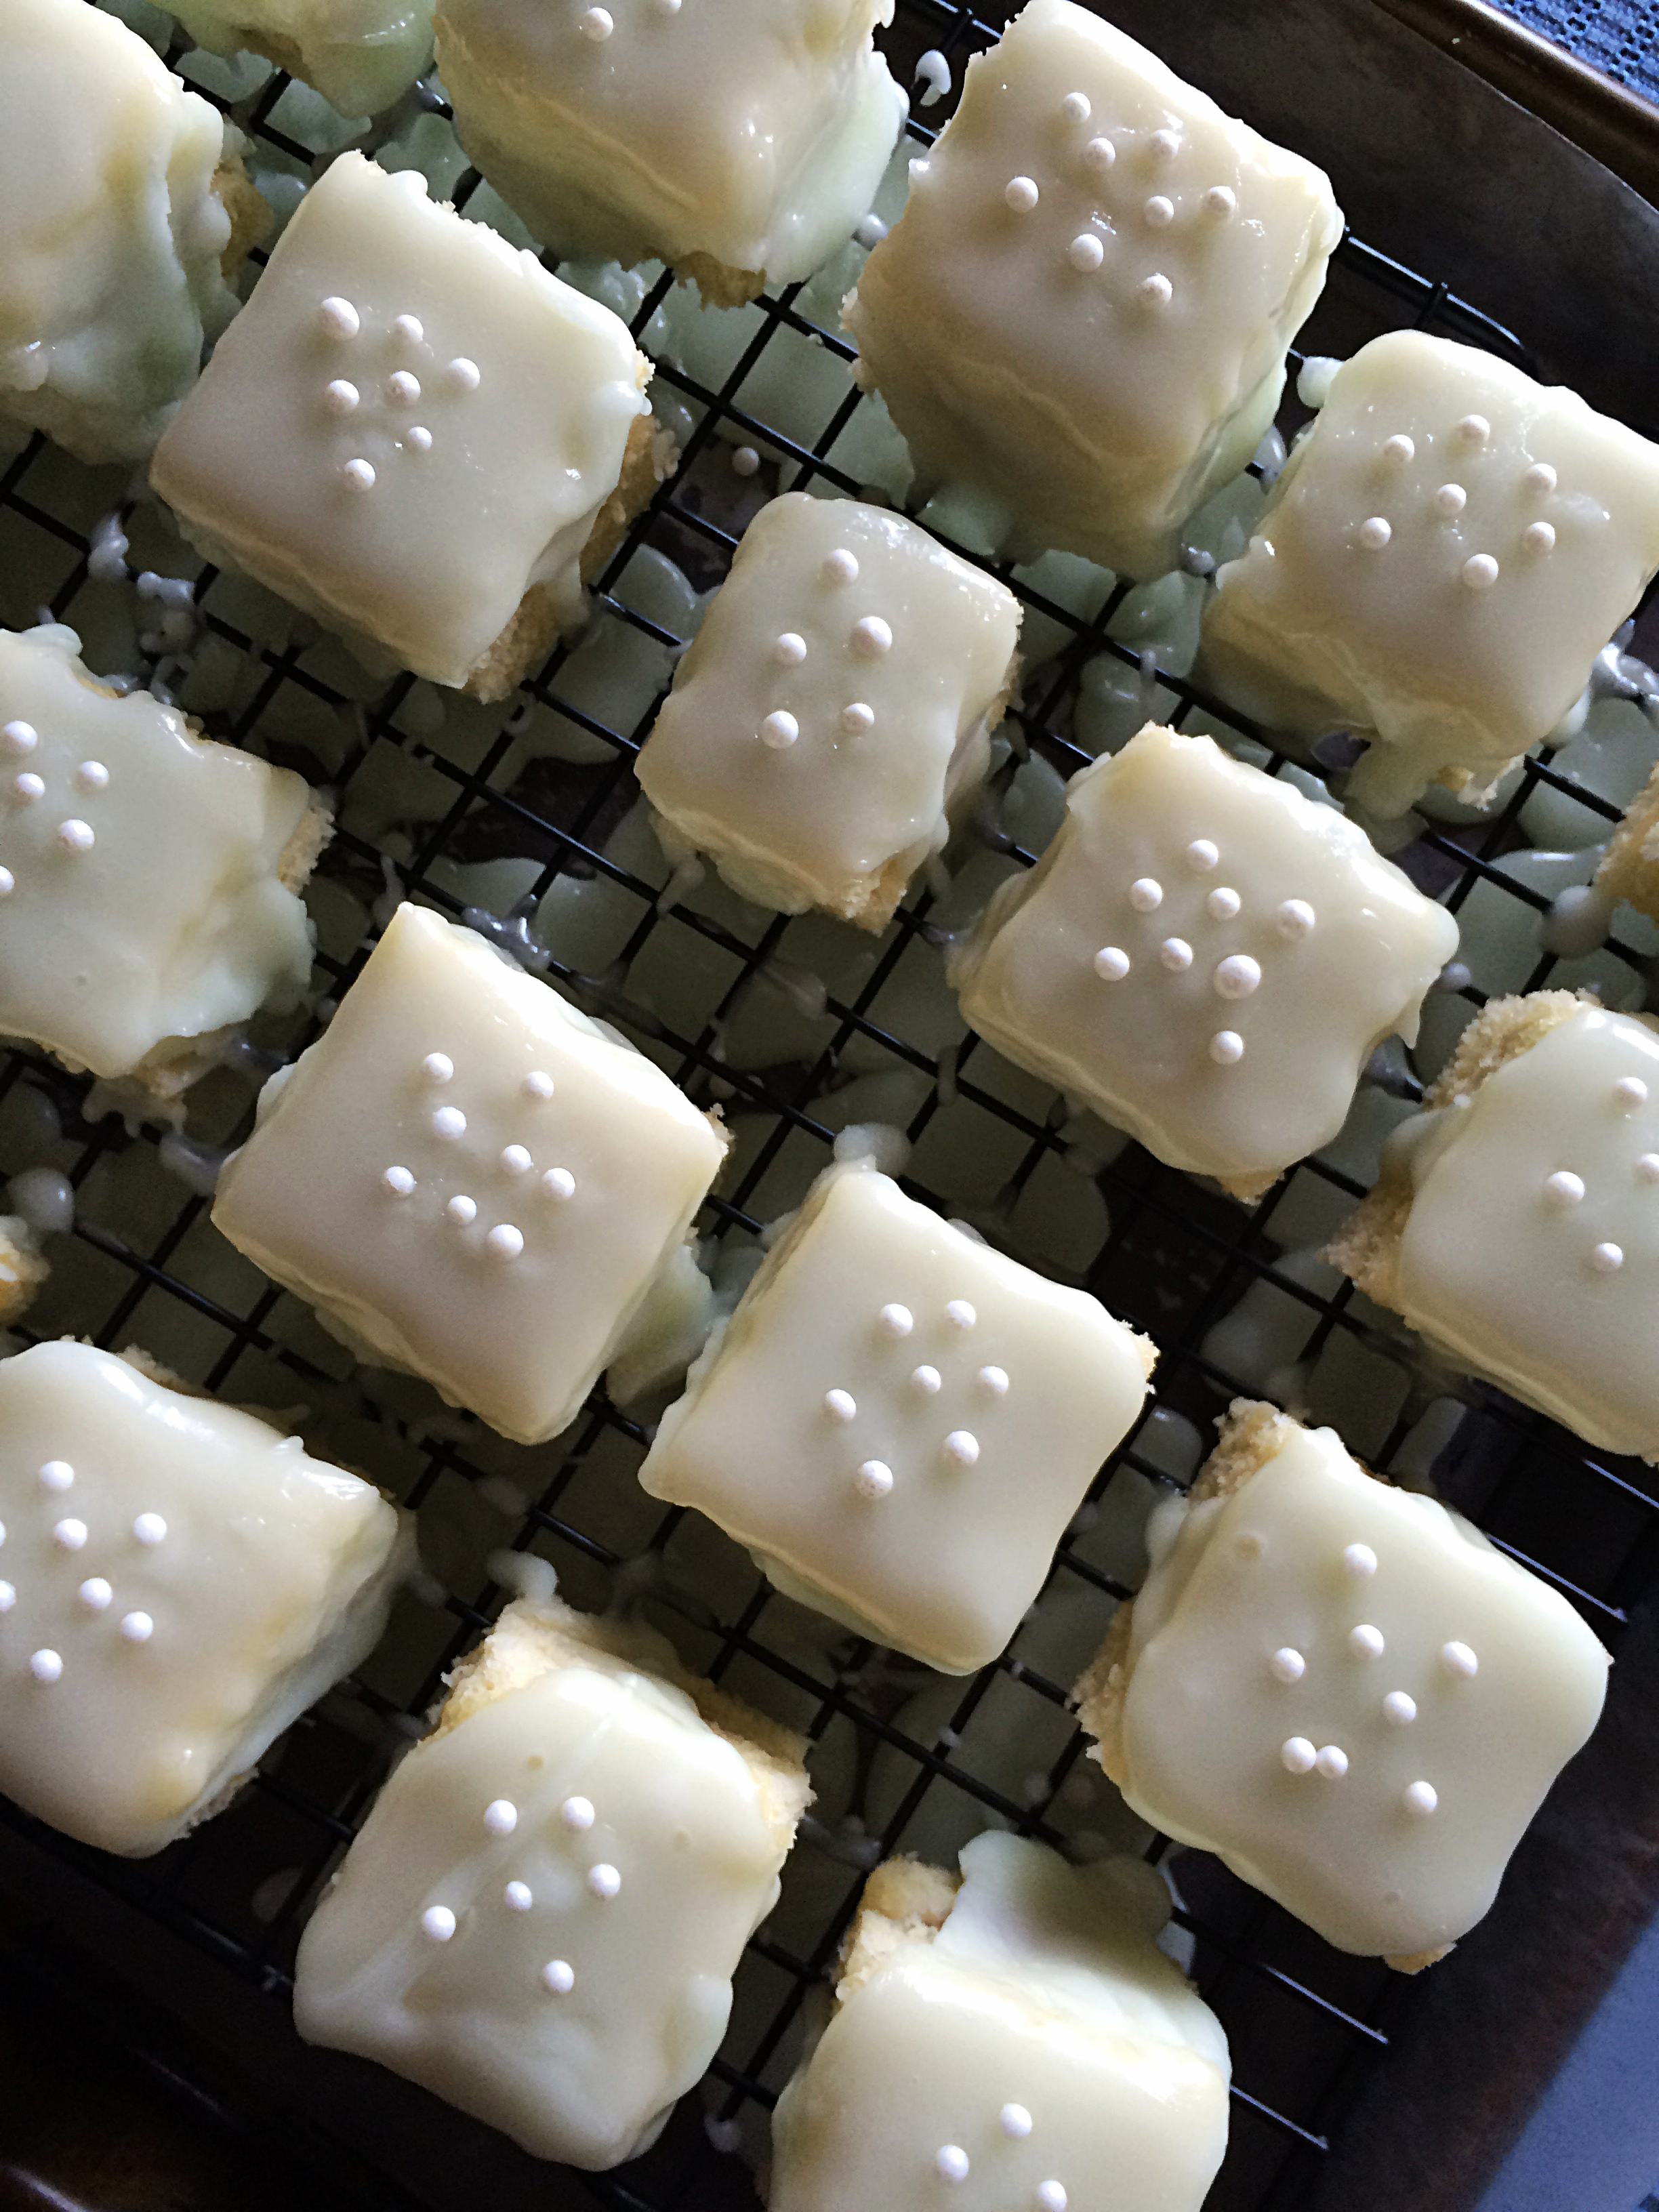
Now I know what you’re thinking. Julia, this sounds like an awful lot of work. Though most petit fours are measured for precise sizing and fully covered with a thin layer of icing, mine are a bit less of a headache. I thought that the haphazard drips of icing on the sides were beautiful, and having different sized squares meant people could pick a bigger or smaller bite depending on their hunger level! It’s safe to say, I’m on your side. Normal petit fours: annoying and difficult. Bunny Baubles casual petit fours: simple and fun!


I went with a key lime cake since I was already making a chocolate cake for Maggie’s birthday party and needed some variety. This recipe results in a light, vanilla cake with a subtle hint of lime. To add more pop to the flavor of the cake, I made sure to use raspberry for the filling and add lime juice to the glaze instead of the traditional vanilla. The trick to petit fours is that they have an intensely thick glaze made with corn syrup. Thick enough to cover the cake, gooey enough to trickle down the sides. Yummmm.


If you’re looking for something refined for your next party that isn’t too terrifying to attempt, try out these casual key lime petit fours. Decorate with candy pearls or confetti sprinkles and impress your guests without too much hassle!

Casual Key Lime Petit Fours
Ingredients:
Key Lime White Cake:
1.5 cups Flour
1/4 tsp. Baking Powder
Pinch of Salt
1/2 cup Butter
1/4 cup Shortening
1.5 cups Sugar
3 Eggs
1/2 cup Milk
1/2 tsp. Vanilla
1 tsp. Key Lime Zest
1/8 cup Key Lime Juice
Key Lime Petit Four Glaze:
6 cups Powdered Sugar
1/4 cup Light Corn Syrup
1/4 cup Water
1 tsp Key Lime Juice
Gel Food Coloring if desired
Other Ingredients:
Raspberry Jelly for filling
Sprinkles for decoration
1. Preheat the oven to 325 degrees F. Take a rimmed, shallow baking sheet and cover with a piece of tin foil. Spray the tin foil with cooking spray and set aside.
2. To make the cake, beat together the butter, shortening, and sugar until smooth. Add the eggs one at a time, mixing after each one. Add the baking powder and salt to the mixture, then add 1/3 of the flour and 1/2 of the milk. Mix until combined, then add 1/3 more flour and the other 1/2 of the milk. Finish with the rest of the flour, key lime zest, and key lime juice.
Pour the batter into the middle of the baking sheet. Lightly spread the batter toward the edges of the pan so you have an even layer of 1/2″ thick batter. Don’t worry too much about the edges because you will cut them off later. Bake for 22-25 minutes, or until a toothpick inserted into the middle comes out clean. Cool the pan on a cooling rack for 20 minutes.
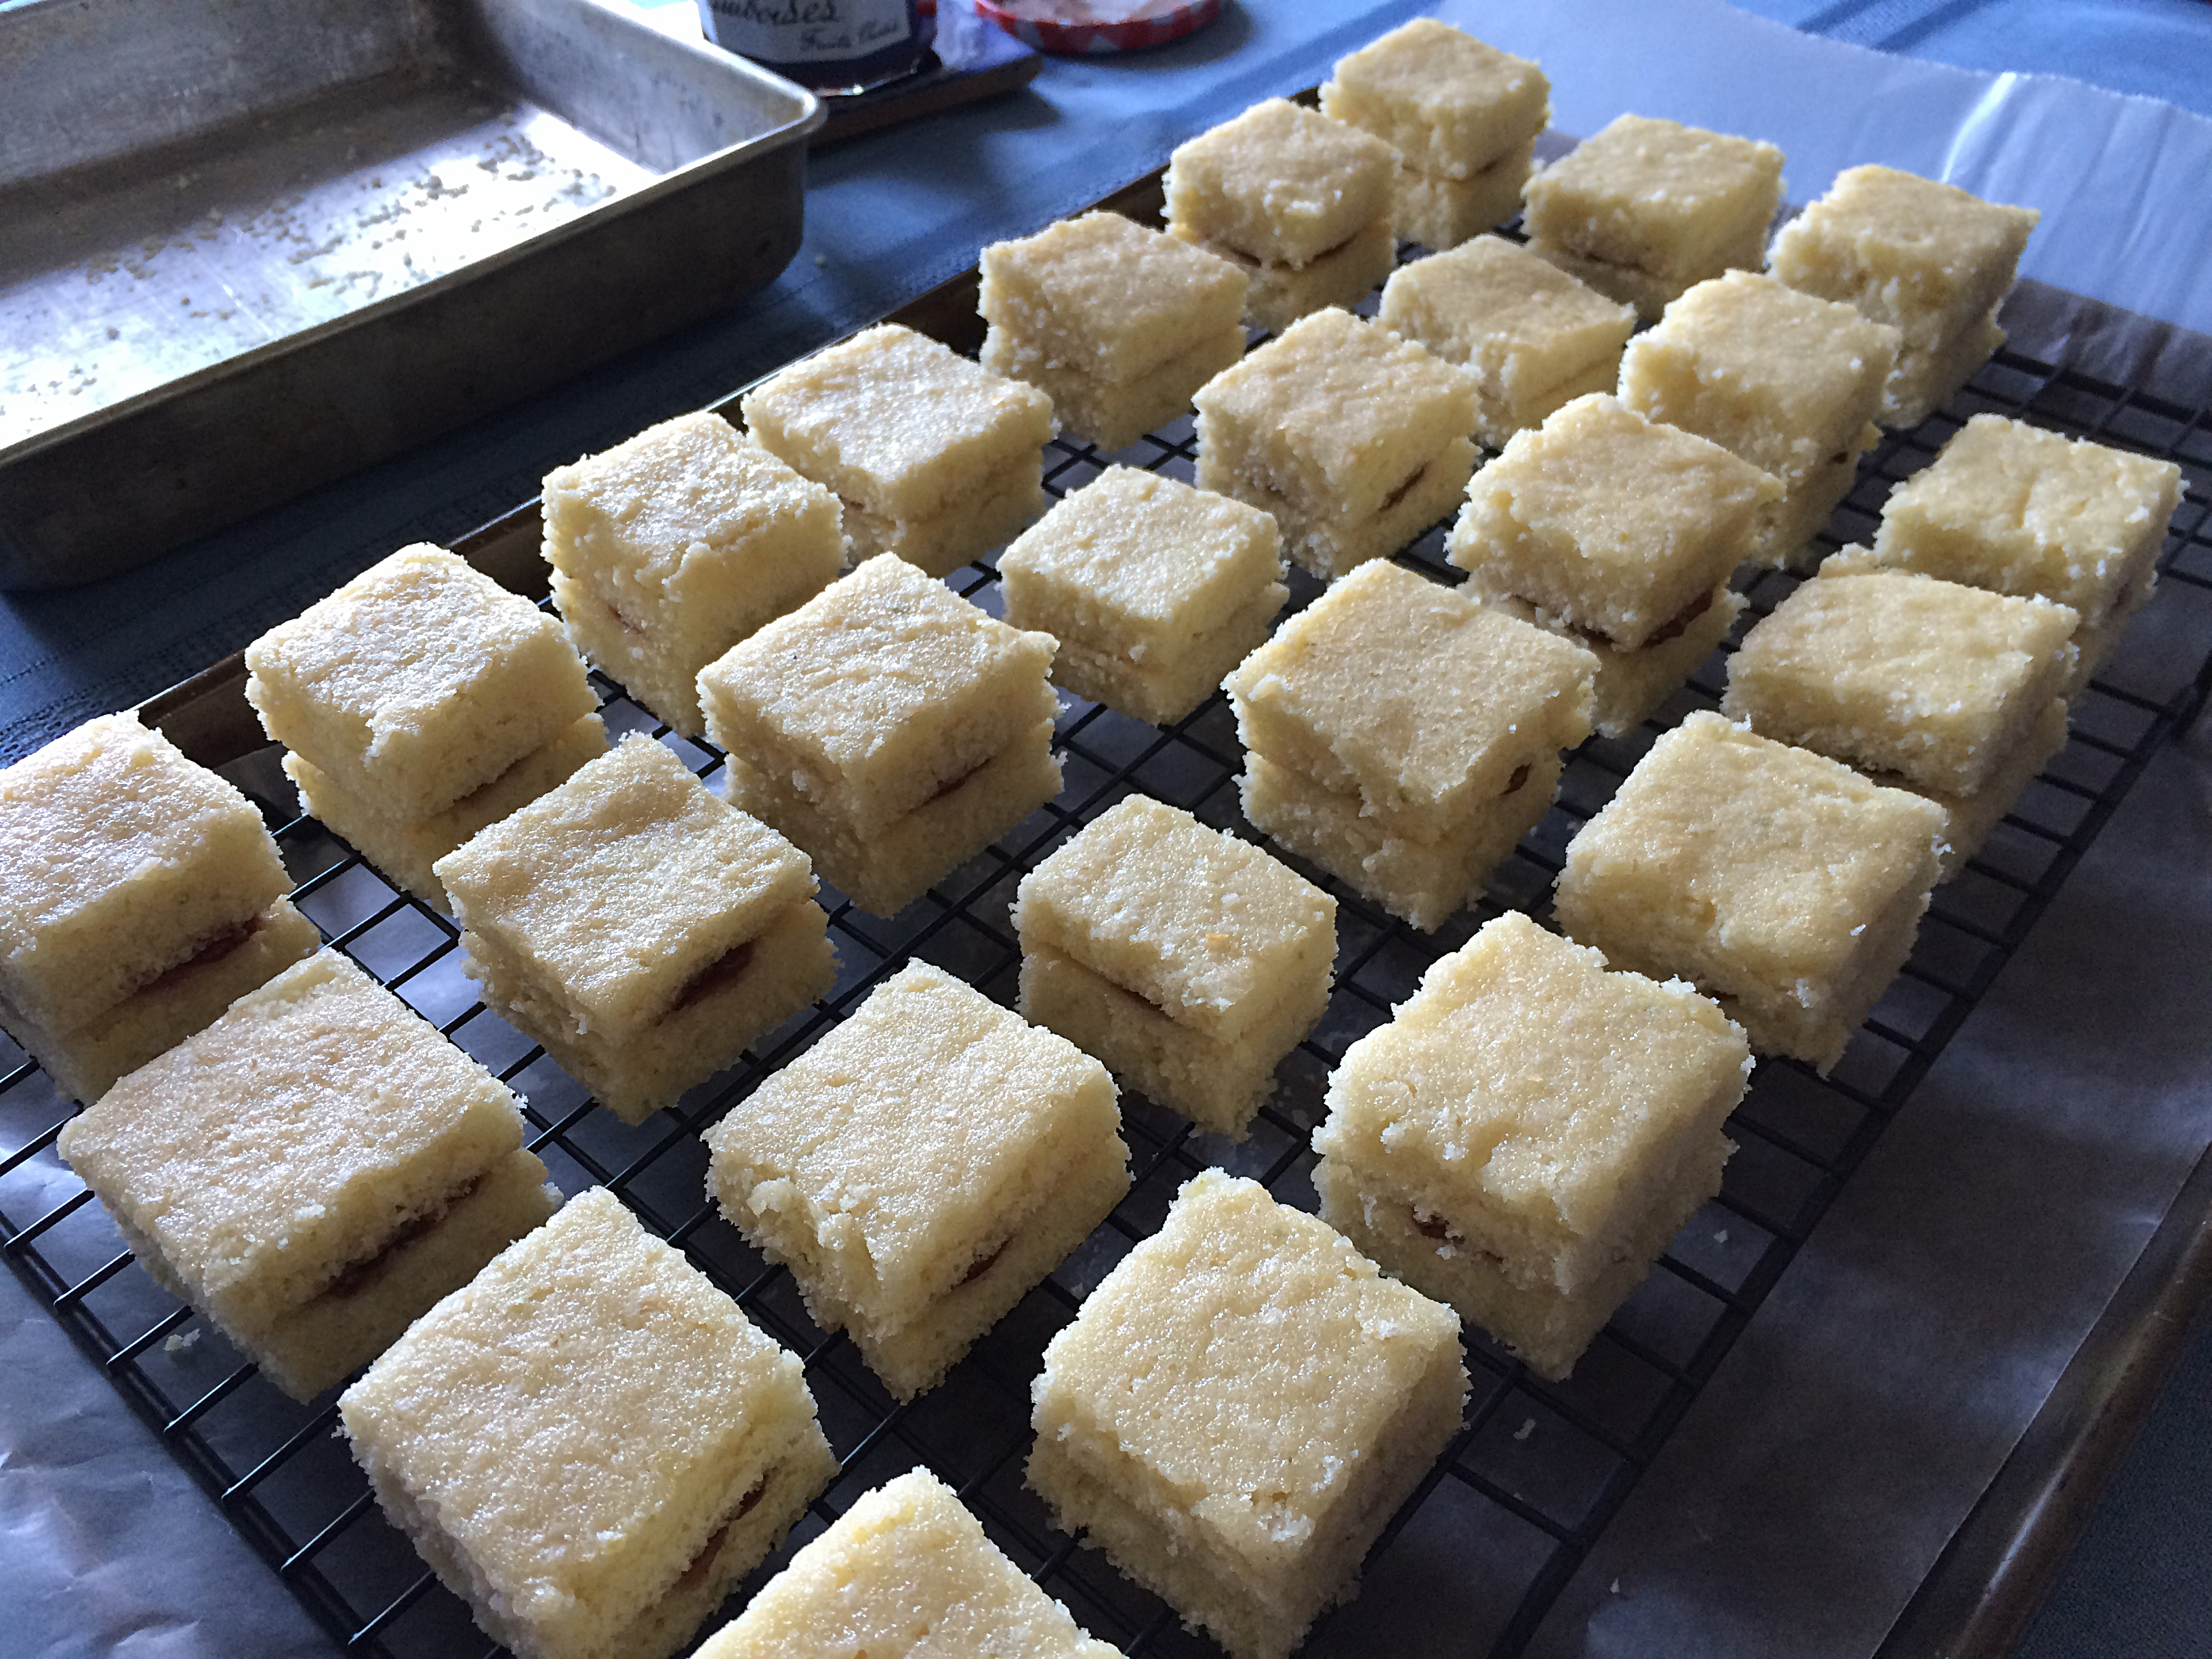
3. Time to make our squares! Cut the dark, thin edges off of the cake, then slice the cake into approximately 1.5″ x 1.5″ squares. If they are not perfect, don’t worry – the squares that are all in one row tend to match up in size so you will be able to stack matching shapes. One by one, take the squares and match them up in size. Place a quarter sized dollop of jelly on one piece of cake and top with it’s matching piece. Repeat for all of the pieces of cake.
4. To make the glaze, set a heat proof bowl over a pot of simmering water (not touching the water). Mix together the powdered sugar, corn syrup, water, and key lime juice together and stir until smooth. Stir in the food coloring – I used 2 drops of green for these little guys – and mix until your desired color is reached. Remove from the stove and cool for 5 minutes.
5. The last step is to pour the glaze over each cake until the glaze starts to drip down the sides. I did this on a cooling rack so that the extra glaze could fall off. Make sure you finish one cake before moving to the next, if you add more glaze to a cake after it has already started to harden it will turn out clumpy. Finish each cake with sprinkles – they will stick easier the sooner you pour them on!
Store the cakes in air tight containers in the refrigerator until you are ready to serve.
Recipe by Bunny Baubles Blog
