I have to tell to you all, I had never done many of these things before my most recent cake project and have successfully made many 2 layer round cakes. But once I was thinking about going for a 4 layer cake for my roomie’s birthday, I knew I needed to get serious.
I also don’t claim to be an expert cake maker. My cakes aren’t perfect works of art, but that way you can tell I made them, and they didn’t come from a bakery!
I did a crazy amount of Pinterest research and found that this list culminates all of the most important tips for making a layered cake. Follow these and avoid a seriously sad, droopy cake!
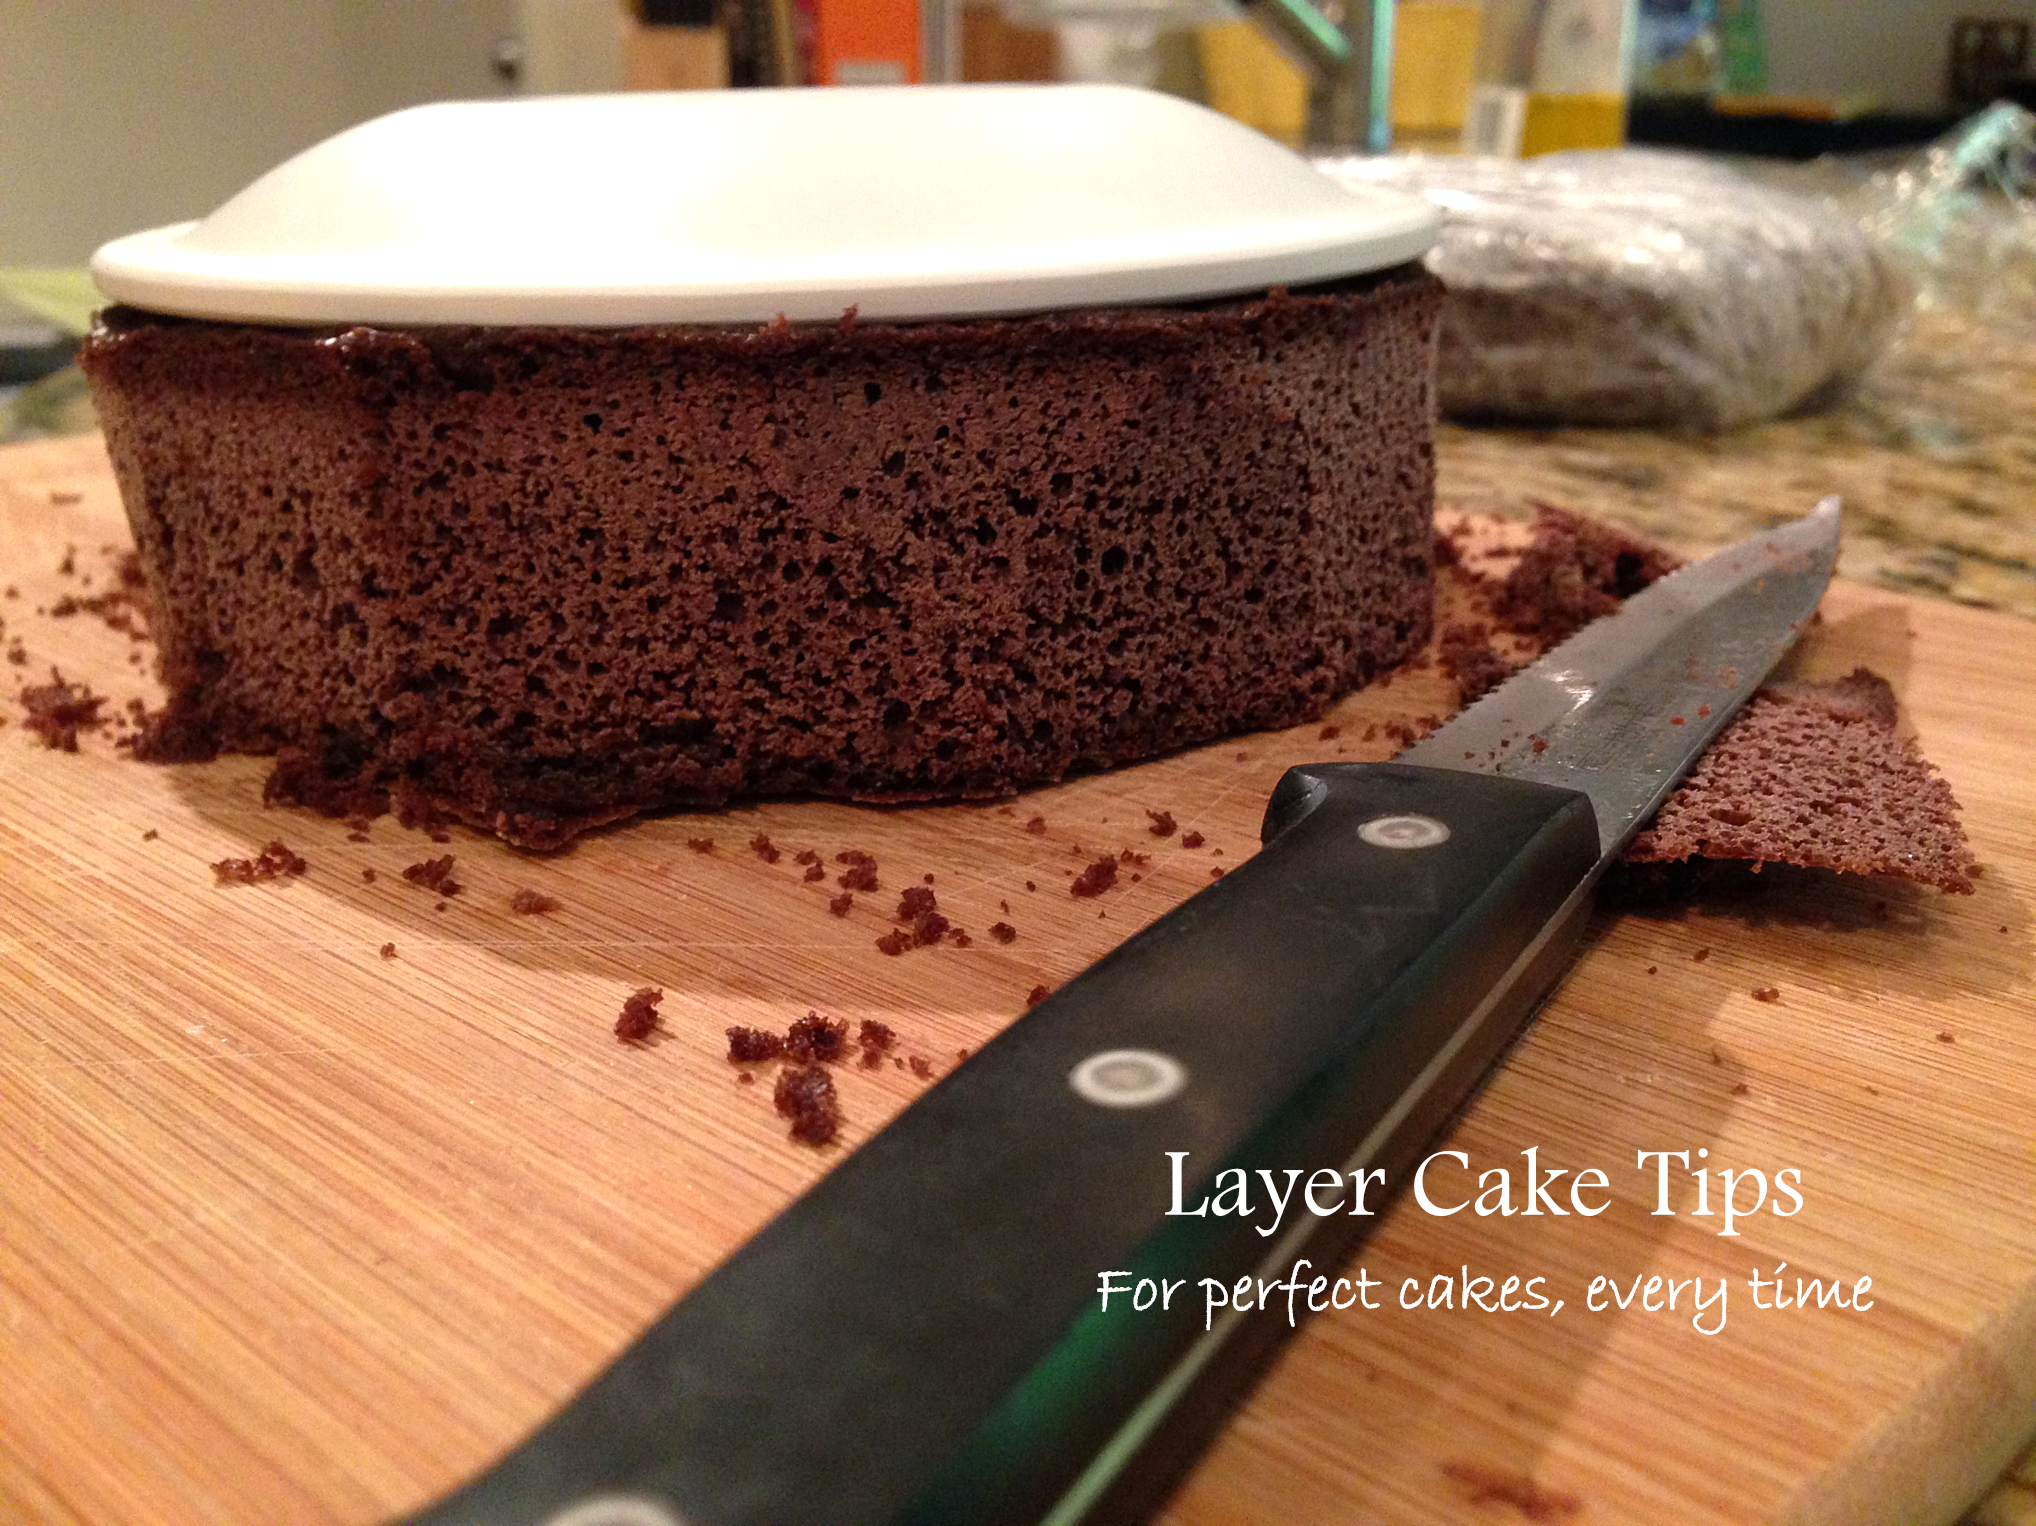
Layer Cake Tips – For Perfect Cakes Every Time
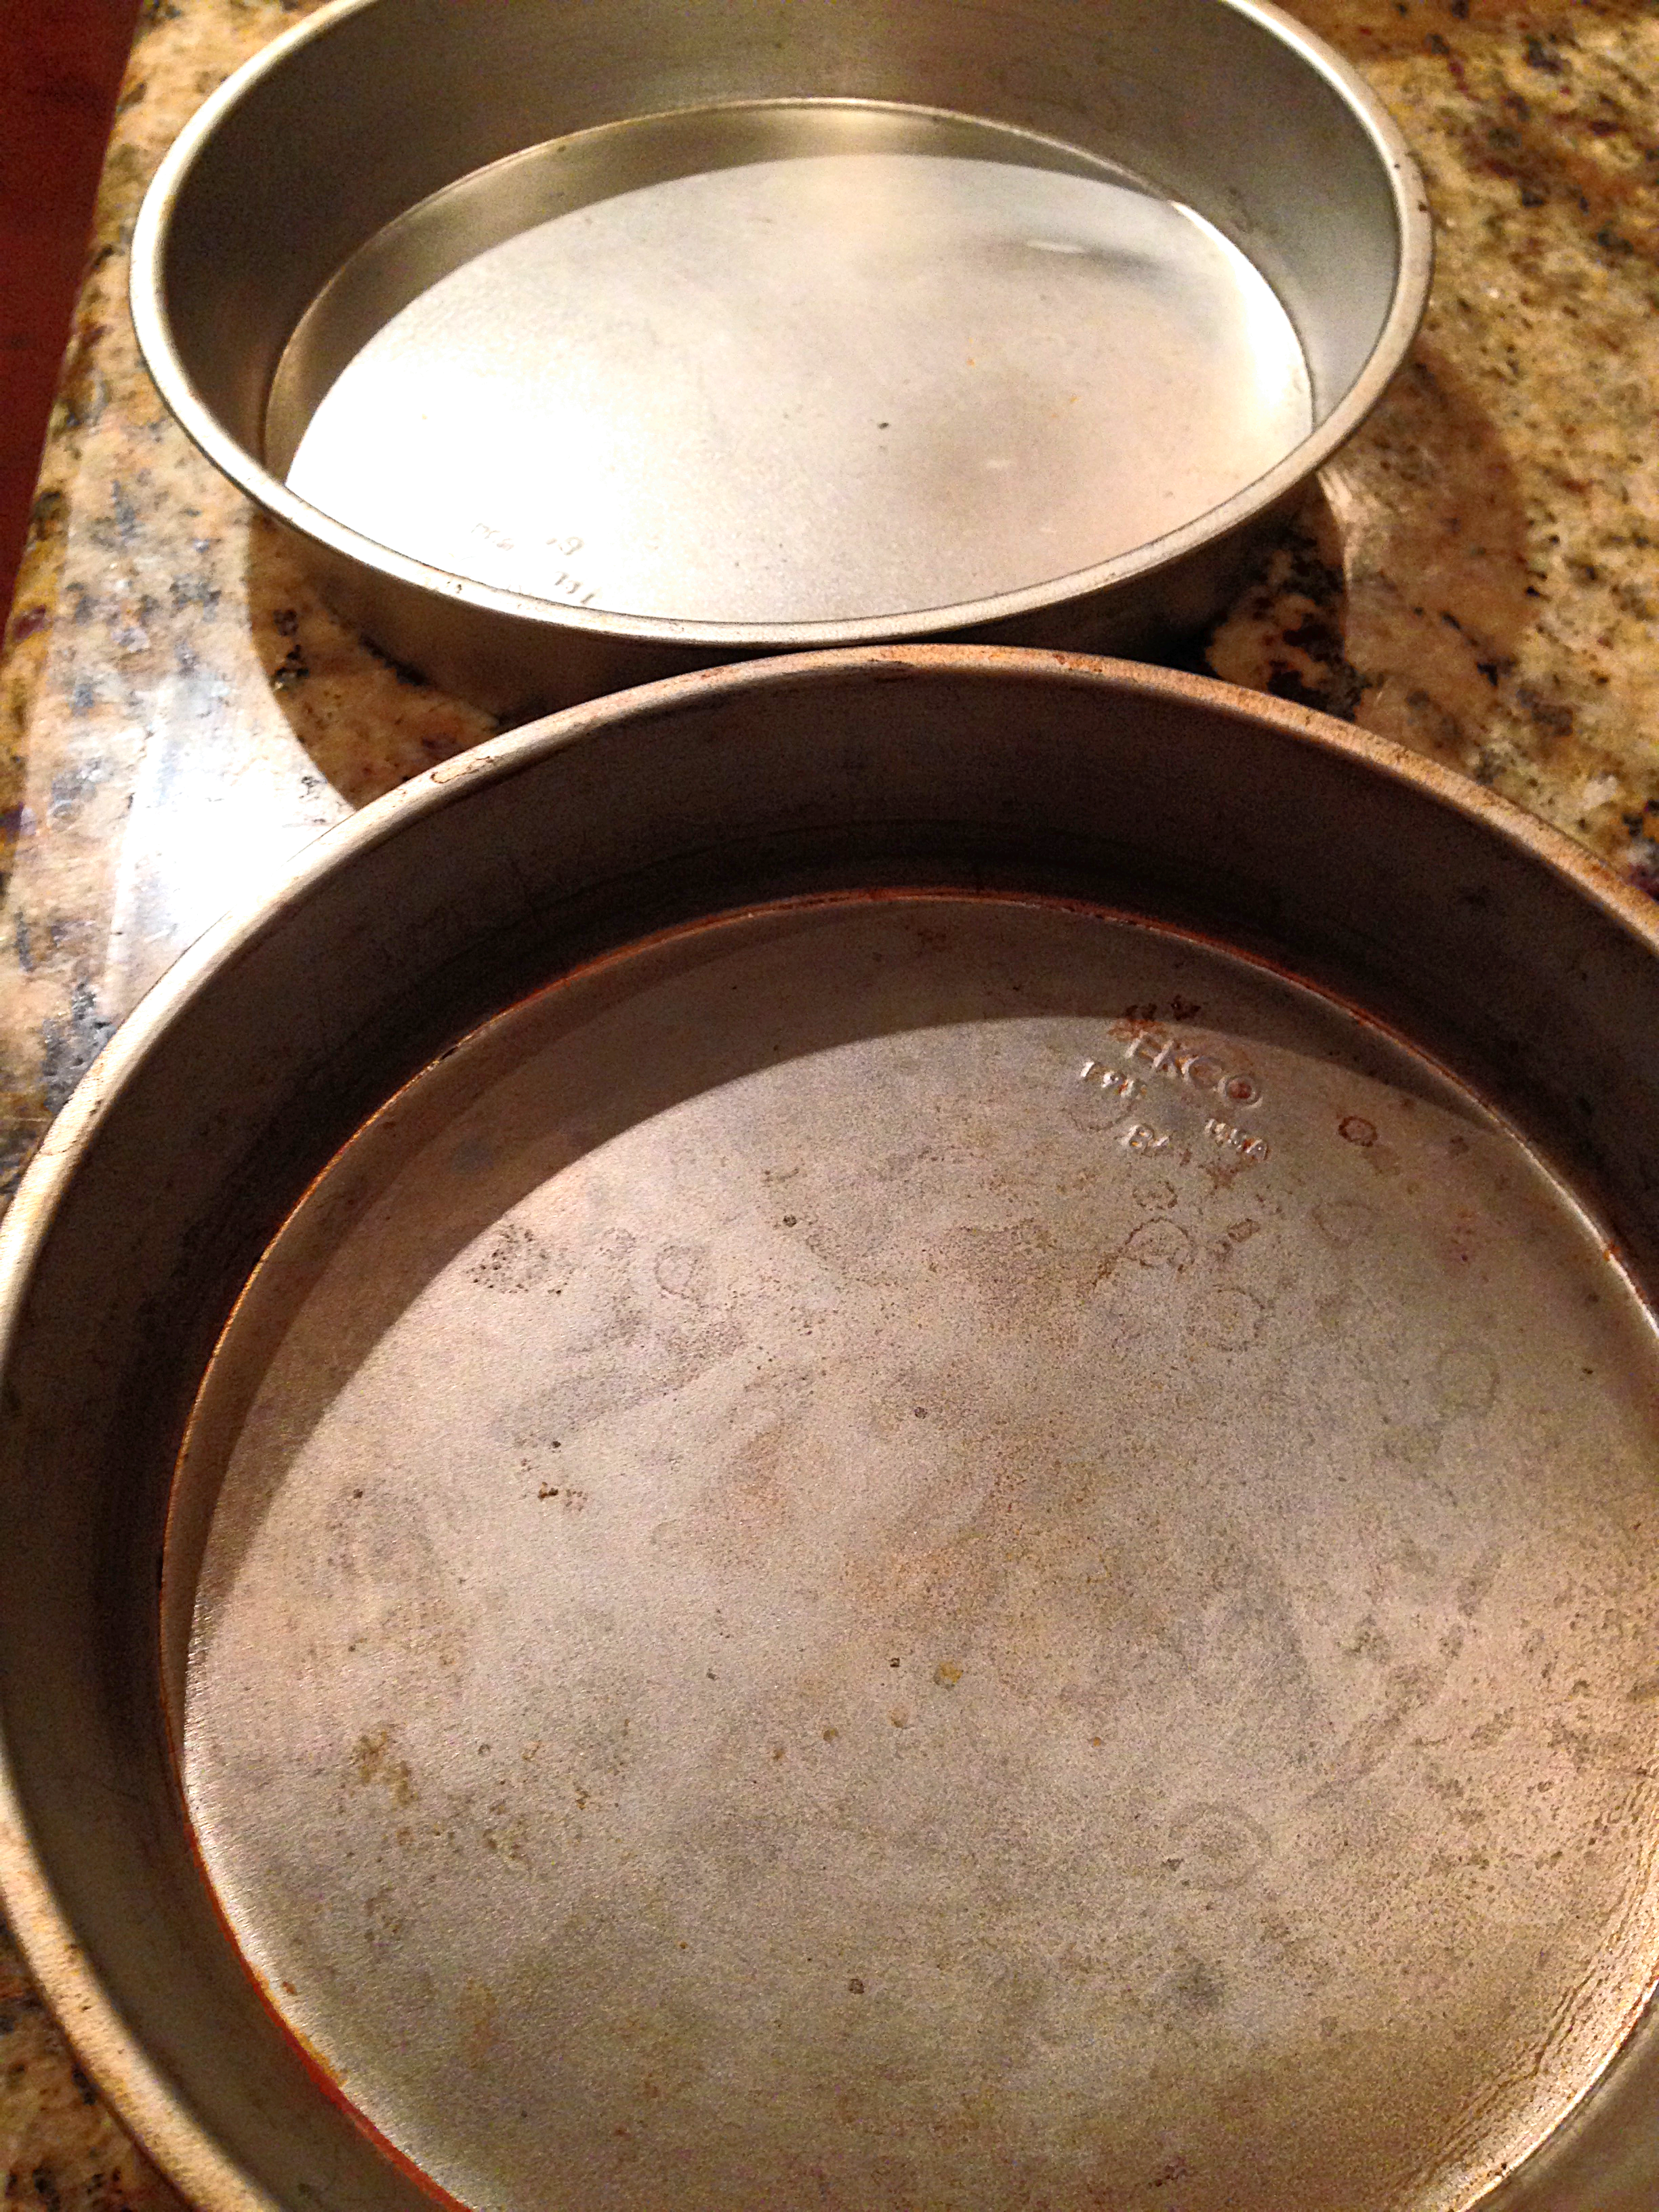
1. Use aluminum pans. The aluminum helps the cakes to bake more evenly.
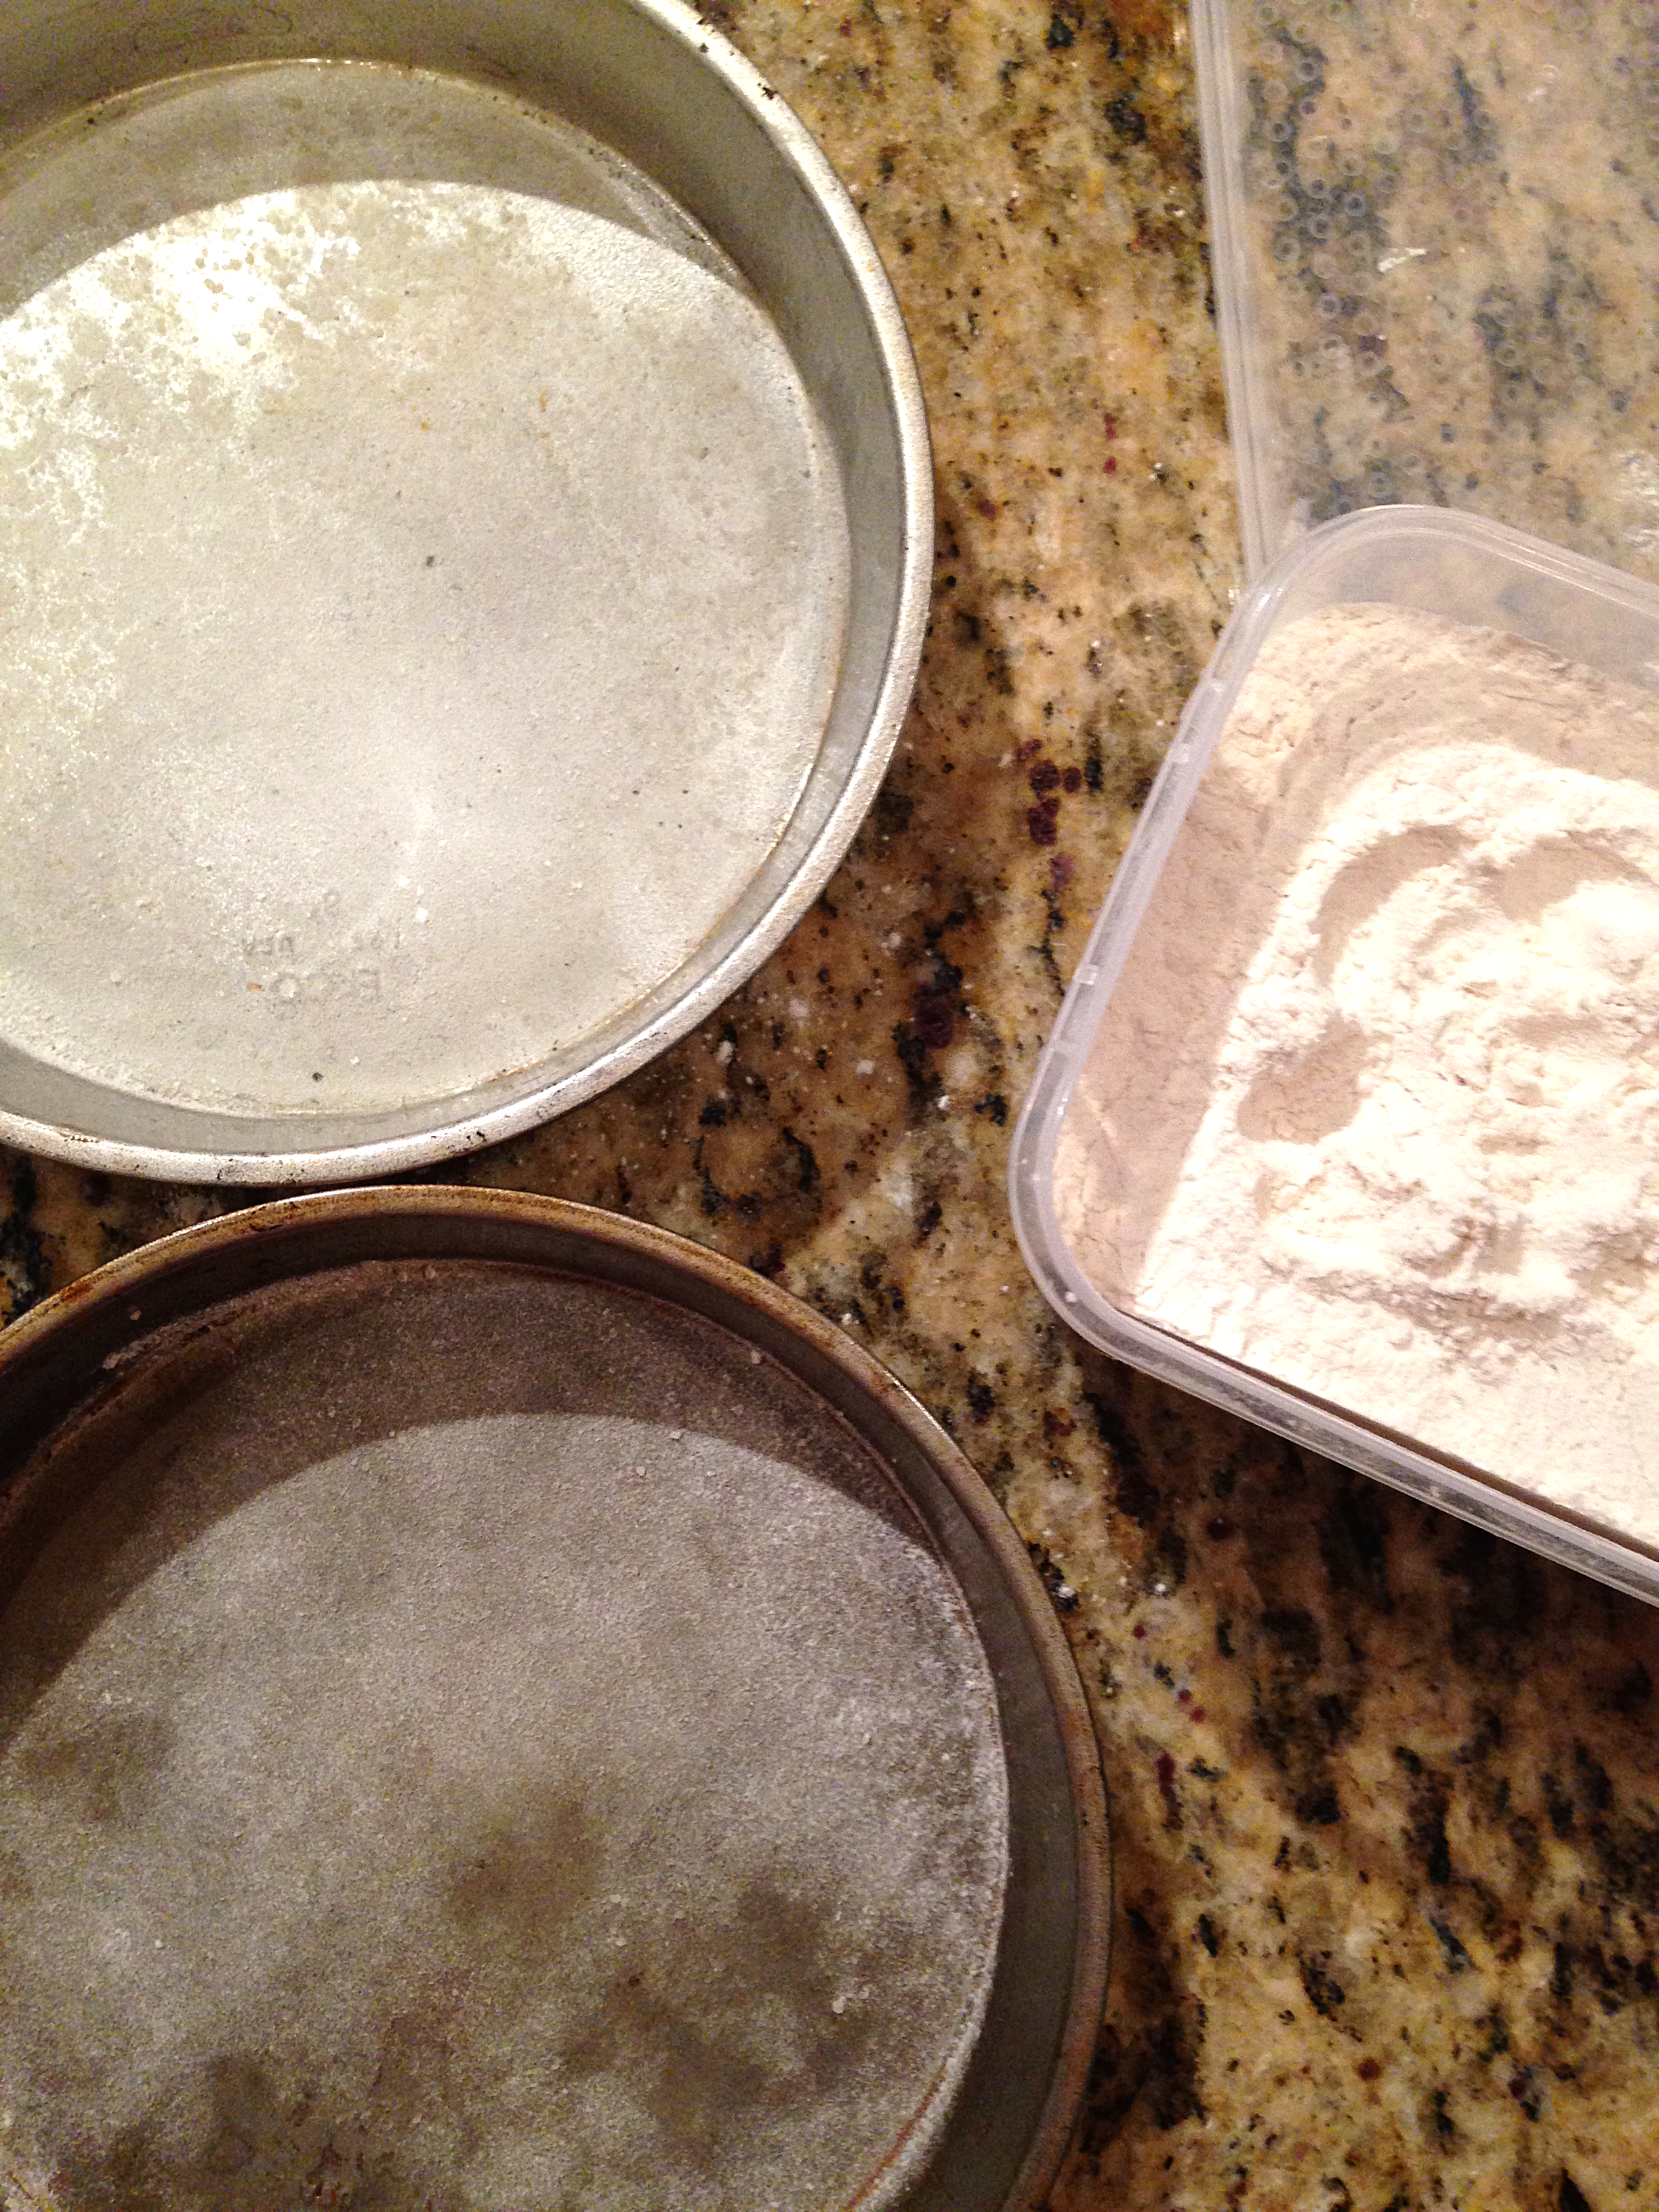
2. Spray your cake pan with Pam cooking spray, or better yet, Pam baking spray (it has flour built into the mix), and then sprinkle with flour and shake it around to fully coat the bottom of the pan before pouring in the batter. This usually does the trick for me to make sure you don’t get cake bits stuck to the bottom of the pan. If you’re feeling extra cautious on getting the cakes out of the pans, trace the bottom of your pan onto some parchment paper and cut out the circle. Place the circle into the bottom of your pan, pour batter, and then bake. You will always get the cake out afterwards!

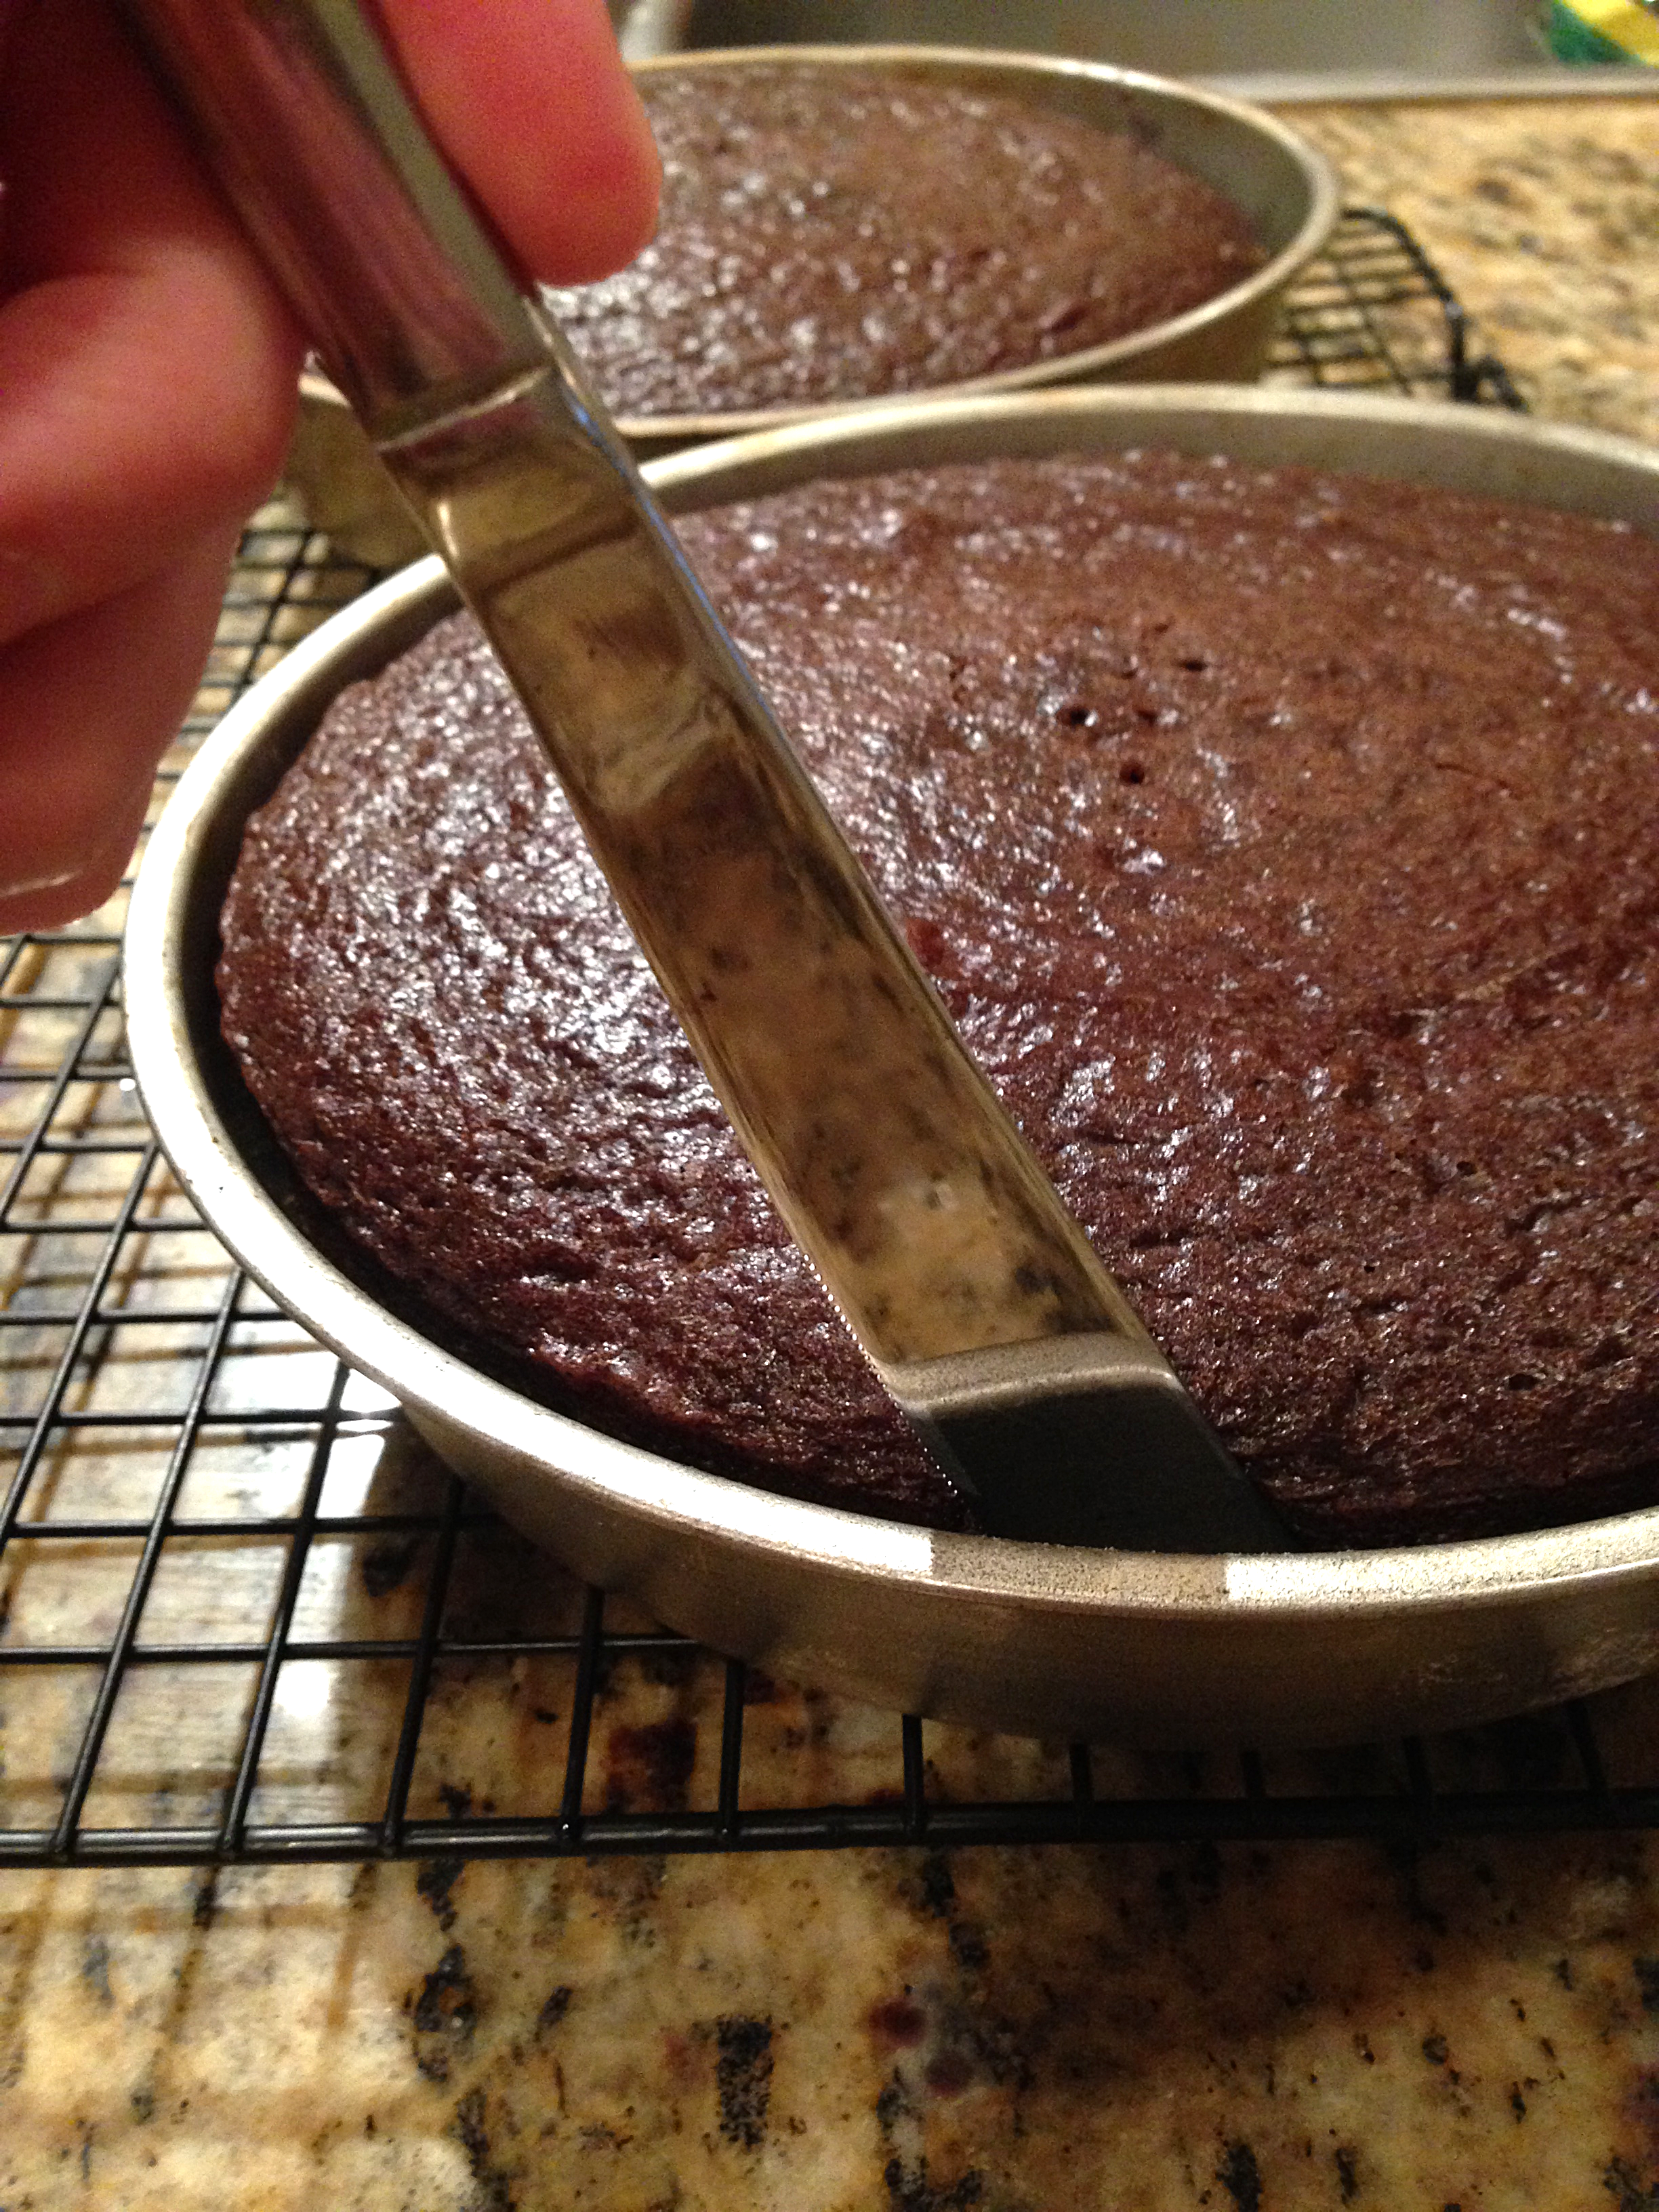
3. Bake the cake 50 degrees cooler than it calls for and for 1.5x the time. This will given you a flatter cake and less pesky cutting to even it out afterwards. This makes the layers perfect for stacking. I must say that this helps, but cutting the cakes to be fully flat is IMPORTANT! I didn’t fully cut mine because I thought it wouldn’t matter, but they ended up a little tipsy. You could argue tipsy isn’t always a bad thing in life, and I would agree, but it’s not the best for a cake.
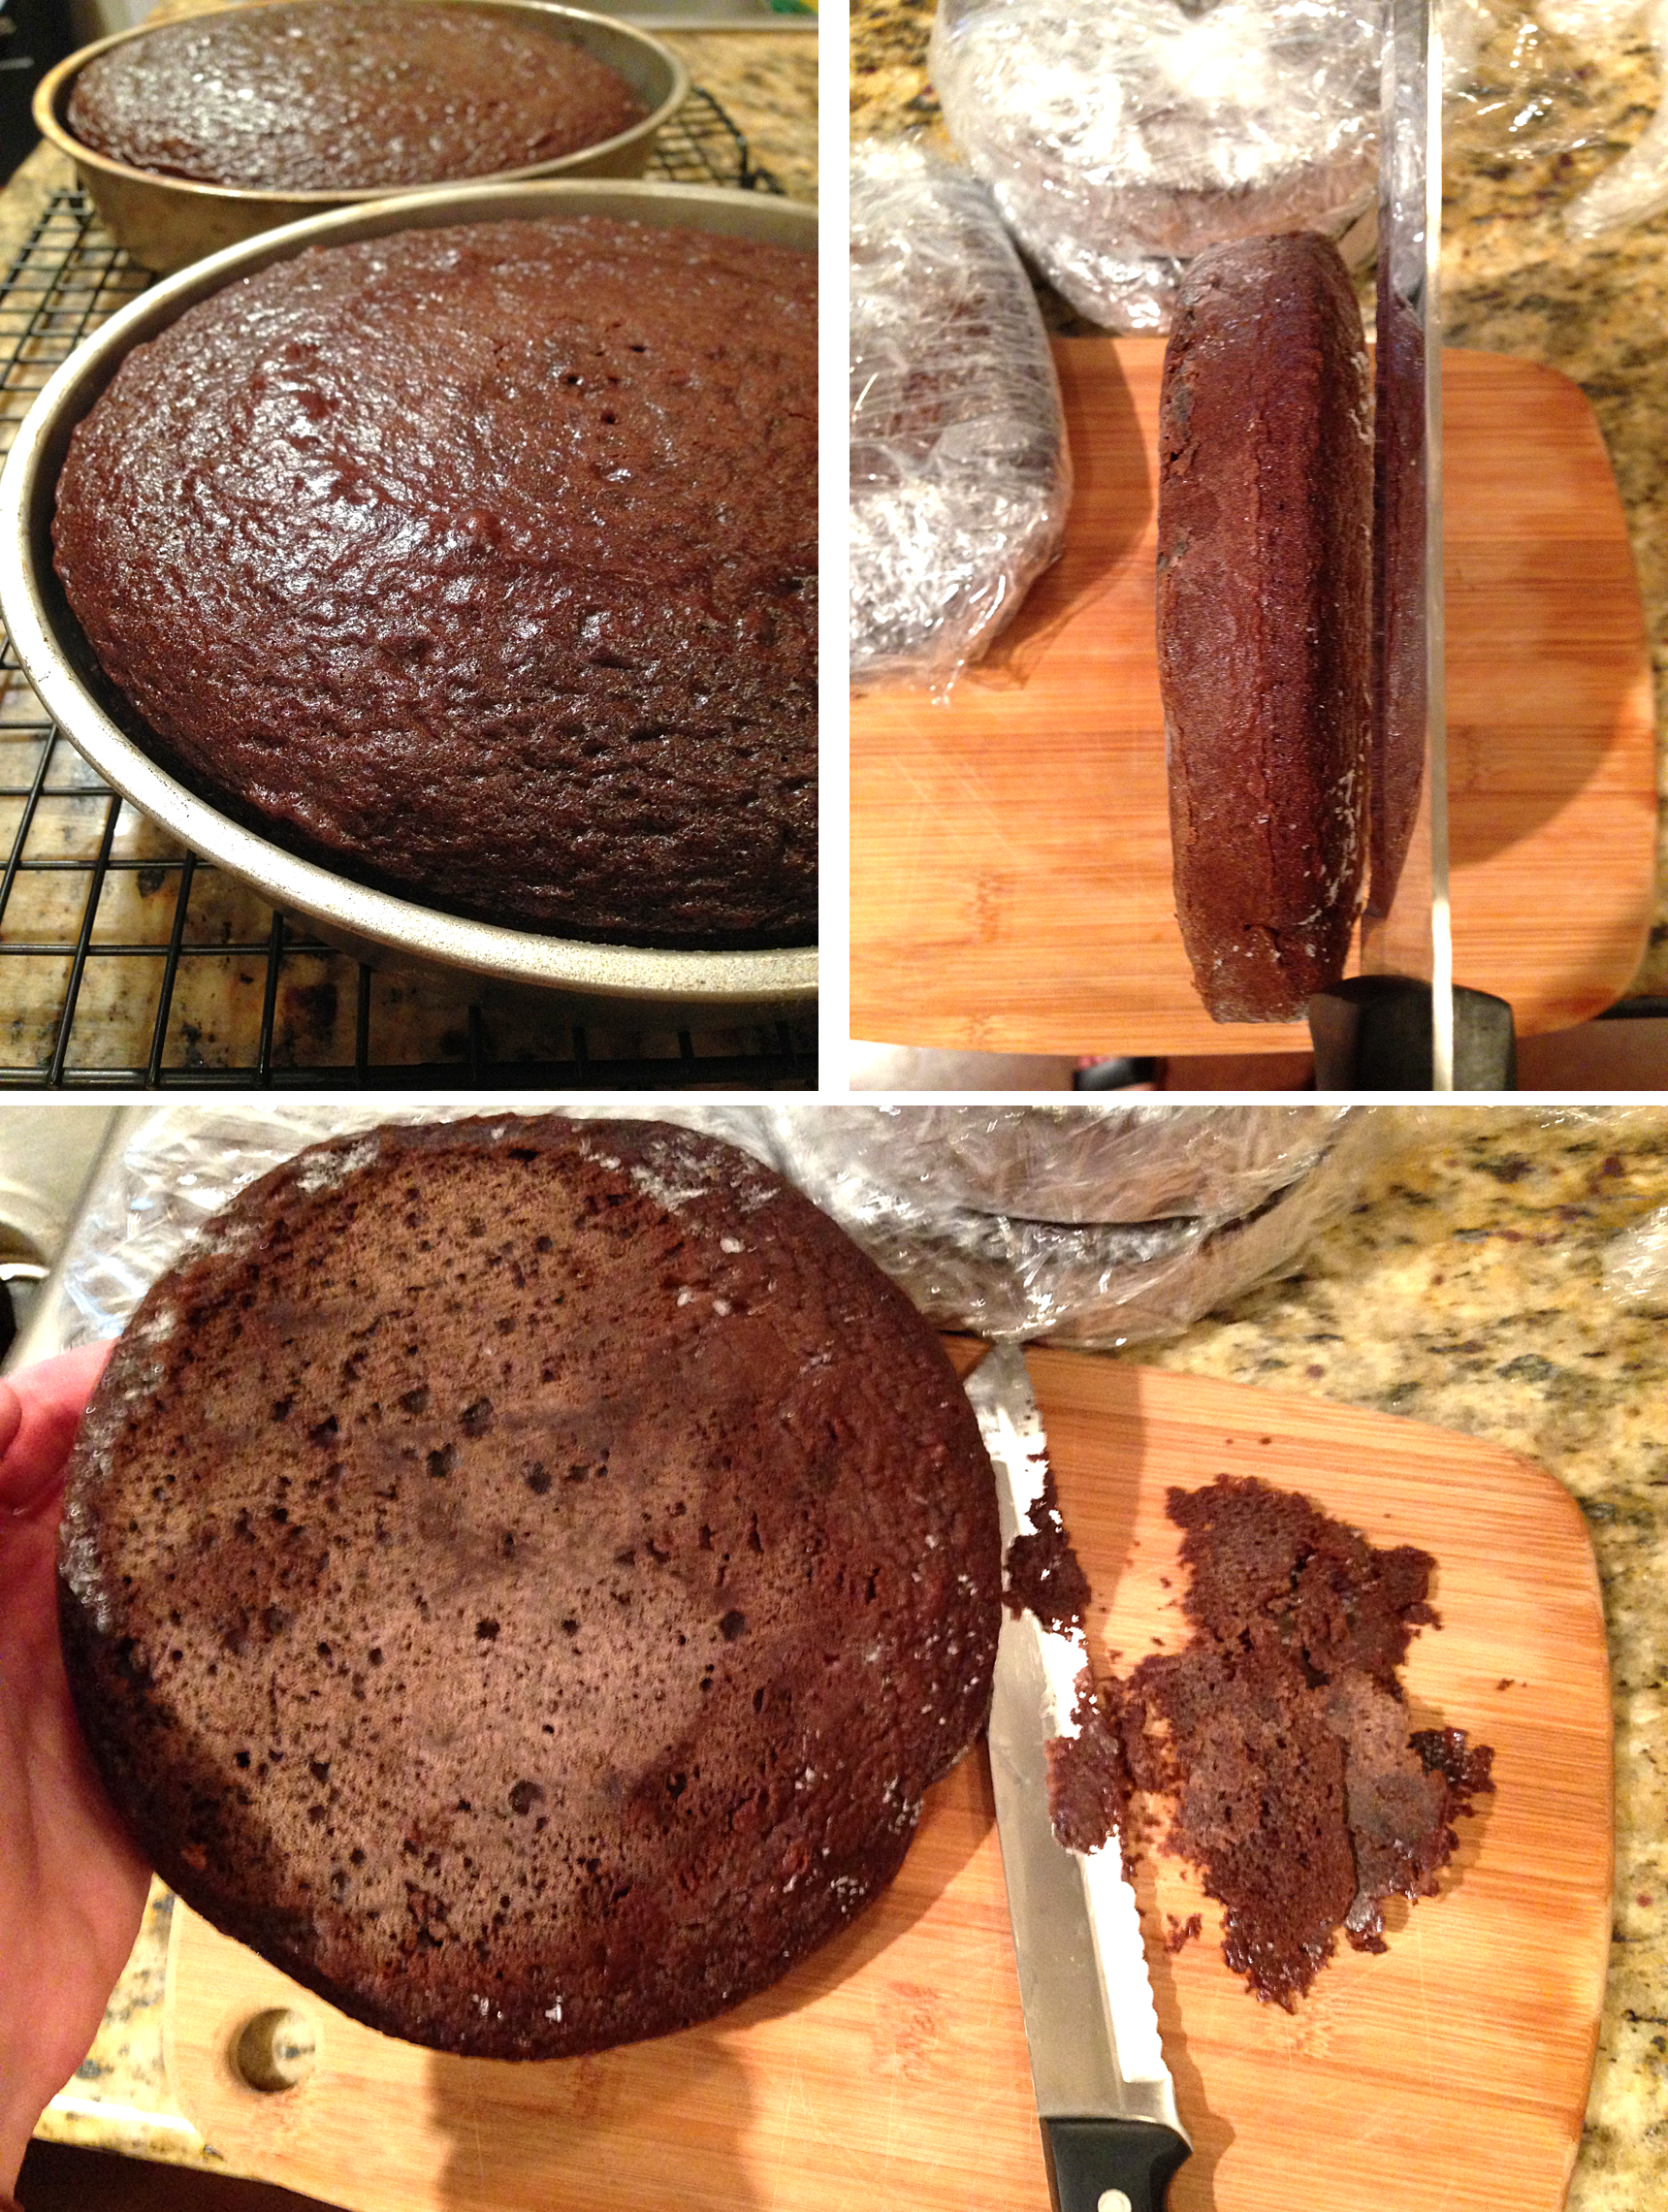
4. Cool your cakes completely after baking by setting them on top of a wire rack. This helps to keep the bottom of the cake from getting wet. Once they have cooled completely (about 30-40 minutes), run a knife around the outside of the pan and then flip it out. Do NOT put cake in the fridge to cool in the pan, it will stick and get wet!

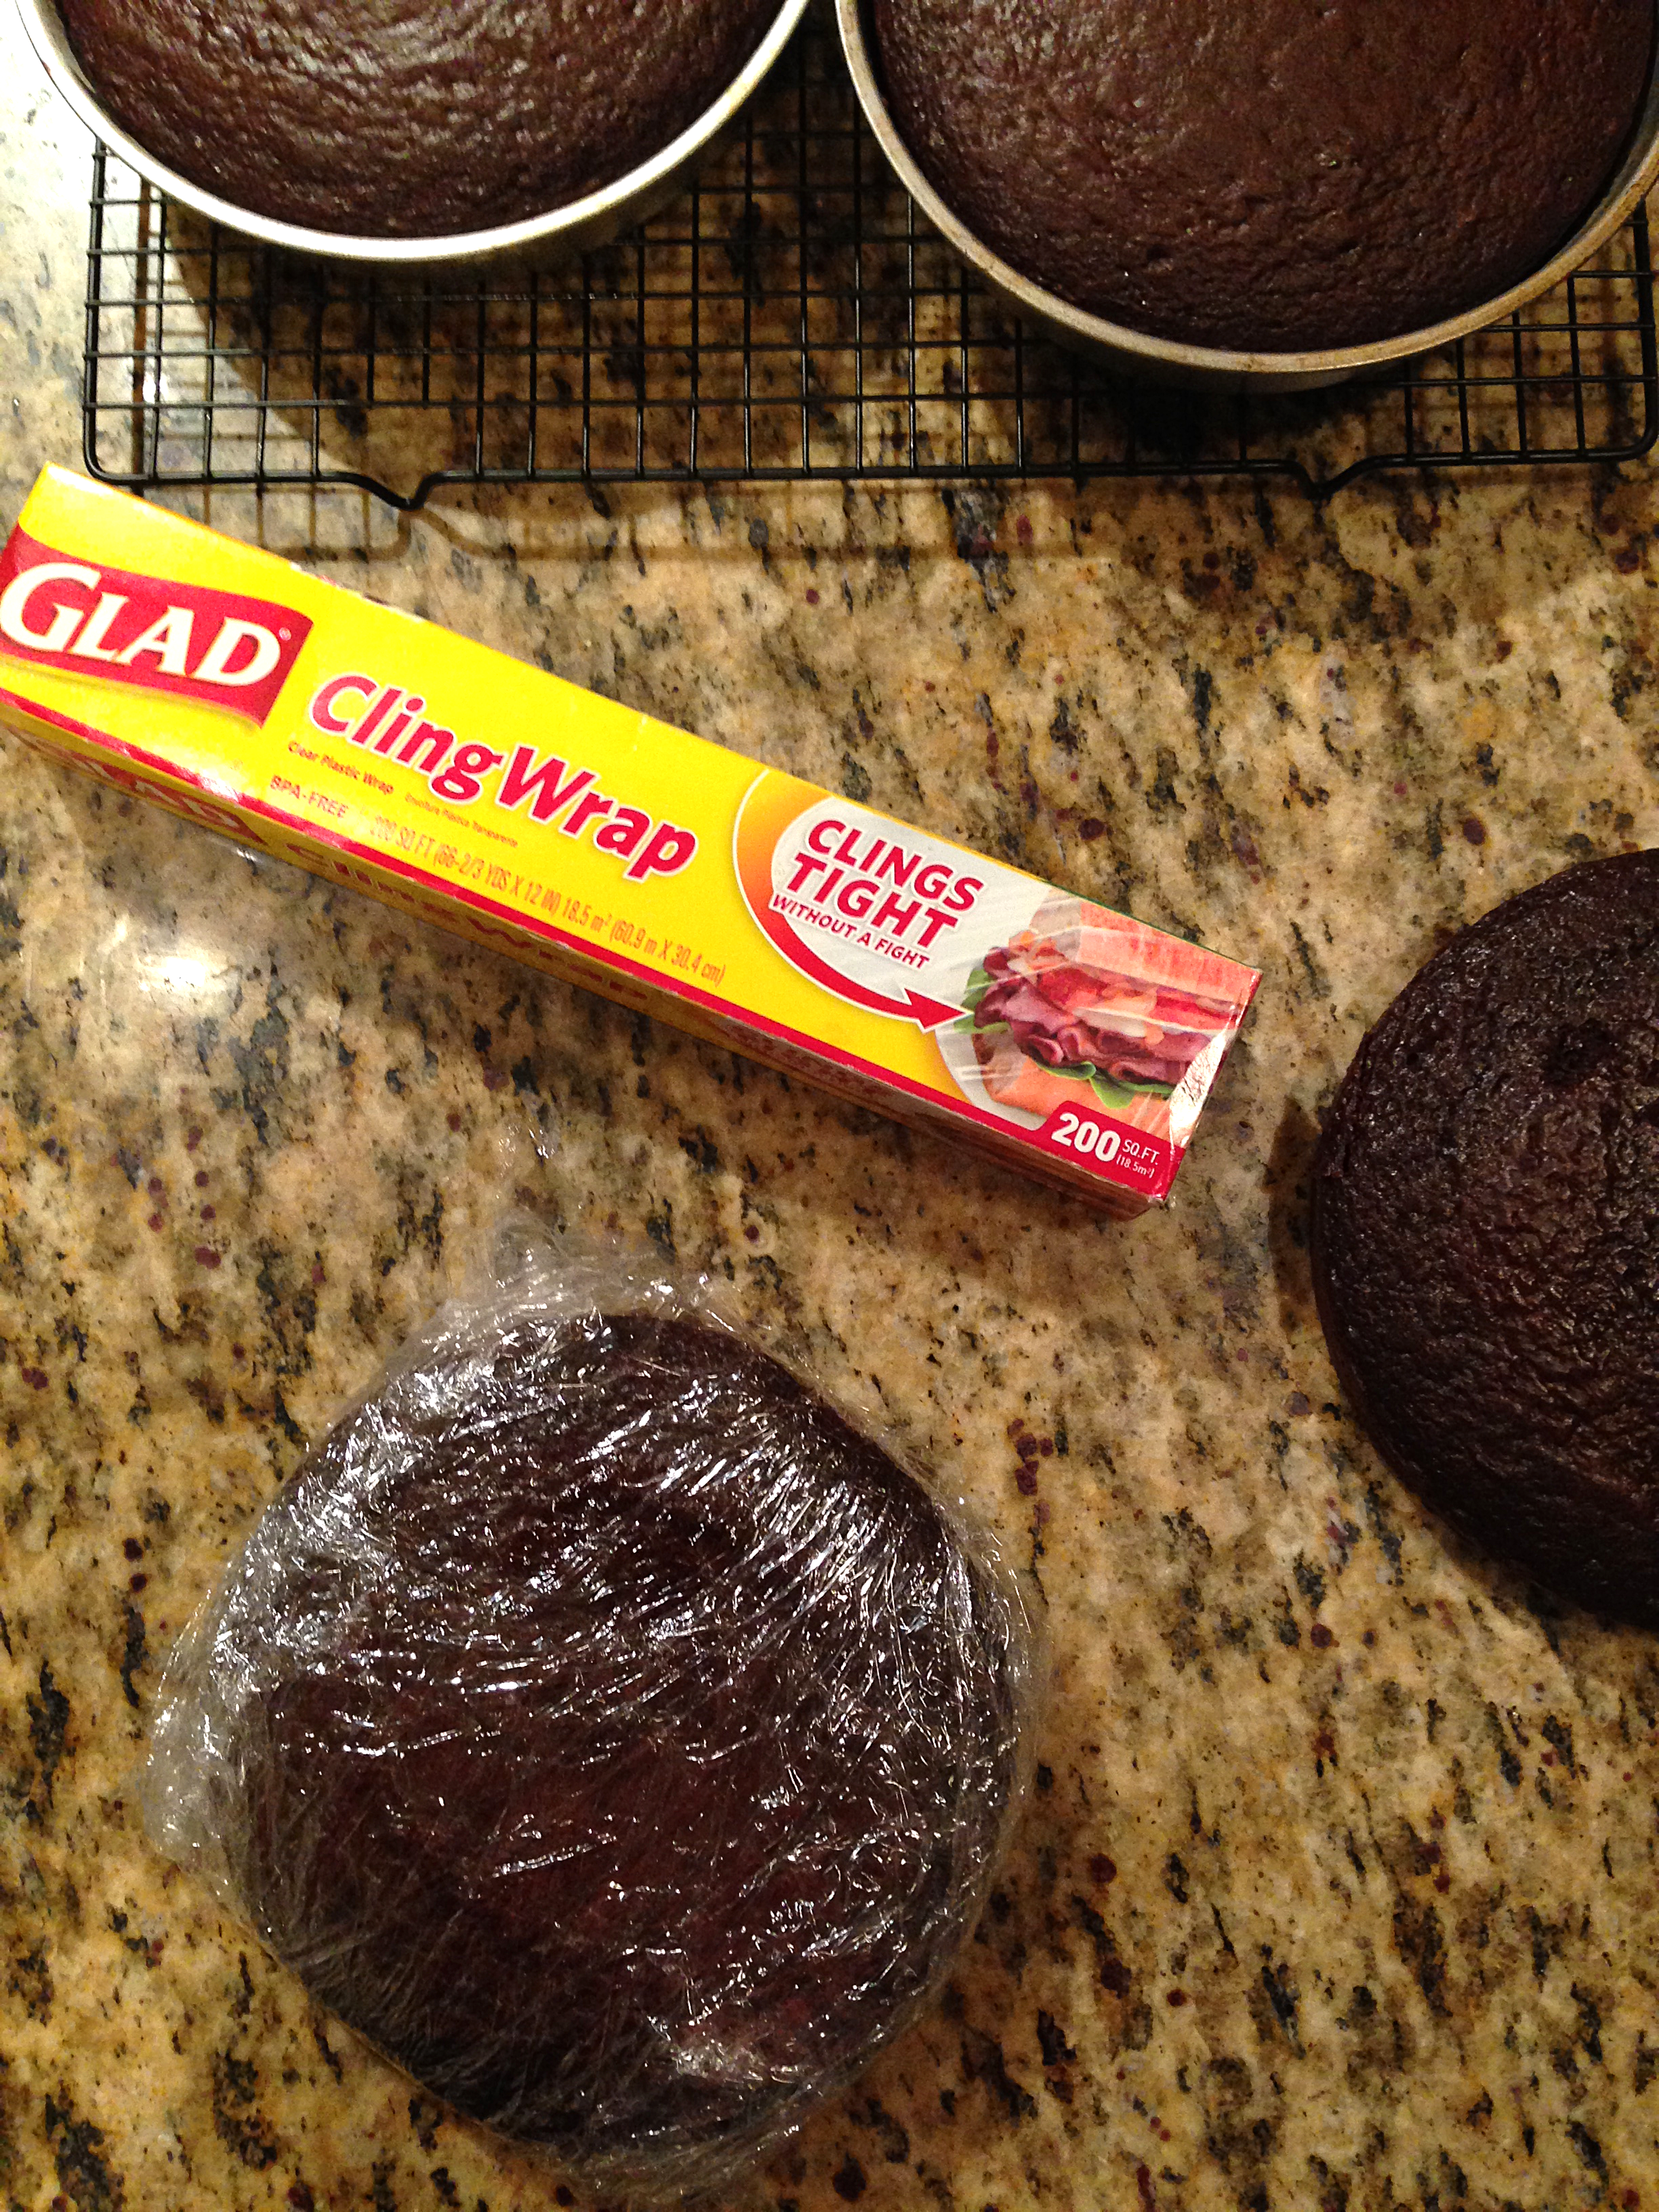
5. Wrap your cakes in 3 layers of plastic wrap and place in the freezer for at least 2 hours (I prefer over night). This makes them much easier to work with and less likely to crack when you’re cutting the tops off and then stacking them! I, personally, was very suspicious of this trick, but I promise the cakes taste just as good. It was pretty magical to be honest.
6. If you want to make smaller diameter layers to go on top of your larger ones but you don’t have the different sized pans, you can use a small plate and trace around it with a knife. Do this step when the layers are already frozen to make it much easier to shape the cake.


7. Layer up your cakes with a small coat of frosting or filling (here’s a recipe for my Raspberry Buttercream) in between, and a thin coat of frosting all over the sides using a flat edged knife. This is called a crumb coat because it holds all the crumbs in. See what they did there? This allows you to get full coverage of the cake that you can then frost later with the “pretty” coat. It’s like a primer for your cake, if you fancy painting. I used my homemade buttercream because it’s my favorite. Honestly there are many good options for this. Just make sure you use room temperature frosting so you can spread it easily because the cake being so cold hardens it up quickly!
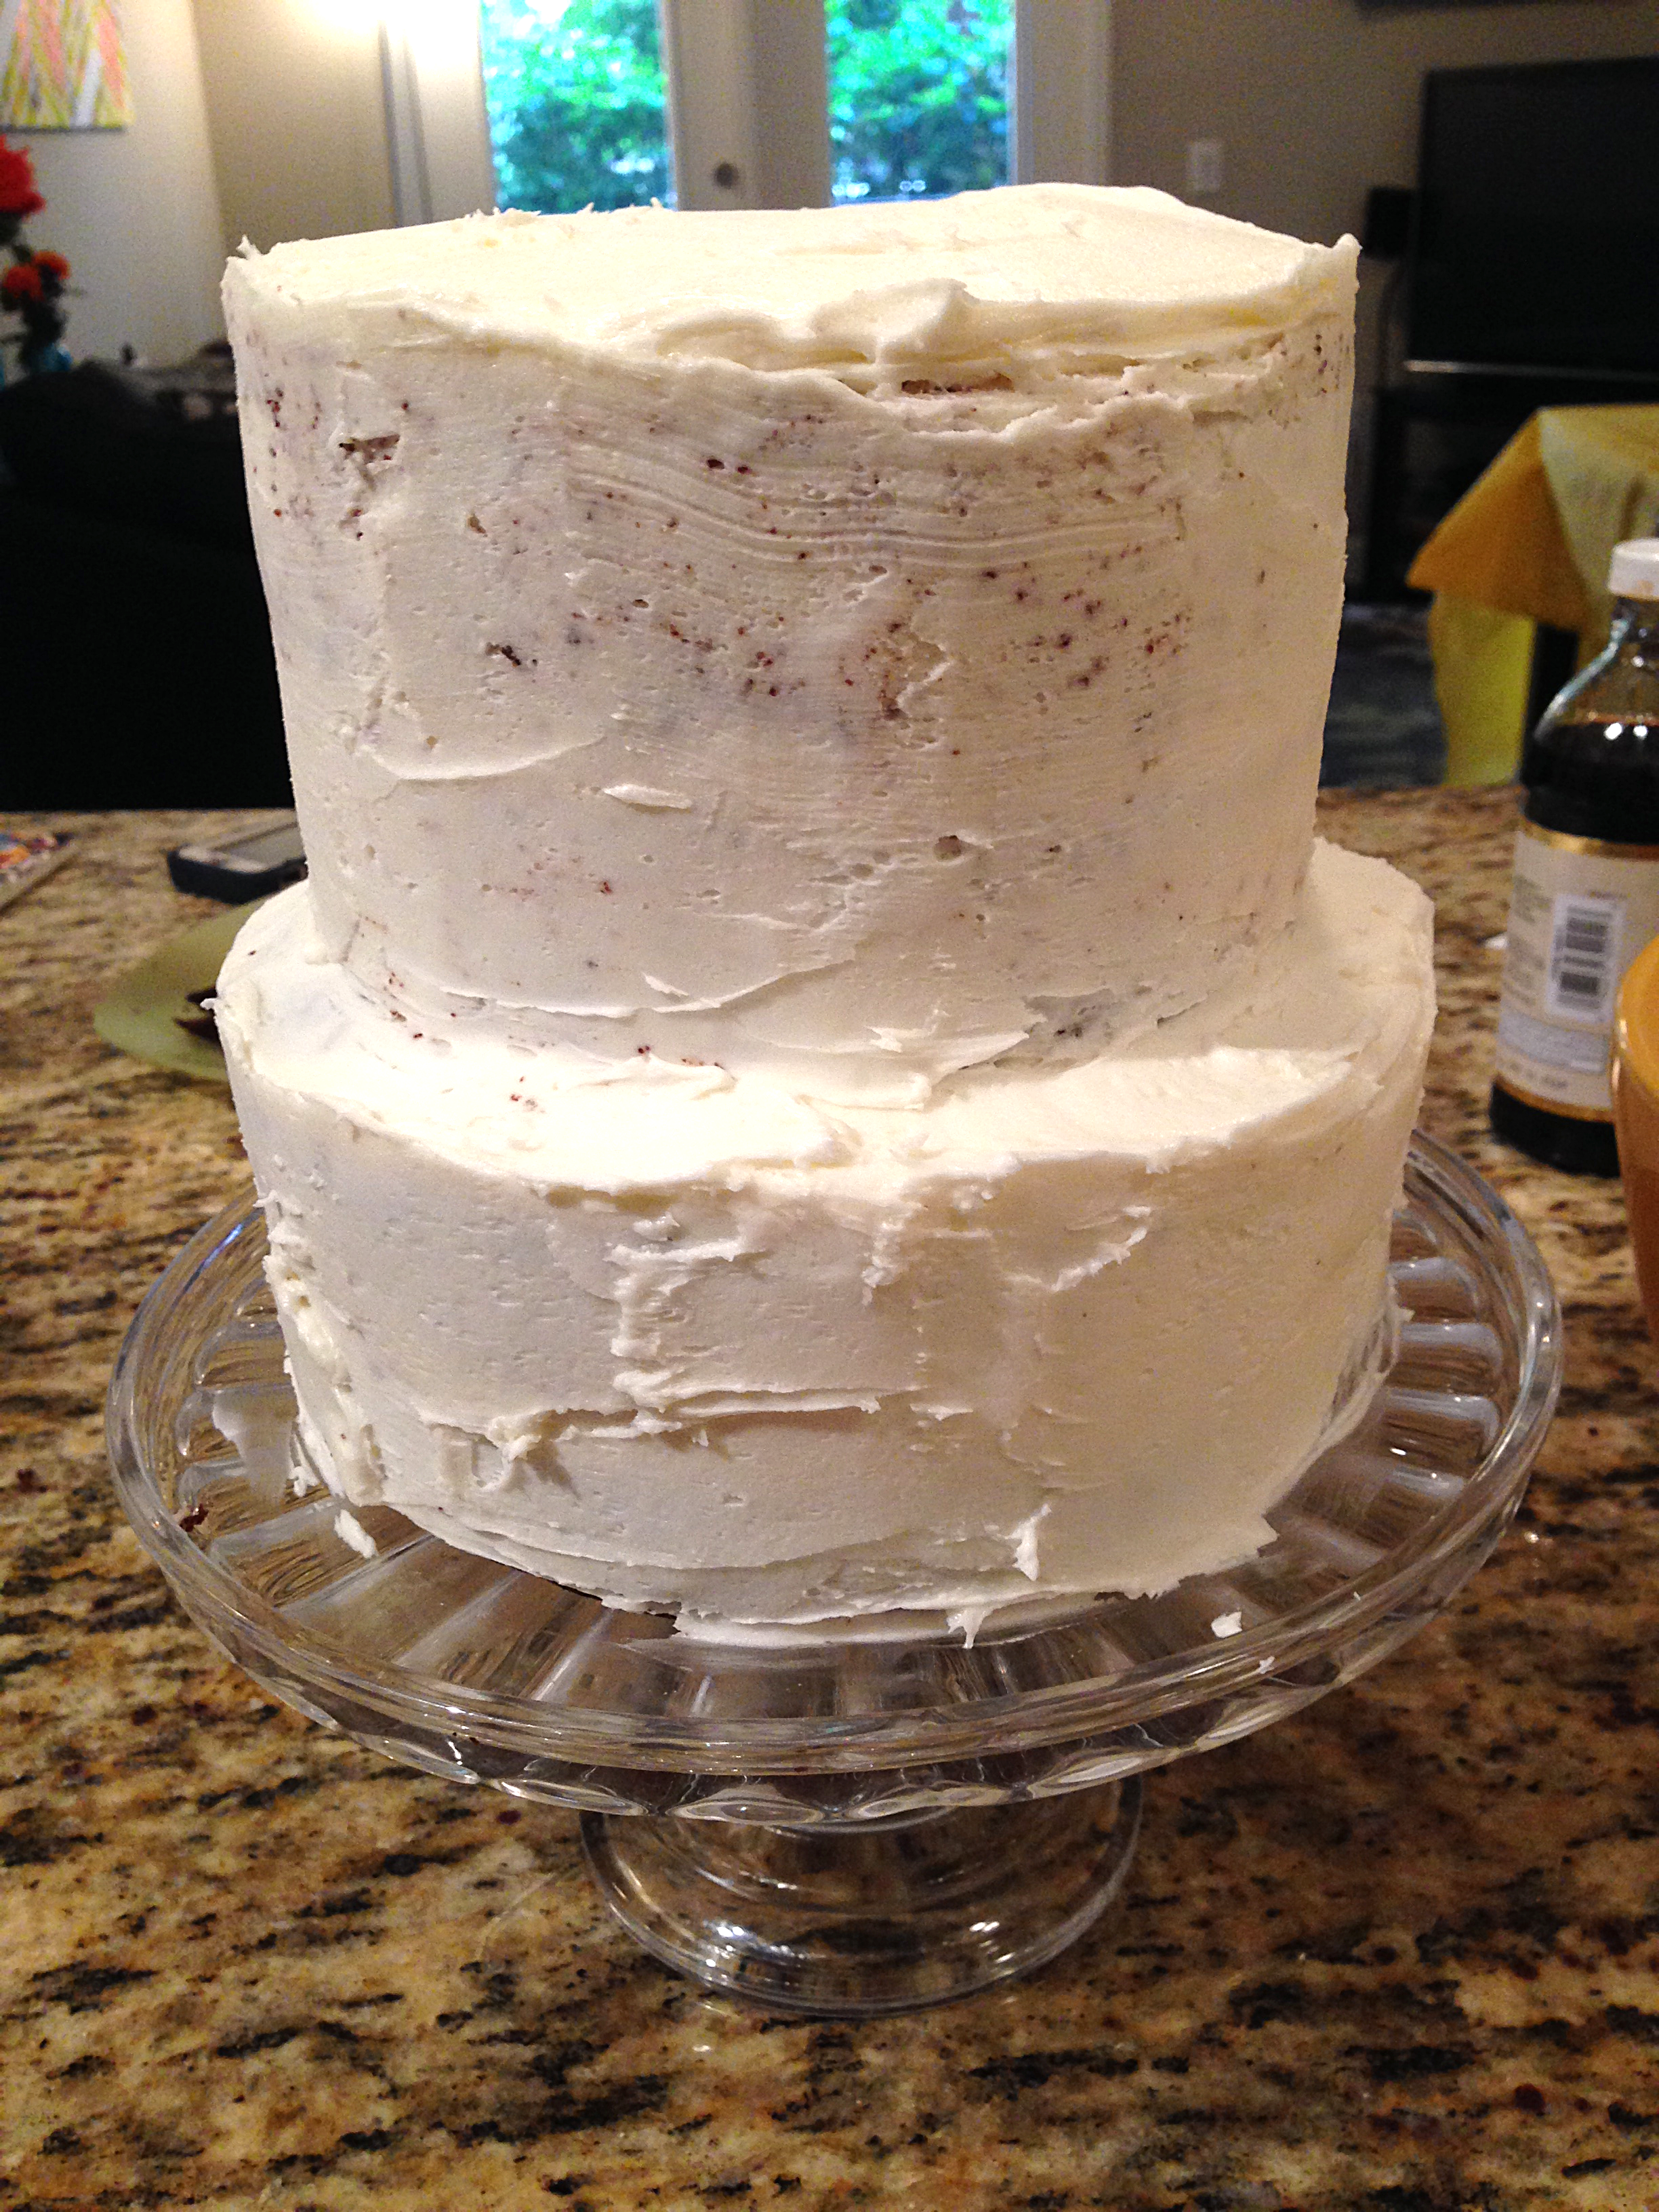
8. Place the cake in the refrigerator for 30 minutes to let the crumb coat harden up, and then it’s decorating time! Use the right tip for the right decoration. I experimented on my counter for a while to decide what tip would work best for the look I was trying to achieve. My ruffle tutorial will be up soon so you can see how I finished off my layer cake! Here’s a sneak peak…

May your cakes be sturdy, straight, perfectly frosted, and picture perfect…Or close to it! Happy baking, bunnies!

It’s a shame you don’t have a donate button! I’d most certainly donate
to this brilliant blog! I suppose for now i’ll settle for book-marking and adding
your RSS feed to my Google account. I look forward to new updates and will share this blog with my Facebook group.
Talk soon!
LikeLike
Thank you so much! I did not know there was such a thing as having a donate button… might want to look into that.
LikeLike
I think this is one of the most significant info for me.
And i’m glad reading your article. But want to remark on some general things, The site
style is wonderful, the articles is really great : D.
Good job, cheers
LikeLike
Thank you so much!
LikeLike
Thanks for finally talking about >Avoiding the Leaning Tower:
All of the Layer Cake Tips You Need! | Bunny Baubles <Loved it!
LikeLike
No problem, and thanks so much!
LikeLike
Hello! I could have sworn I’ve been to this blog before but after reading through some of the post
I realized it’s new to me. Anyhow, I’m definitely happy I found it and I’ll
be bookmarking and checking back frequently!
LikeLike
Thank you so much! I really appreciate the support 🙂
LikeLike
Hi would you mind letting me know which webhost you’re utilizing?
I’ve loaded your blog in 3 different browsers and I must
say this blog loads a lot faster then most. Can you suggest a good web hosting provider at a honest price?
Thanks a lot, I appreciate it!
LikeLike
I am using the EverAfter theme on WordPress.com. I also do not have huge picture files in comparison to many other blogs (no fancy camera so my iPhone will have to do ;)).
LikeLike
This is a fantastic post! I definitely needed this 🙂 Thank you so much!
Simone
http://adventuresofvintagebarbie.wordpress.com/
LikeLike
Glad you liked it! There are so many things that I had never tried (like freezing cake) that turned out to be so helpful and I NEEDED to share them!
LikeLike