 This Summer I got really inspired to add more color into my space. I read that the best way to decorate is to look at your wardrobe and see what colors you gravitate toward. As it turns out for me, that is a lot of white, gray, pink, green, and blue. I had the white, gray, and pink down, but adding green and blue was something new for me in my little bachelorette pad.
Replacing my gold circle artwork was one of the first steps in opening up the space for color, but as it turns out, artwork can be pricey. I found the most beautiful overhead beach landscape photograph by Ingrid Beddoes with gorgeous pinks and teals, and I could not get it out of my head. Instead of trying to recreate it in some way, I decided to bite the bullet and buy one of my first pieces of real artwork for the living room. I love that I was able to support a small artist and seeing it every day when I get home just puts me at ease.

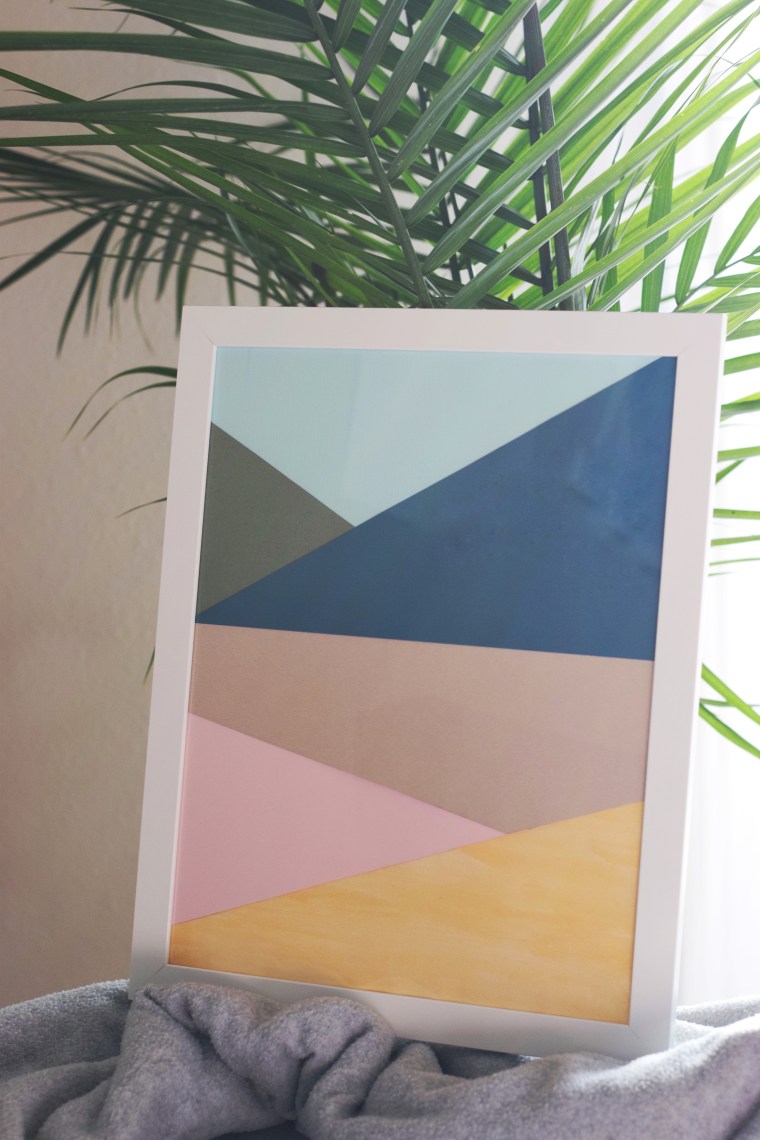
To compliment this piece, I decided to add a couple of pieces of my own. I wanted to incorporate some variety, so I decided to make a watercolor piece and a graphic paper piece to compliment the colors in my new over-sized photograph. The DIY geometric artwork that I made with paper was so easy to throw together, I couldn’t help but share the instructions!
Though I used pink, blue, green, tan, and yellow, this artwork can be made with any colors that compliment your space. I recommend using the palette of your room, or taking colors from other artwork if it is going to be used in a gallery wall like mine. All you need to make the artwork is colored paper, a ruler, pencil, scissors, tape, and a frame! My favorite sources for inexpensive frames are Michaels (where I got the 11″x14″ frame for this artwork), Hobby Lobby, and Amazon (where I got the large frame for my photograph).

Easy DIY Geometric Artwork
Supplies:
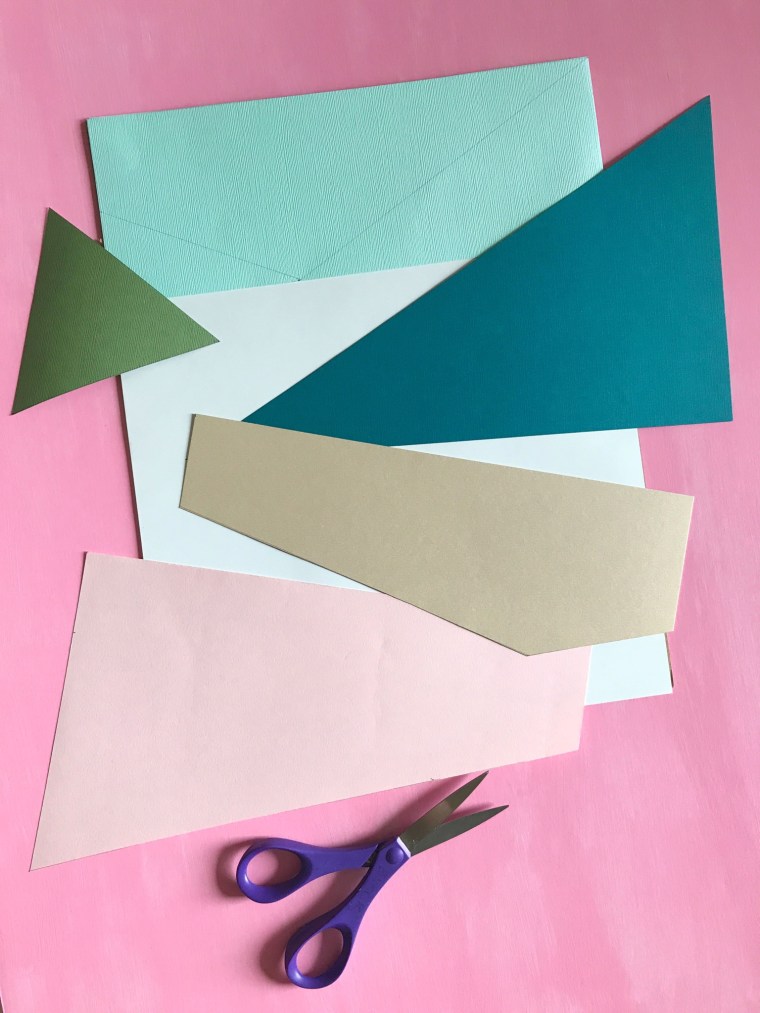
6 Sheets of colored paper (I could not find the yellow that I wanted at the store, so I just painted it with watercolors)
Ruler
Scissors
Tape
Pencil
11″ x 14″ Frame
Time:
1 hour
Difficulty:
Easy
1. Begin by choosing which color paper will go in each spot. The different shapes will be referred to by number as shown below.

2. For piece 1, measure an 11″ tall side and then mark out 2.25″ at the bottom. Measure 4″ up from the bottom line and 4.5″ from the edge of the 11″ side and make a dot. Draw a line from the 2″ line on the bottom to the dot, and then from the dot to the top corner. Cut out piece 1.
For piece 2, measure a 4.75″ line, mark the center, and then make a mark 4″ up from the center of the line. Connect the ends of the bottom line with the dot to create a triangle. Cut out piece 2.
For piece 3, measure a 7″ side and an 11″ side and connect the ends to create a large triangle. Cut out piece 3.
For piece 4, measure an 11″ tall side and then mark out 2″ at the bottom and 3″ at the top. Measure 3″ down from the top line and 4″ from the edge of the 11″ side and make a dot. Draw a line from the 3″ side to the dot and from the 2″ side to the dot. Cut out piece 4.
For piece 5, measure a 4.5″ line, mark the center, and then mark a mark 7″ up from the center of the line. Connect the ends of the bottom line with the dot to create a triangle. Cut out piece 5.
For piece 6, measure an 11″ tall side and then mark out 1.5″ at the bottom and 4.5″ at the top. Connect the top and bottom lines. Cut out piece 6.

3. Lay each of the pieces out on top of the liner for the frame and tape them down on the backside with loops of tape. Lay the artwork into the frame and hang!

These turned out so awesome!
https://www.fashionnotfear.com
https://www.bluelabelsboutique.com
LikeLiked by 1 person
Thank you so much! Glad you like them!
LikeLike
OMG! I love this!
LikeLiked by 1 person
Thank you so much!!
LikeLike