
What is it about pom poms that make everything look so darn cute? Mini pom poms? Game over. So adorable!
I’m notorious for constantly changing my home decor, and I tend to always start with the pillows. Making a pillow case is such a cheap way to change the look of a room, and you can store a bunch of them in a very small amount of space for when you want to reuse them. Since the Summer is approaching, I wanted to opt for brighter and lighter colors, and this mini pom pom trim pillow is the perfect touch!

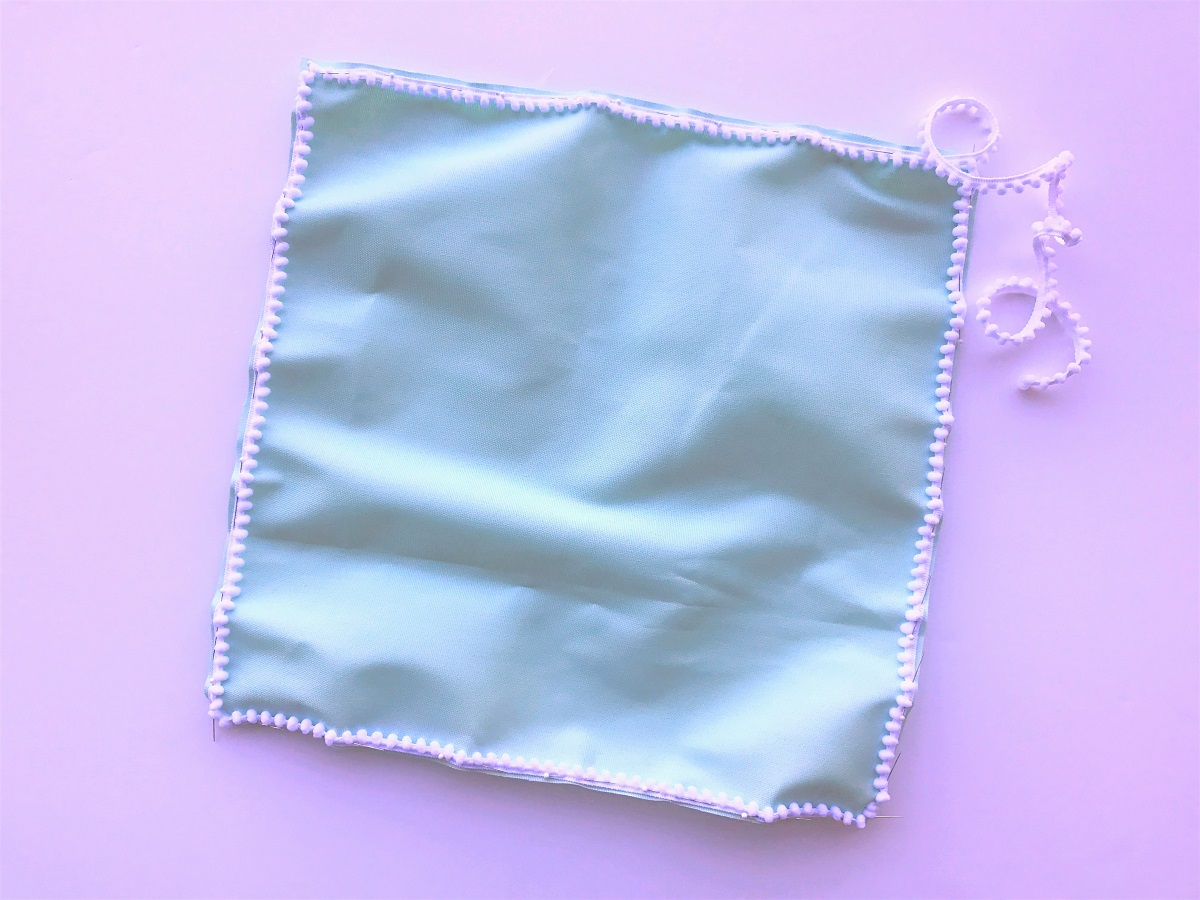
Making this pillow seems a little counter intuitive when you start because you pin the pom pom trim facing inwards. Once you sew the back panels on to the pillowcase and turn it inside out, however, this puts the pom poms on the outside with none of the extra trim showing! It creates a very professional, clean finish to your pillow so no one will ever know you made it. #DIYgoals

If you are looking for something new to spice up your sofa, try this DIY mini pom pom trim pillow case!
DIY Mini Pom Pom Trim Pillow Case
Supplies
1/2 yard Light Blue Fabric (for a 16″ x 16″ pillow)
64″ Mini Pom Pom Trim (for a 16″ x 16″ pillow)
White Thread
Pins
Scissors
Sewing Machine
Time
30-45 minutes
Difficulty
Easy
1. Start by measuring your pillow. Mine was 16″ x 16″. Cut out a square from your light blue fabric that is the same size as you pillow. Then, cut two rectangles that are the same length as your pillow, but only about 3/4 the length (for me this was a 16″ x 12″ rectangle).
2. Take your mini pom pom trim and pin one end of it to the corner of the 16″ x 16″ square with the pom poms facing inward away from the edge. Continue pinning the trim to the edges of the square of fabric going all the way around with the pom poms facing inward. Take your sewing machine and sew along the outside edge of the pom pom trim to secure it.
3. Take your two rectangular pieces of fabric and fold one of the long edges over 1/2″ and then fold it over again another 1/2″. Sew along this fold 1/4″ from the edge. Repeat on the other rectangle.

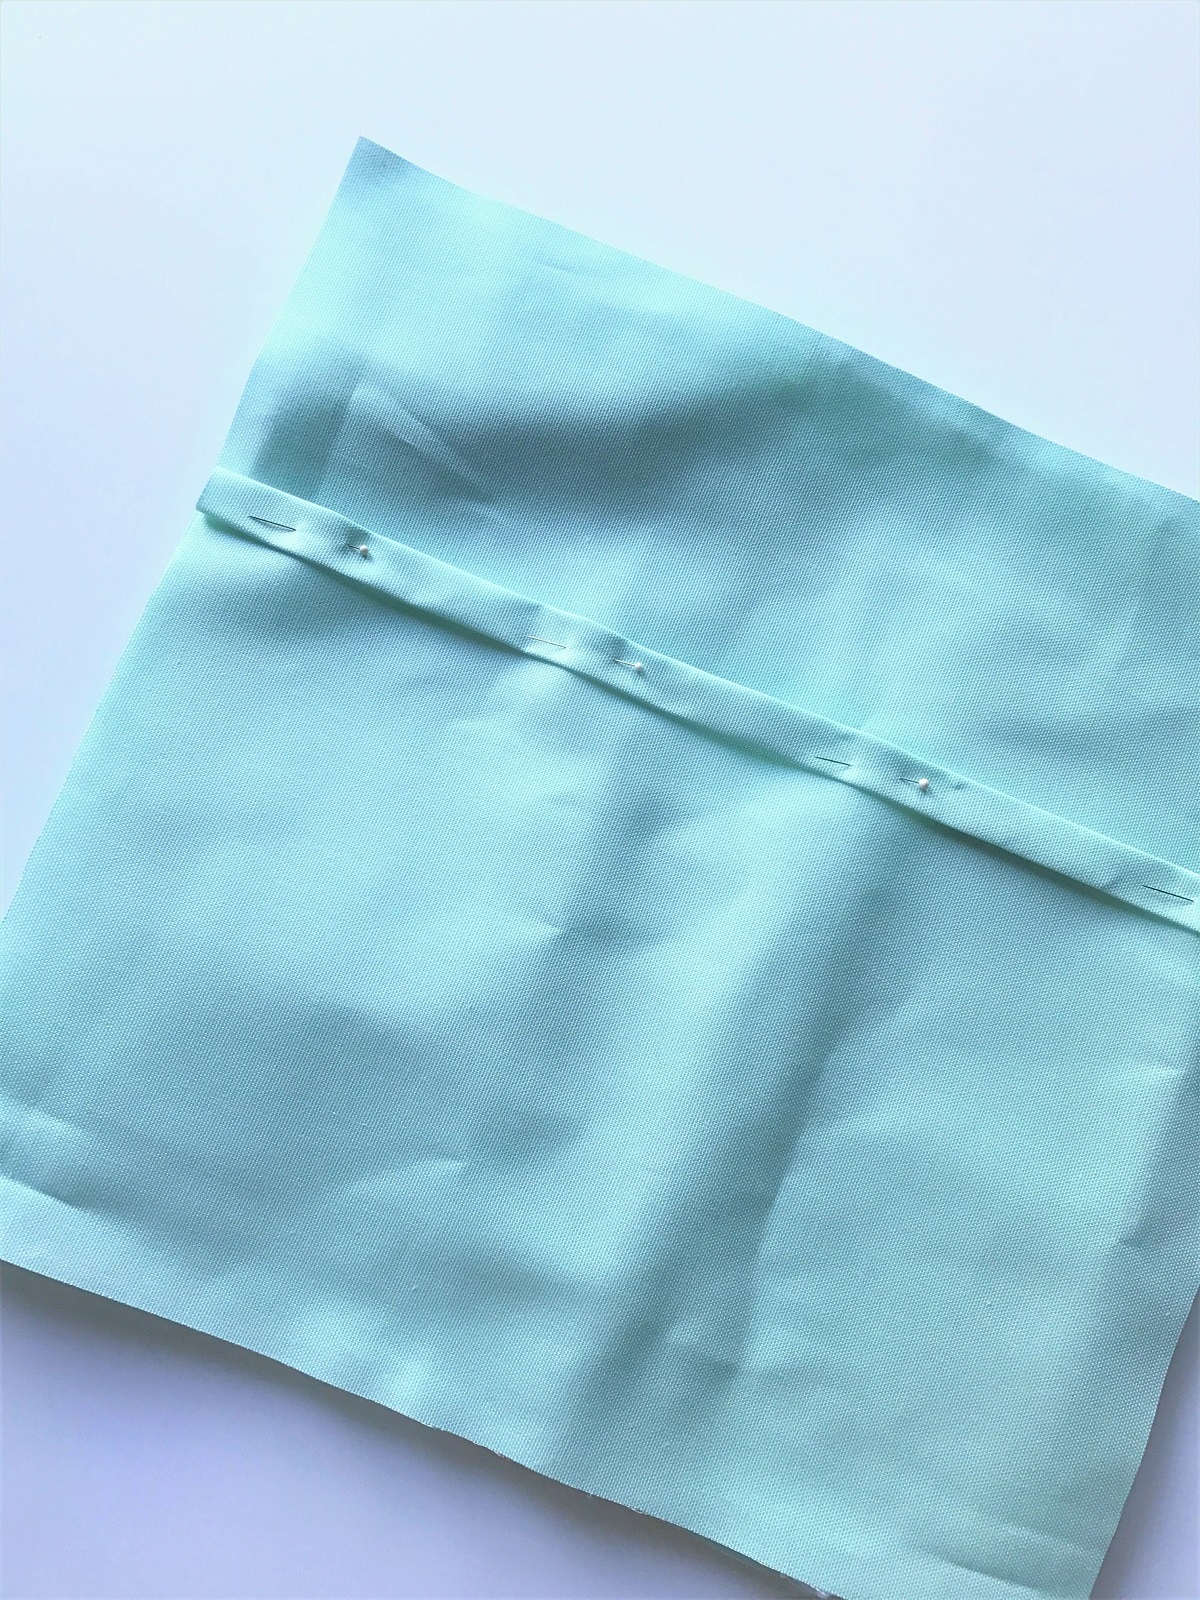
4. To complete your pillowcase, place both rectangles overlapping in the middle on top of your square fabric. The folded down edges should be overlapping in the middle. Pin these pieces down and then sew along the edge of the pillowcase, making sure to sew outside of the mini pom pom trim.
Flip the pillow case right side out and pop your pillow inside!

Super cute! I am the pillow queen… I need to stop buying them and start making them!
LikeLiked by 1 person
Haha right!!? It’s so hard to stop! Glad you liked the post 😊
LikeLike
It’s all about the Pom Pima, love this!
LikeLiked by 1 person
I totally agree! Glad you like it!
LikeLike