One year ago I would not have considered myself an expert on how to photograph anything, let alone style food and products for a blog. Heck, I still don’t even consider myself and expert! But over the last few months I’ve received questions about how I photograph my baking and cooking and have been asked to style and photograph products for a company’s website, so I guess I do have a few tidbits of knowledge to share!
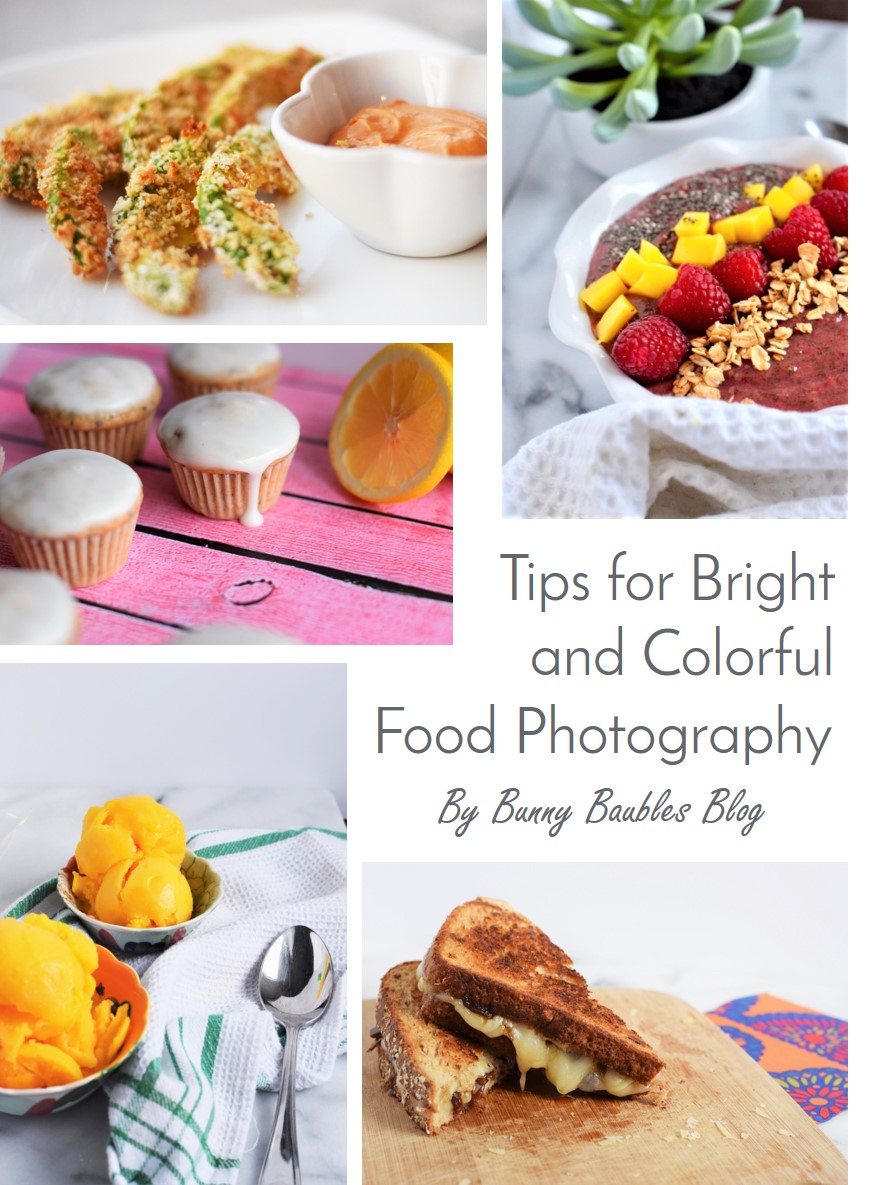
For this post, I want to start by explaining my personal food photography style. I decided to go with a bright, light, and colorful approach to food photography for Bunny Baubles. There are many beautiful ways to photograph food and products that can include dark rooms and intense shadows, but I think that consistency is crucial to keeping my brand special and I like to stick with light and bright.
So how do I stick to this light, bright, and colorful scheme? Here are some of my photography tips.
Food Photography Tips
1. Shoot with natural light. If you take anything away from this blog post, it’s that you should always photograph food with the lights off and next to a window with bright, indirect sunlight! Lamps and overhead lights create artificial coloring in your food photos that tend to make it look yellow. Direct sunlight casts intense shadows on your food which don’t make it as crisp looking. Indirect sunlight gives you a bright look with natural colors and helps to avoid any shadows. I actually take photos on my balcony if I can because I get the most light there!
Also, make sure to take your photos from the angle that the light is coming from to reduce shadows, but make sure you don’t block all of the light with your body! If you photograph your food with the light behind it, you will end up with a bright background and dark food. No Gouda.
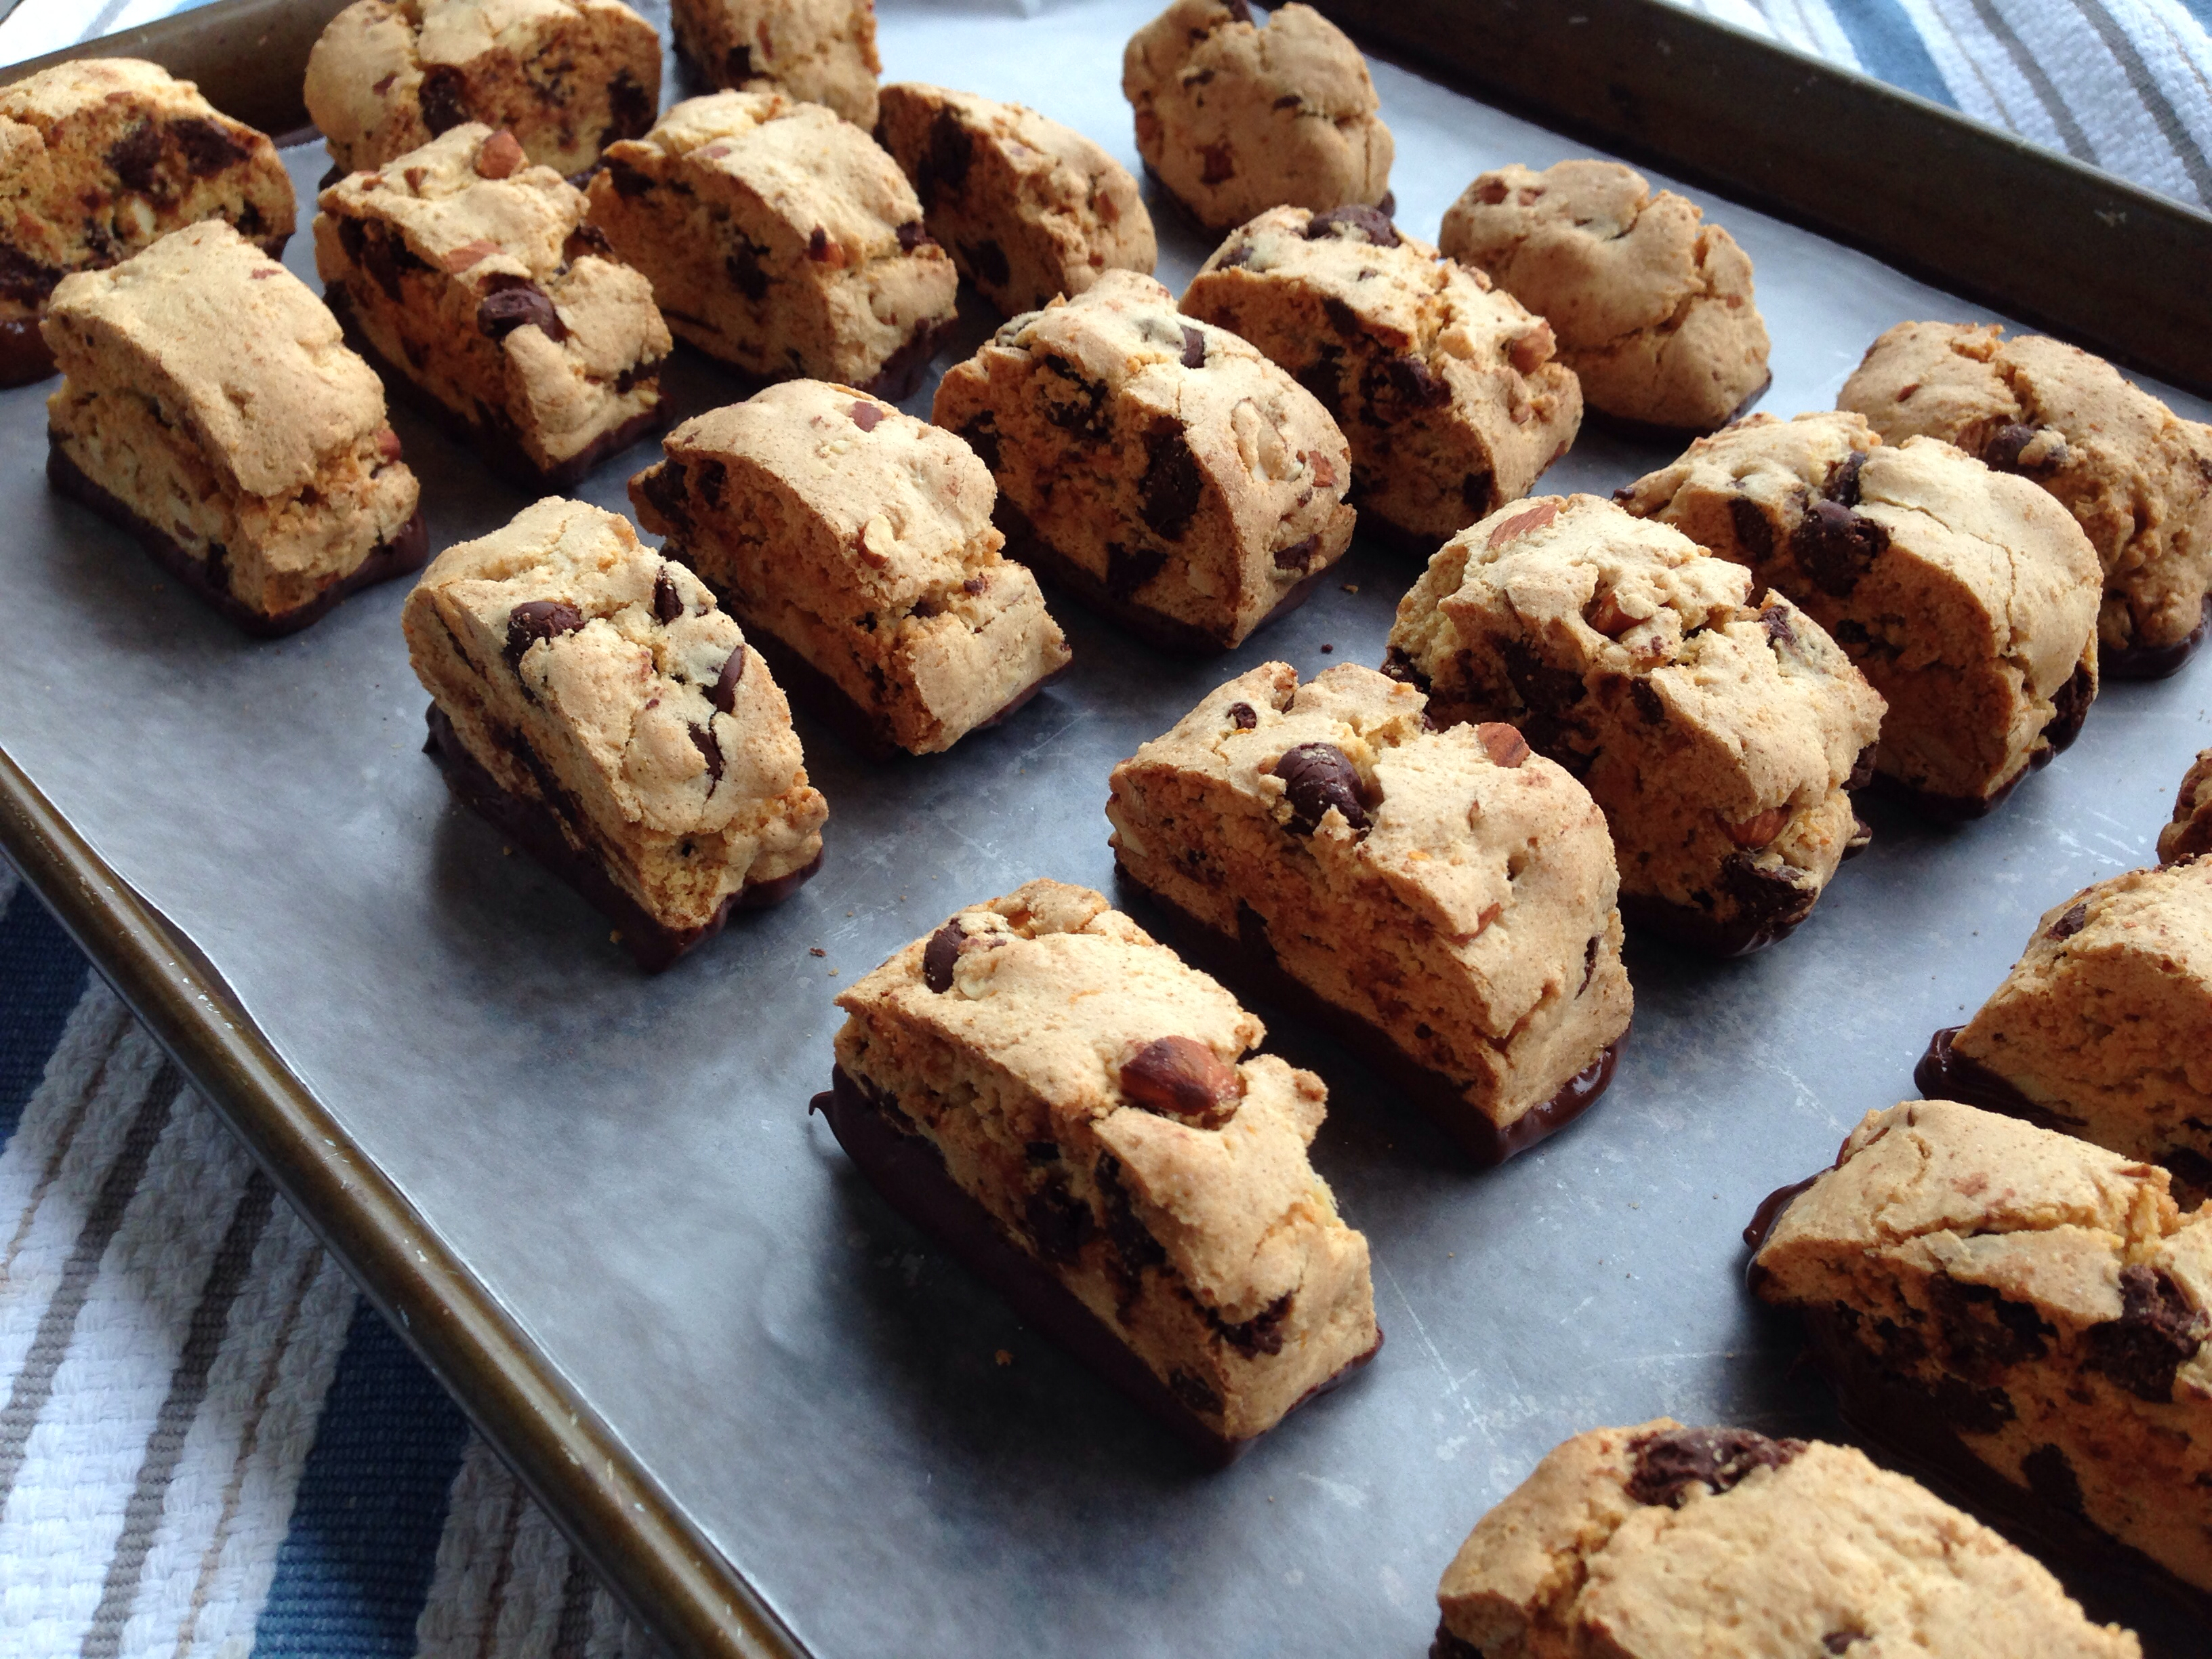

These biscotti photos were taken on the same day. As you can see, I photographed the left photo with the light behind the food which cast dark shadows on it. In the photo on the right, I took the photo with the light in front of the food which resulted in no shadows and a better look at those yummy details!
2. Create a consistent setup of backdrops. If you’ve ever been to my apartment, you would know that I do not, in fact, have carrera marble countertops and a white back-splash with a large window for bright lighting. The tones in my kitchen are very brown which don’t make for appetizing food photos. To create a fake kitchen atmosphere, I purchased a marble pastry board and some white foam boards. I set my food on the marble and photograph it from above, or set the foam board next to the marble to take side shots for a bright background.

Not shown, me standing on a chair to get the perfect aerial shot. But as you can see, I have the marble on the floor next to the windows with indirect light and the foam board behind it to reflect light and serve as a plain background.

A clear example of my classic setup – white marble + white foam board
3. If the food isn’t colorful, add some color to the styling! I have recently added a pink scheme to my Instagram, and to keep it consistent I bought a piece of pink fabric to drape over the foam board as a background. I also got some really cool wipeable vinyl mats in varying colors and textures to change up the “cooking” surface if need be. Another trick? Add color to the food! I am not saying that everything is better with sprinkles, but this photo of chocolate pancakes seriously came to life after I added them! Get creative and see what you can come up with.
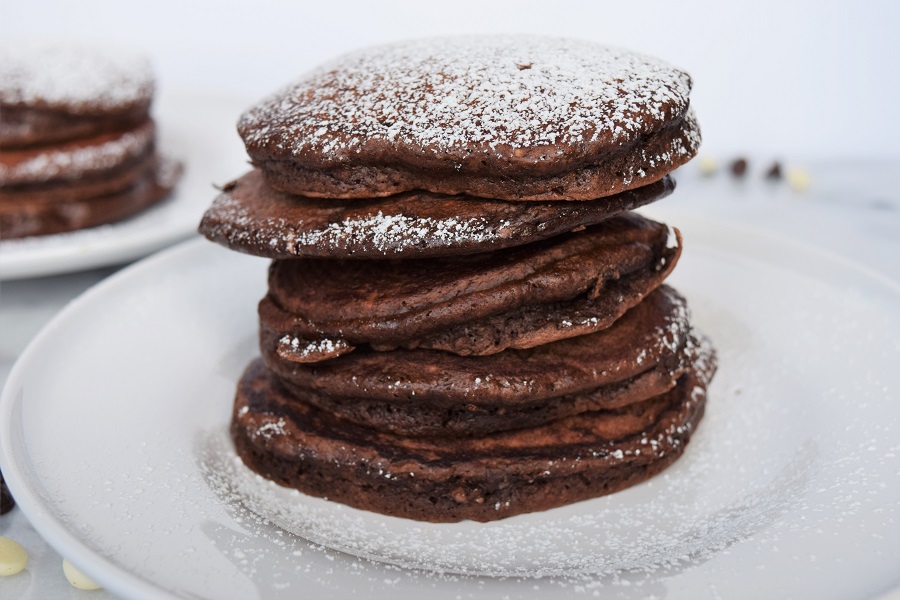
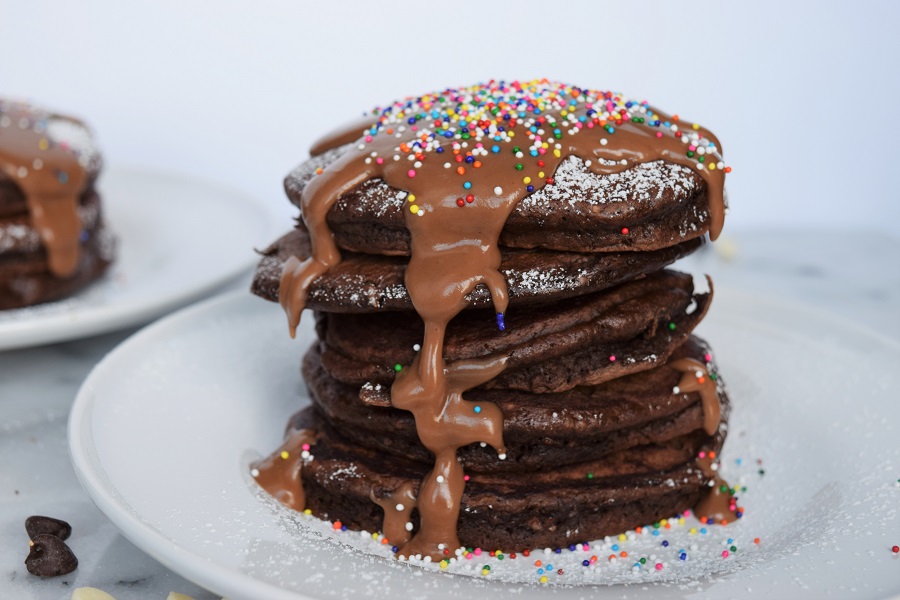
Before and after sprinkles
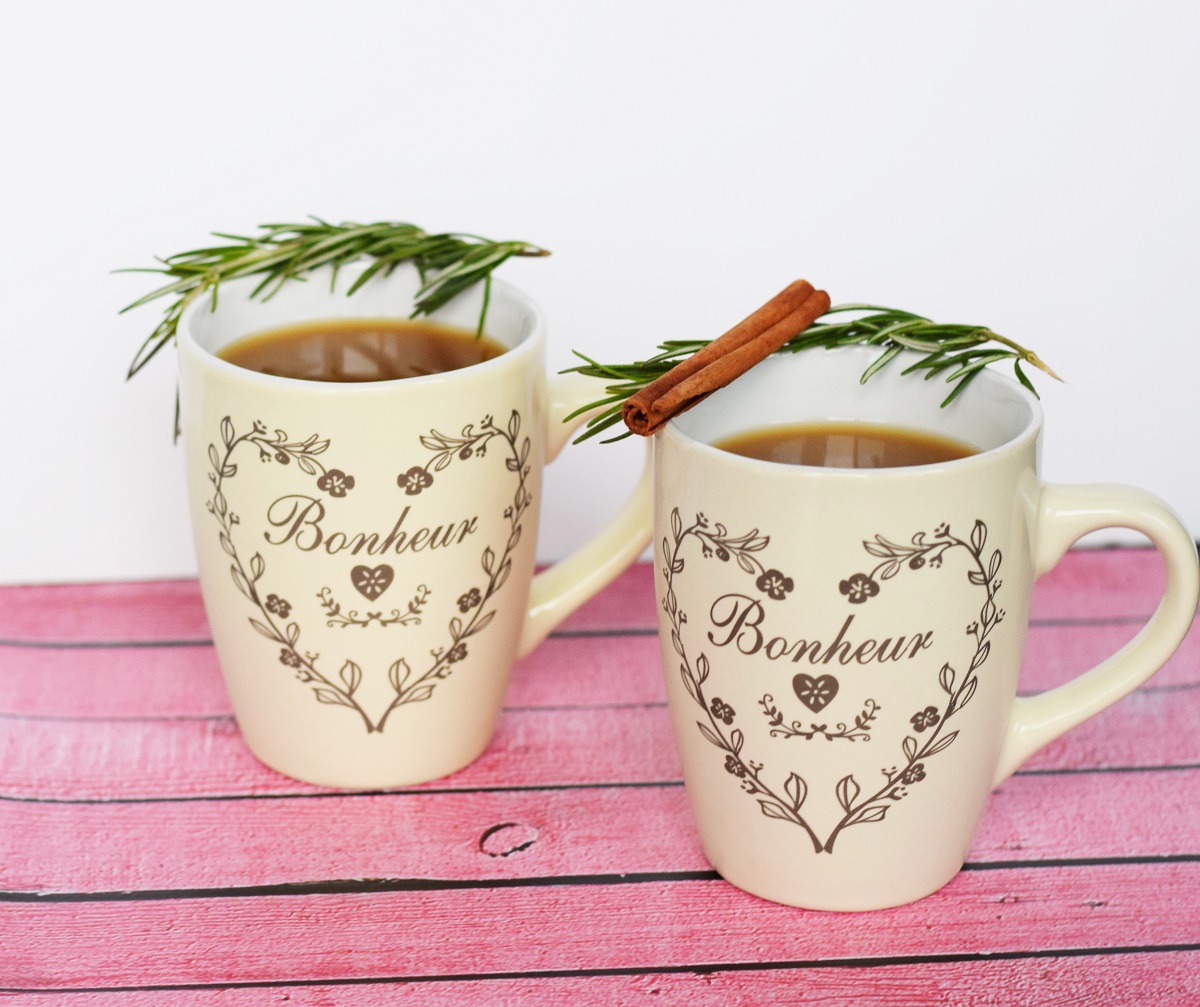
Vinyl backdrop and the use of herbs to add color
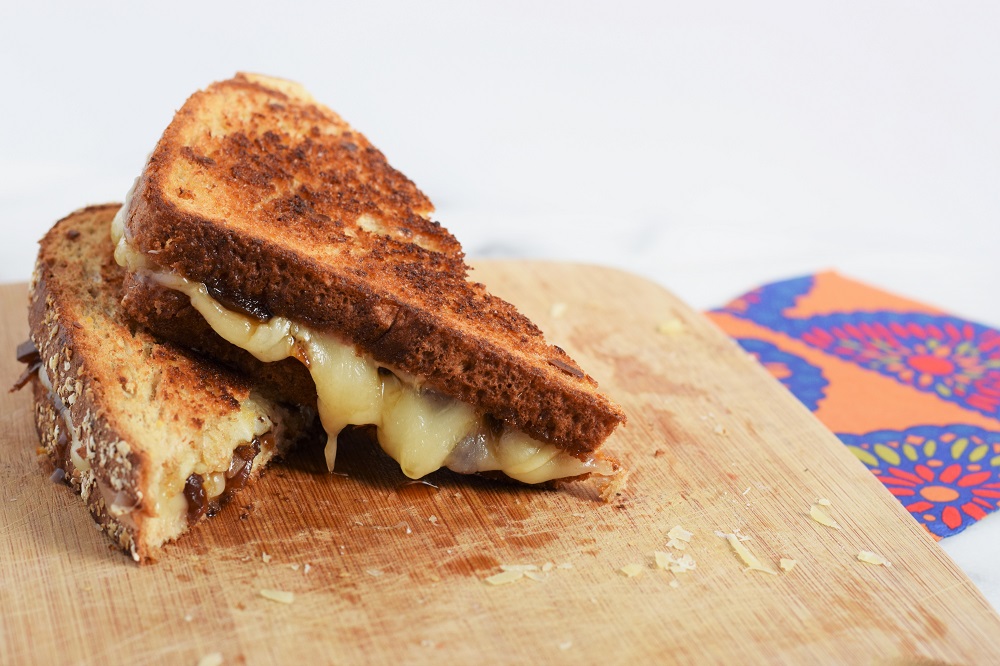
This sandwich was really brown, so I added vibrant napkins to make the picture more colorful
4. Use plain, white plates. I own yellow dinner plates but rarely use them in photos since I want the food to be the star of the show. White plates won’t distract from the food.

My favorite appetizer plates from Crate and Barrel – only $2!
5. Add texture to your styling. Now that you have your food proudly placed on a white plate on a white or colorful background, it’s time to add some texture! I like to add a pretty washcloth or some of the ingredients I was working with to add interest to a photo. By styling a soft item with hard items, it creates a balance in the photo.
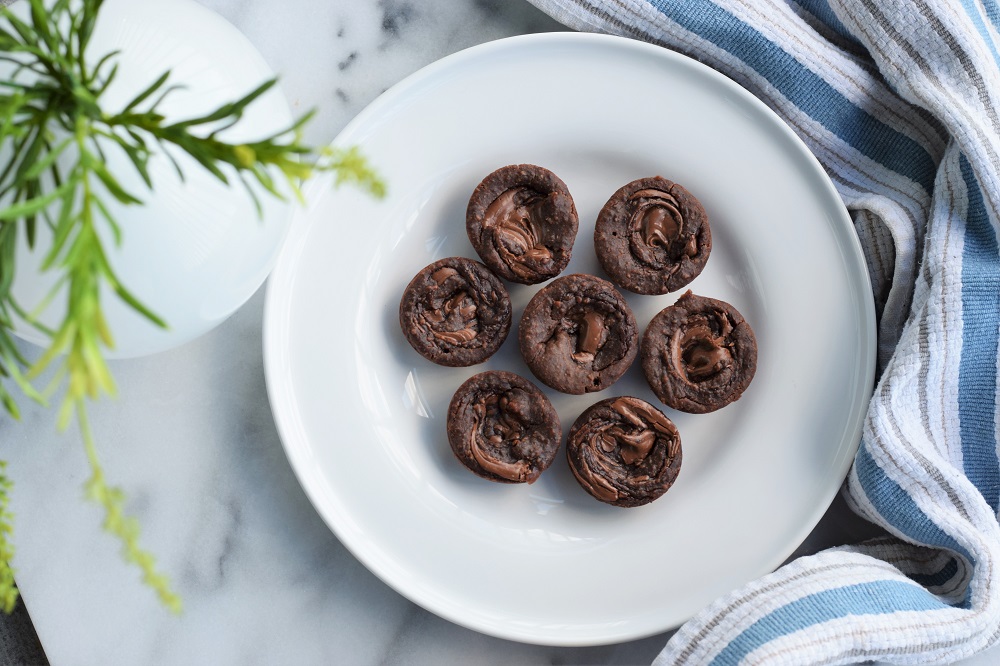
Here I added a soft washcloth and a bright green plant for color and texture

Here I placed the candies in to paper cups, sprinkled sprinkles around them, and then added in colorful paper scraps to add interest to the photo. The candies alone were so small that they needed something to enhance them.
6. Invest in a camera. For the longest time, I blogged using my iPhone for my photos. The latest iPhone honestly takes incredible photos, and if a more professional camera isn’t in your budget then it will take you really far. If you have a little budget and little to no camera experience like me, there are tons of incredible DSLR cameras on the market that up your game even more. What camera do I use? I ended up purchasing a Nikon D3300 and adding a 50 mm f1.8/G lens after a few months. The lens the camera comes with is OK, but I purchased the camera based off of reviews, ease of use, and honestly the weight of the body (it is the lightest DSLR I tried) but the upgraded lens adds a beautiful blurring effect to the background of the photo and results in an overall much higher quality photo. I love my lens since it is perfect for food photography – no zoom, manual focus, great blur, pretty affordable ($200). If you have a higher budget, then I was advised to invest in nicer lenses and not necessarily a nicer body. At some point it would be nice to upgrade both, but that isn’t where I’m at yet.
The photo on the left was taken with my iPhone 7 camera, while the photo on the right was taken with my DSLR. You can see that the background and shadows are softer in the DSLR photo, and it gives a nicer depth to the photo that the iPhone can’t capture. There is also a wider range of colors that appear in the DSLR that are closer to how the chocolates look in real life. The iPhone photo is still beautiful, but has very intense shadows and colors.
7. Get comfortable with your camera. No matter what you buy, it doesn’t matter how nice it is unless you practice using it. I have taken loads of horrible pictures with my DSLR. It took me a while to adjust settings and work on the manual mode of the camera, but once I did the photos really improved.
8. Try multiple angles. I know it’s tempting to just photograph a flat lay of food from above, but those side angle shots can be so much better! I like to try getting detailed shots of certain items, larger scale shots of maybe a full table of food, and different viewpoints of the food.


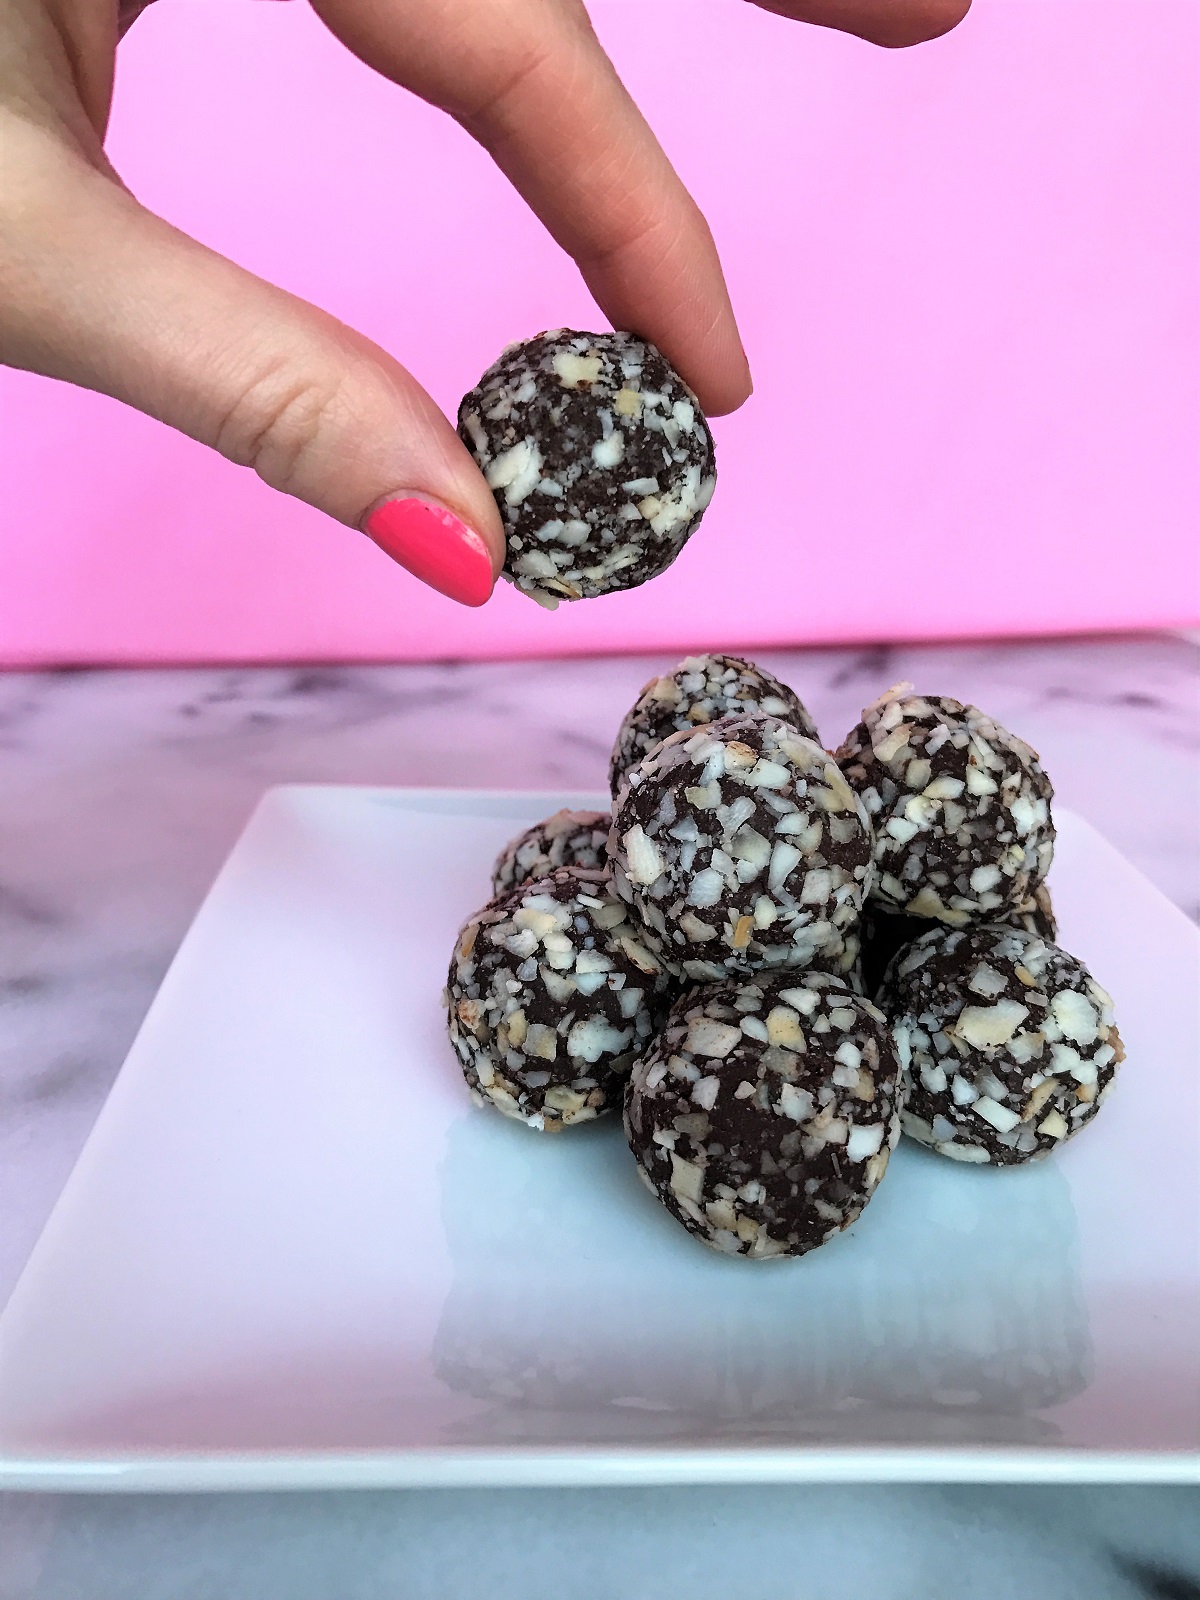
For these gummies, I tried multiple looks for displaying the candies and had to shoot them from many angles before I found some that I liked. Don’t be afraid to style the food in different ways or even get your hands in the photo too! You never know what will work best until you try it.
9. Edit your photos. For as much time as I spend photographing food, I spend just as much time going through photos, deleting them, and editing them. My easy tips? Use a free editor app and enhance the brightness or exposure, reduce the shadows, enhance the saturation, and enhance the clarity. When I say enhance, don’t go overboard. Just a little extra saturation can help make colors pop, but too much will make chocolate chip cookies look orange. Yuck. The goal is to make your food look appealing and these little tricks can help a lot.
Julia’s Food Photography Equipment
If you’re curious about what equipment I use, here is a full list of things I have purchased specifically for food photography. I have listed them in order of my purchases to show how you can slowly add on if you want:
- iPhone 7 (or latest iPhone – I started with the iPhone 5s)
- Marble Pastry Board – $60 (I got mine on sale for half off)
- White Plates – Round and Square – $1-2
- White Foam Board – $3
- Nikon D3300 camera body – $450
- Small Camera Bag – $19
- Nikon AF-S FX NIKKOR 50mm f/1.8G Lens with Auto Focus – $200
- 32 GB memory card – $32
- Plain fabric (for backdrops) – $3/yard
- Vinyl Photography Backdrops – $10-30

In the end, I just want to express that food photography is not glamorous. Most of the time I can be seen in workout clothes, standing on a chair hovering over food that is placed on a marble slab on the floor in front of the window with white poster boards all over the place and 100 props sitting on the dining table ready for use. The kitchen is usually a disaster zone, and I end up apologizing profusely to Megan as she is just trying to eat a salad at the table. But it is fun!
Have a great time and feel free to ask me any questions below!

Great tips! Thanks for sharing!
LikeLiked by 1 person
So glad you were able to learn something! Thanks!
LikeLike
Great tips! I have the iPhone 7 plus which has the two cameras, one that duplicates the DSLR and I love it. One day I may invest in a fancy camera, but for now it seems to be getting the job done!
I have also always wondered how everyone sets up the clear white background and now I know! A simple foam board leaning up against a chair. I’m going to try to duplicate this, this evening. I also have those same plates from Crate and Barrel! They are the best for food photography!
LikeLiked by 1 person