Though beach cover ups are completely unnecessary since clothing or a large towel also suffice for covering your body on your way to the beach, they can be a lot of fun. It’s nice to have something that can be thrown on and taken off simply, while lightly covering you up from the sun just in case you need some shade during the day. Kimono’s were all over the place last year, and it seems that we haven’t seen the last of them yet. I had plans to travel with my family to a resort in Arizona this year for Spring break, so I decided I needed this poolside staple in my suitcase!


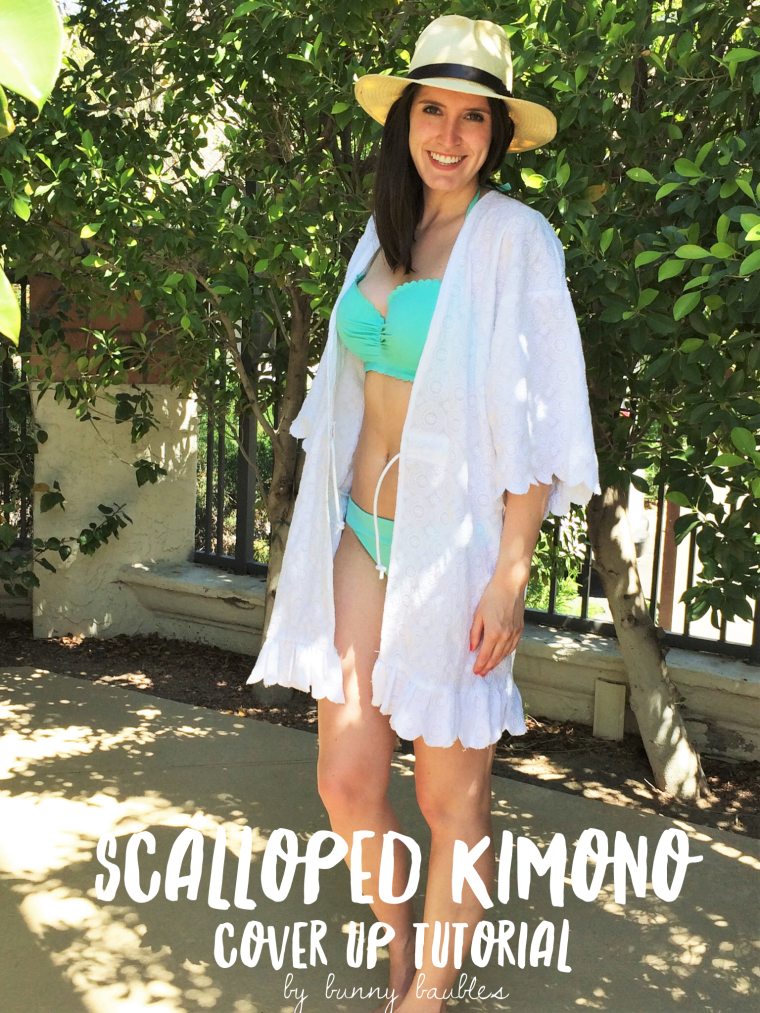
Details: Swim Suit – Victoria’s Secret || Cover Up – Made by Me (similar | similar) || Hat – Lucky Brand Jeans (similar)
I designed this kimono based off of some other tutorials I found, but with my own twist. Most kimonos have shorter sleeves and do not include a tie at the middle, but I thought the longer sleeve would be great for when the sun starts to set and it gets a little chilly, and the tie makes it a bit more modest for running around a resort near fancy restaurants and such.
Since I love a little girly flair, I chose this beautiful, white eyelet cotton that has a circle pattern that’s perfect for making scallops. I also added a little ruffle to the bottom, mostly because I was still totally obsessing over my ruffled peplum top from a few weeks ago.
Get going on this project so you have it ready for Summer at the beach! P.S. I have so many projects coming up for y’all that are very Summery and wonderful, can’t wait! Scroll below to see the full tutorial.
Scalloped Kimono Beach Cover Up Tutorial
Supplies:
2.5 yards of this Eyelet Cotton Fabric
1.5 yards of White Cotton Cord
White Thread
Sewing Machine
Pins
Scissors
Measuring Tape

1. Fold your fabric in half along the short side and cut out one BACK, two FRONTs, two ARMs, one RUFFLE, and three TABs as shown above. The width of the BACK will be from shoulder to shoulder plus 8″ (this was 24″ for me, 12″ on the fold). The width of the ARM will be the size of your bicep plus about 15″ (this was 24″ for me).
2. With the right sides of the fabric facing one another, pin the shoulders of the BACK to the shoulders of the two FRONT pieces. Sew along these seams.
3. Unfold the BACK and FRONT pieces with the back side of the fabric facing up. Line up the width of the ARM with the sides of the BACK and FRONT so that it is centered on the seam and sew along this edge for each sleeve.
4. Fold the kimono so the right sides of the fabric are touching one another and sew along the underside of the sleeves and down each side of the body. Flip the kimono right side out.
5. To create the ruffle, run the RUFFLE fabric through the sewing machine with one straight stitch without tying off the ends (do not back stitch). By doing this, you can then hold one thread and pull on the other and scrunch the material to create a ruffle. Scrunch the material to about 44″ long. Connect the RUFFLE by lining up the RUFFLE sewn edge with the bottom of the kimono on the right side of the fabric and sew a straight stitch along the already created stitch of the RUFFLE.
6. To create the drawstring, sew the TABs to the inside of the kimono at the waist with one seam on the top and bottom along the 4″ side. Two should be at the front of the kimono at the opening and one should be at the back. Sting the cotton cord through these slots and tie knots at the ends.
7. To complete the look, hem the opening of the kimono, and cut around the circular pattern of the fabric at the ends of the sleeves and the bottom of the ruffle to make scallops. Nicely enough, this embroidered eyelet fabric will stay together around the scallops without you having to stitch it, but if you have a serger I would use this on the edge to make it machine washable.
Throw this kimono on any time you head to the beach to keep you warm from any cool breezes and modest when walking around in public!

Woah, I can’t believe you made the scalloped top! Looks awesome
LikeLiked by 1 person
Thanks so much!
LikeLike