I love bread. It’s comforting, soft, snackable, and spreadable with butter and jam. Is there really anything better?
I also admit to loving gluten. Gluten makes bread…bread. I don’t care how many fabulous gluten-free loaves you shove under my nose on Pinterest, it’s just not the same. Don’t get me wrong, I understand so many are allergic to magical gluten. But being a gluten lover myself, I’m sticking to it. Sorry gluten hating friends, this blog post is not for you.
So back to the cheese and jelly vessel that is this French Bread. It’s a recipe that my dad shared with me through my years of childhood, coming in from playing outdoors to the smell of fresh, soft bread covered in cheese, or being cut up to serve with a big bowl of spaghetti. The recipe is the simplest of bread recipes and can be adapted to make crazy concoctions of your own. By filling the center with cheese before baking or brushing the surface with an egg wash, the bread can be totally transformed!
This is a great starter recipe for anyone who wants to try making bread. The center is smooth and chewy, while the outside has a slight crunch that is really delightful. It’s perfect for making sub sandwiches or slathering with butter and garlic and pairing with pasta. Make sure to eat the bread in the first few days or it will get stale!
Ingredients:
(4 hours prep | 25 mins baking | Makes 2 large loaves)
1/2 Packet of Dry Active Yeast
1 Cup Warm Water (110-120 deg F)
2 Tbs. Sugar
4-5 Cups Bread Flour
1/2 tsp. Salt
1/2 cup Vegetable Oil
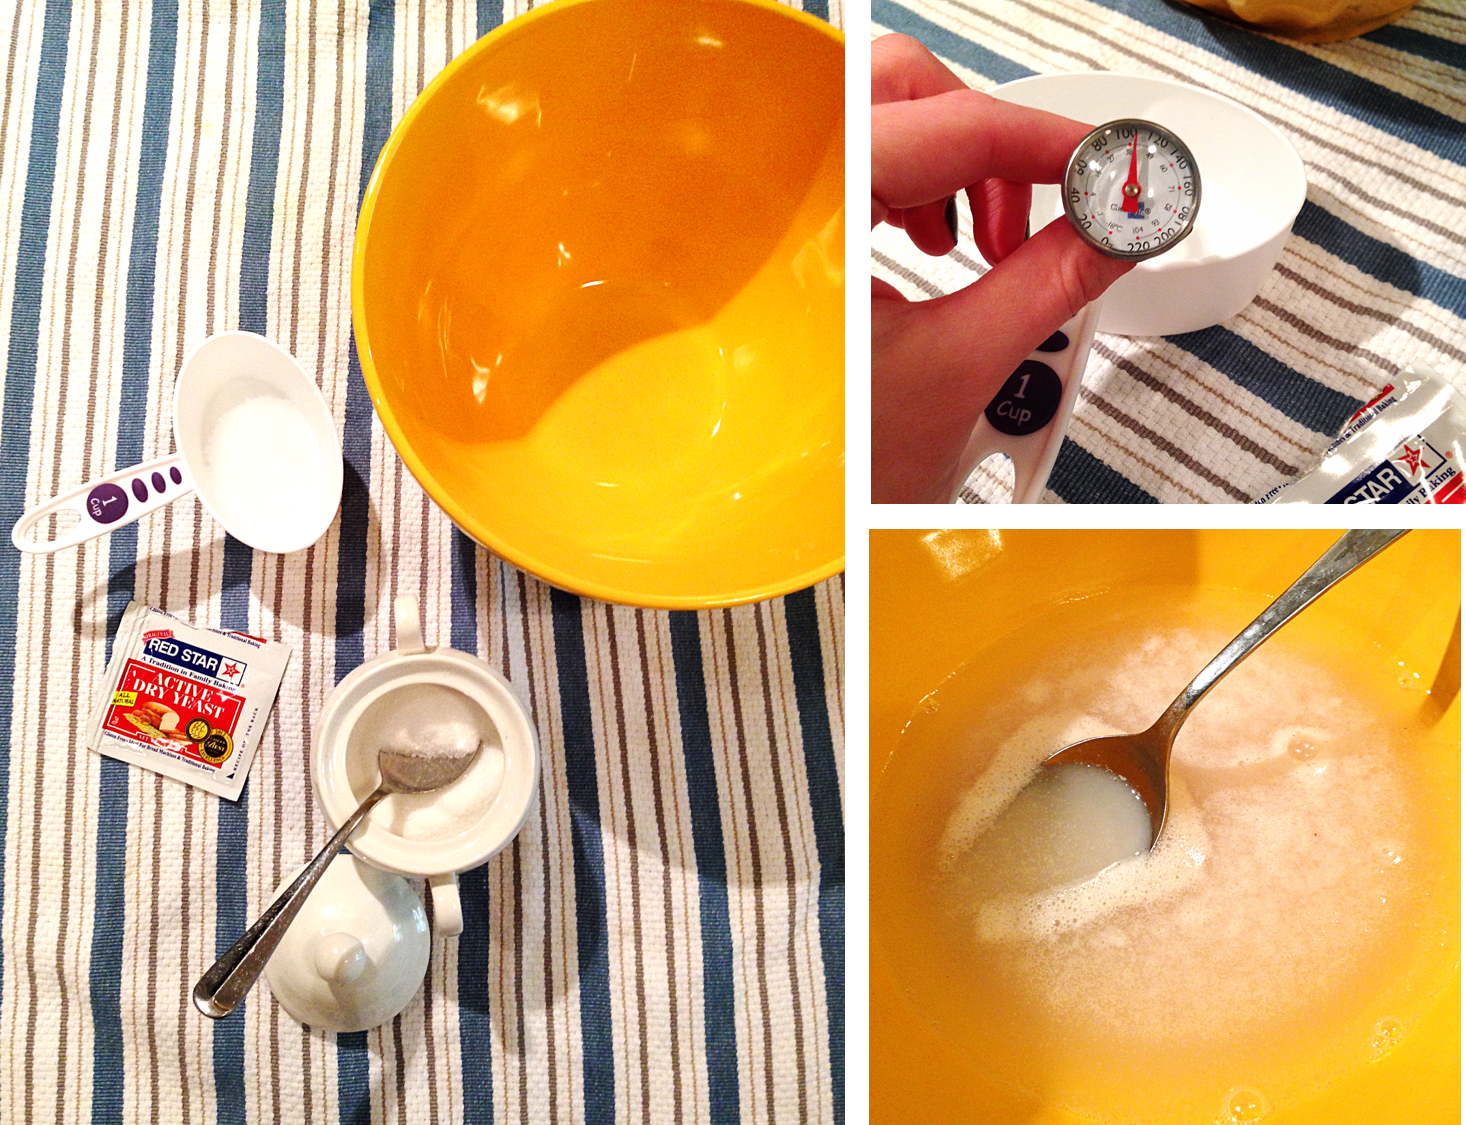
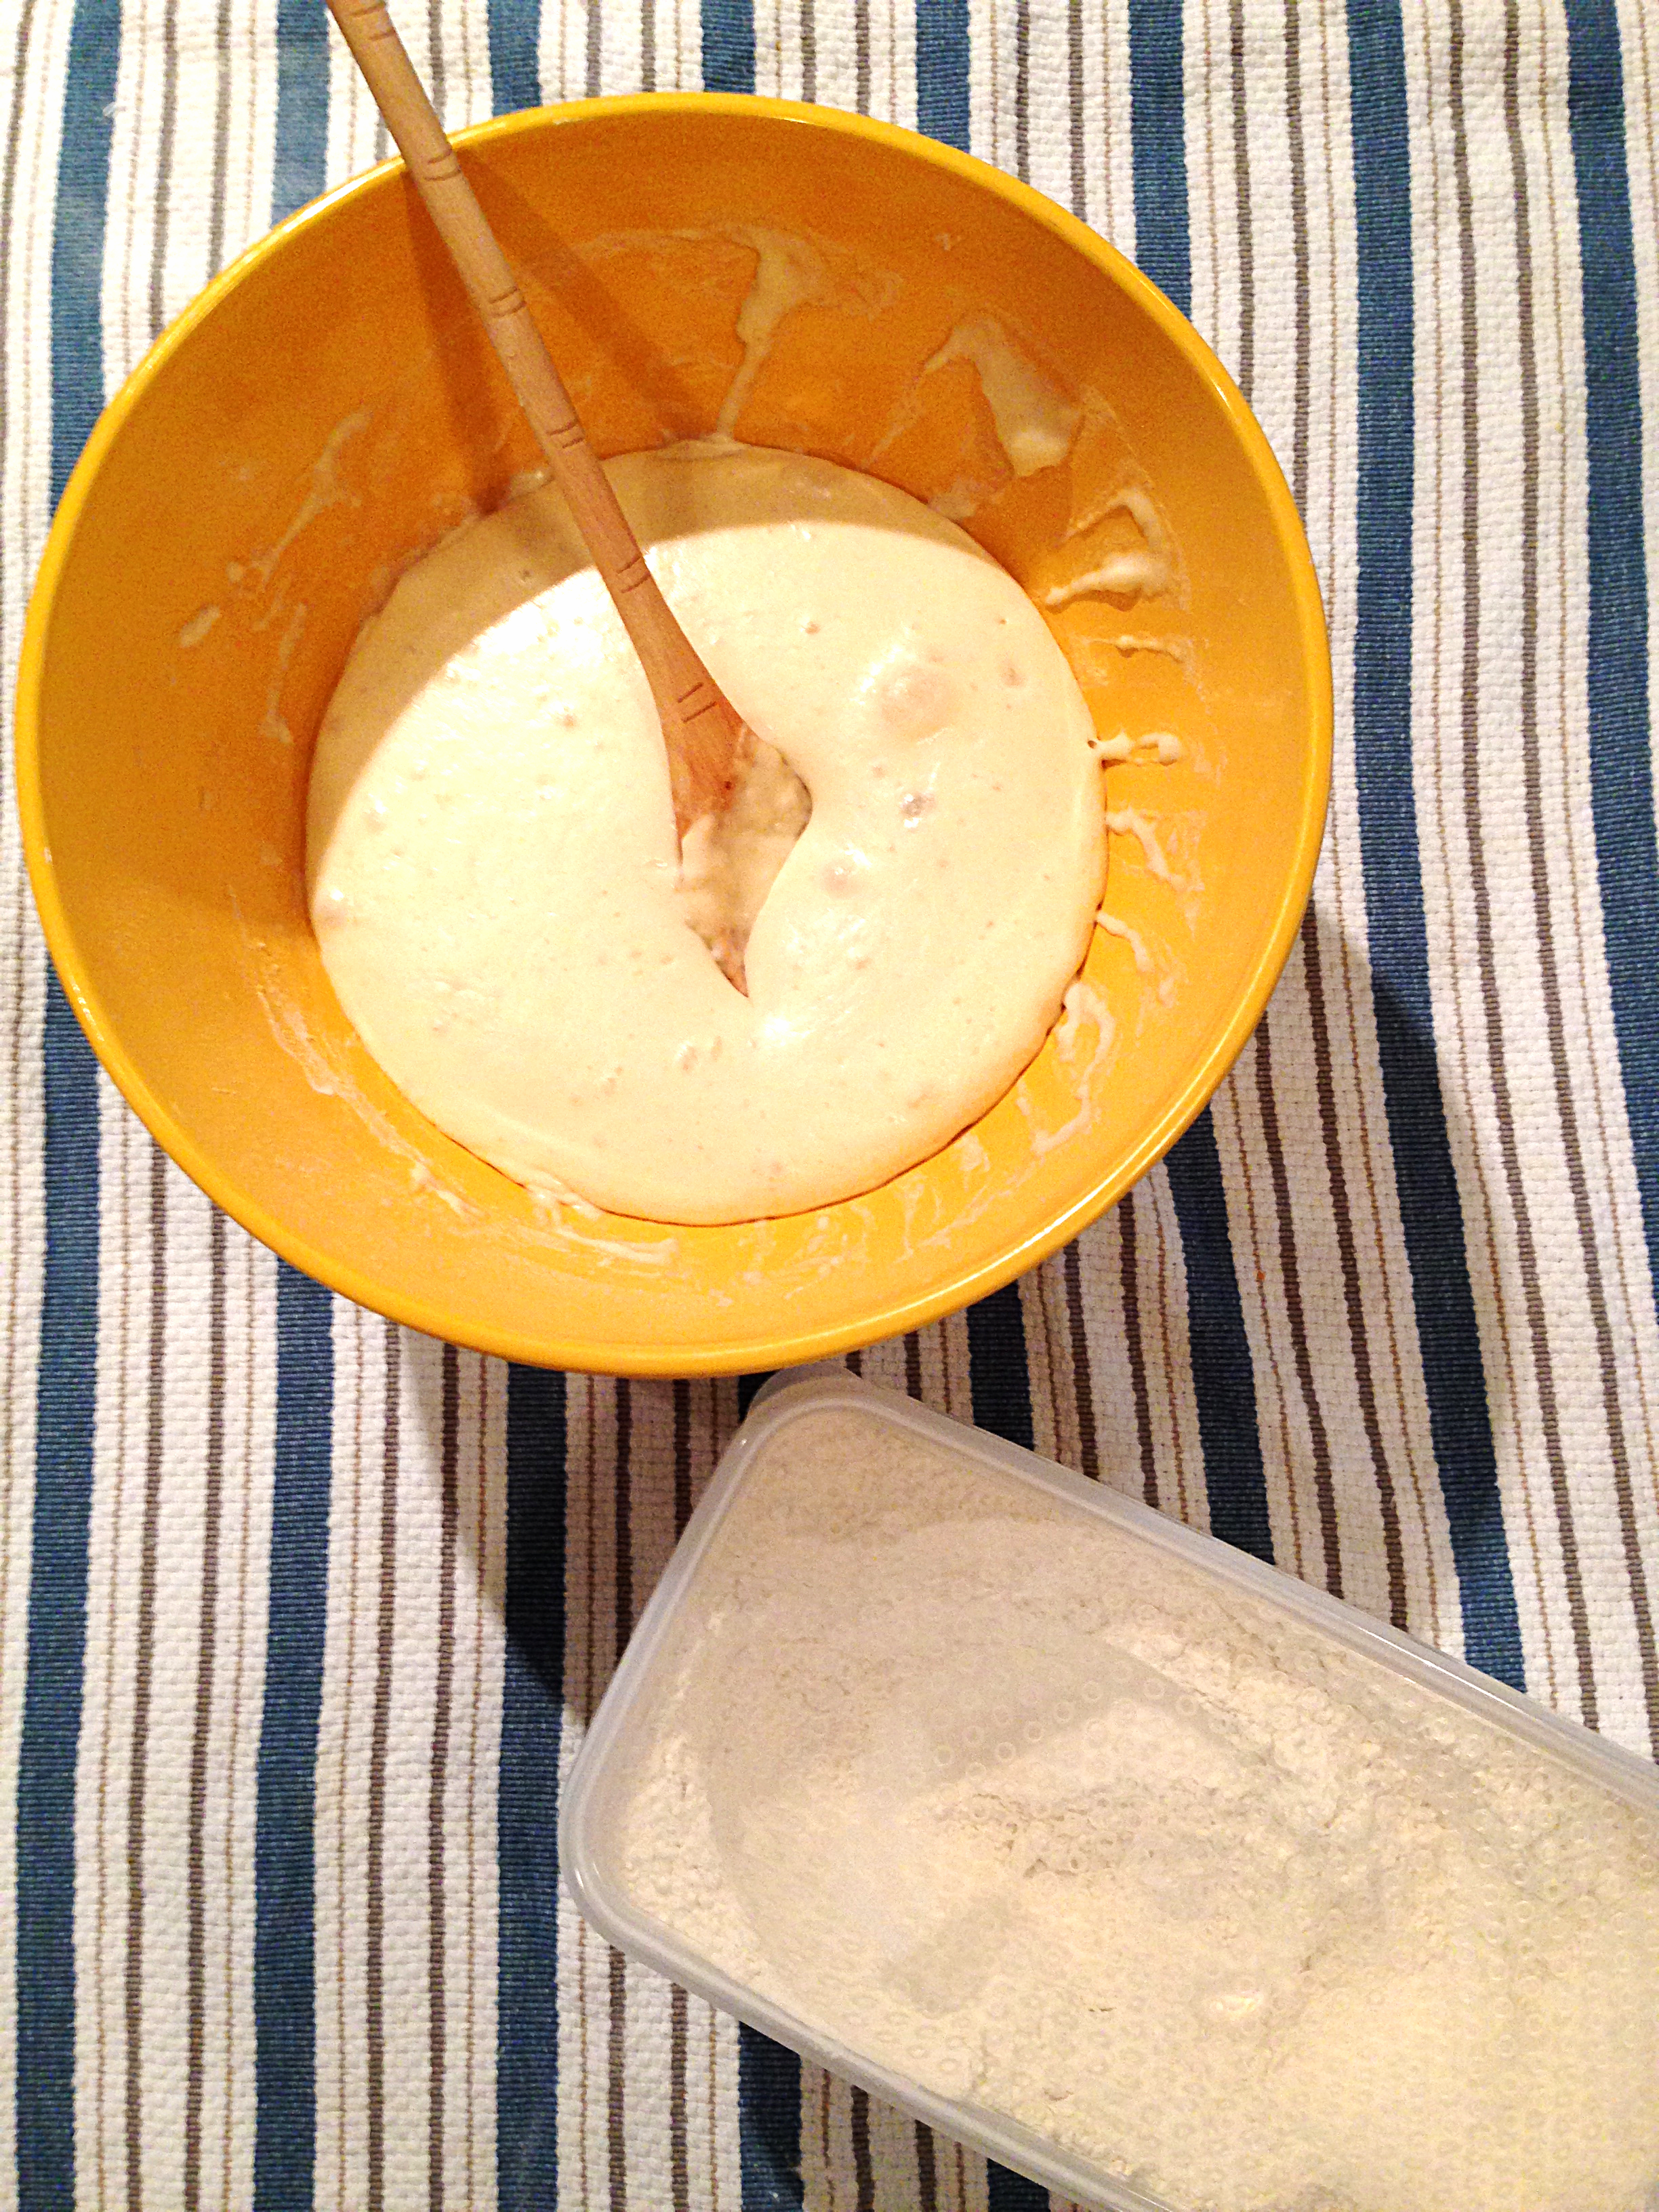
1. Place warm water into a large bowl. If the bowl is cool, the water may become cooler than 110 degrees, so just throw it in the microwave for a few seconds until it warms up again. It is important that the water is warm to activate the yeast, but not so warm that it kills it, so aim for 110-120 degrees F.
Place the yeast and sugar into the bowl with the water. Stir the yeast up a bit and wait about 10 minutes until you see small bubbles forming which means the yeast has activated. You don’t need a lot of bubbles, but if none form, your water is too hot, too cold, or the yeast is dead which happens when it is old. This took me a few tries to get down. Three to be exact. Thankfully you only need half a packet of yeast for all of this bread and it’s about a dollar for 3 packets! Another tip to keep the water warmer is to place it in the sun while it’s activating. Thankfully Houston is blazing hot so I was able to keep my water good and toasty.
2. With your yeast activated, it’s time to start adding your bread flour. You can also use all purpose flour to make bread, but the bread flour works so much better (extra gluten = fluffier bread!). Add about 1 1/2 cups of bread flour to the water along with the salt. Now you beat the bread 100 times…that’s right…100. I don’t know why that’s the magic number, but it sure works! Wet a dish towel and wring it out. Cover your bowl with the dish towel and allow the dough to sit 1 hour in a warmish place. This keeps the dough from drying out and helps it to expand. And when I say a warm place, basically if you’re baking and it’s very cold out, make sure you wrap the bowl in a blankie or place in the oven on the warming setting.
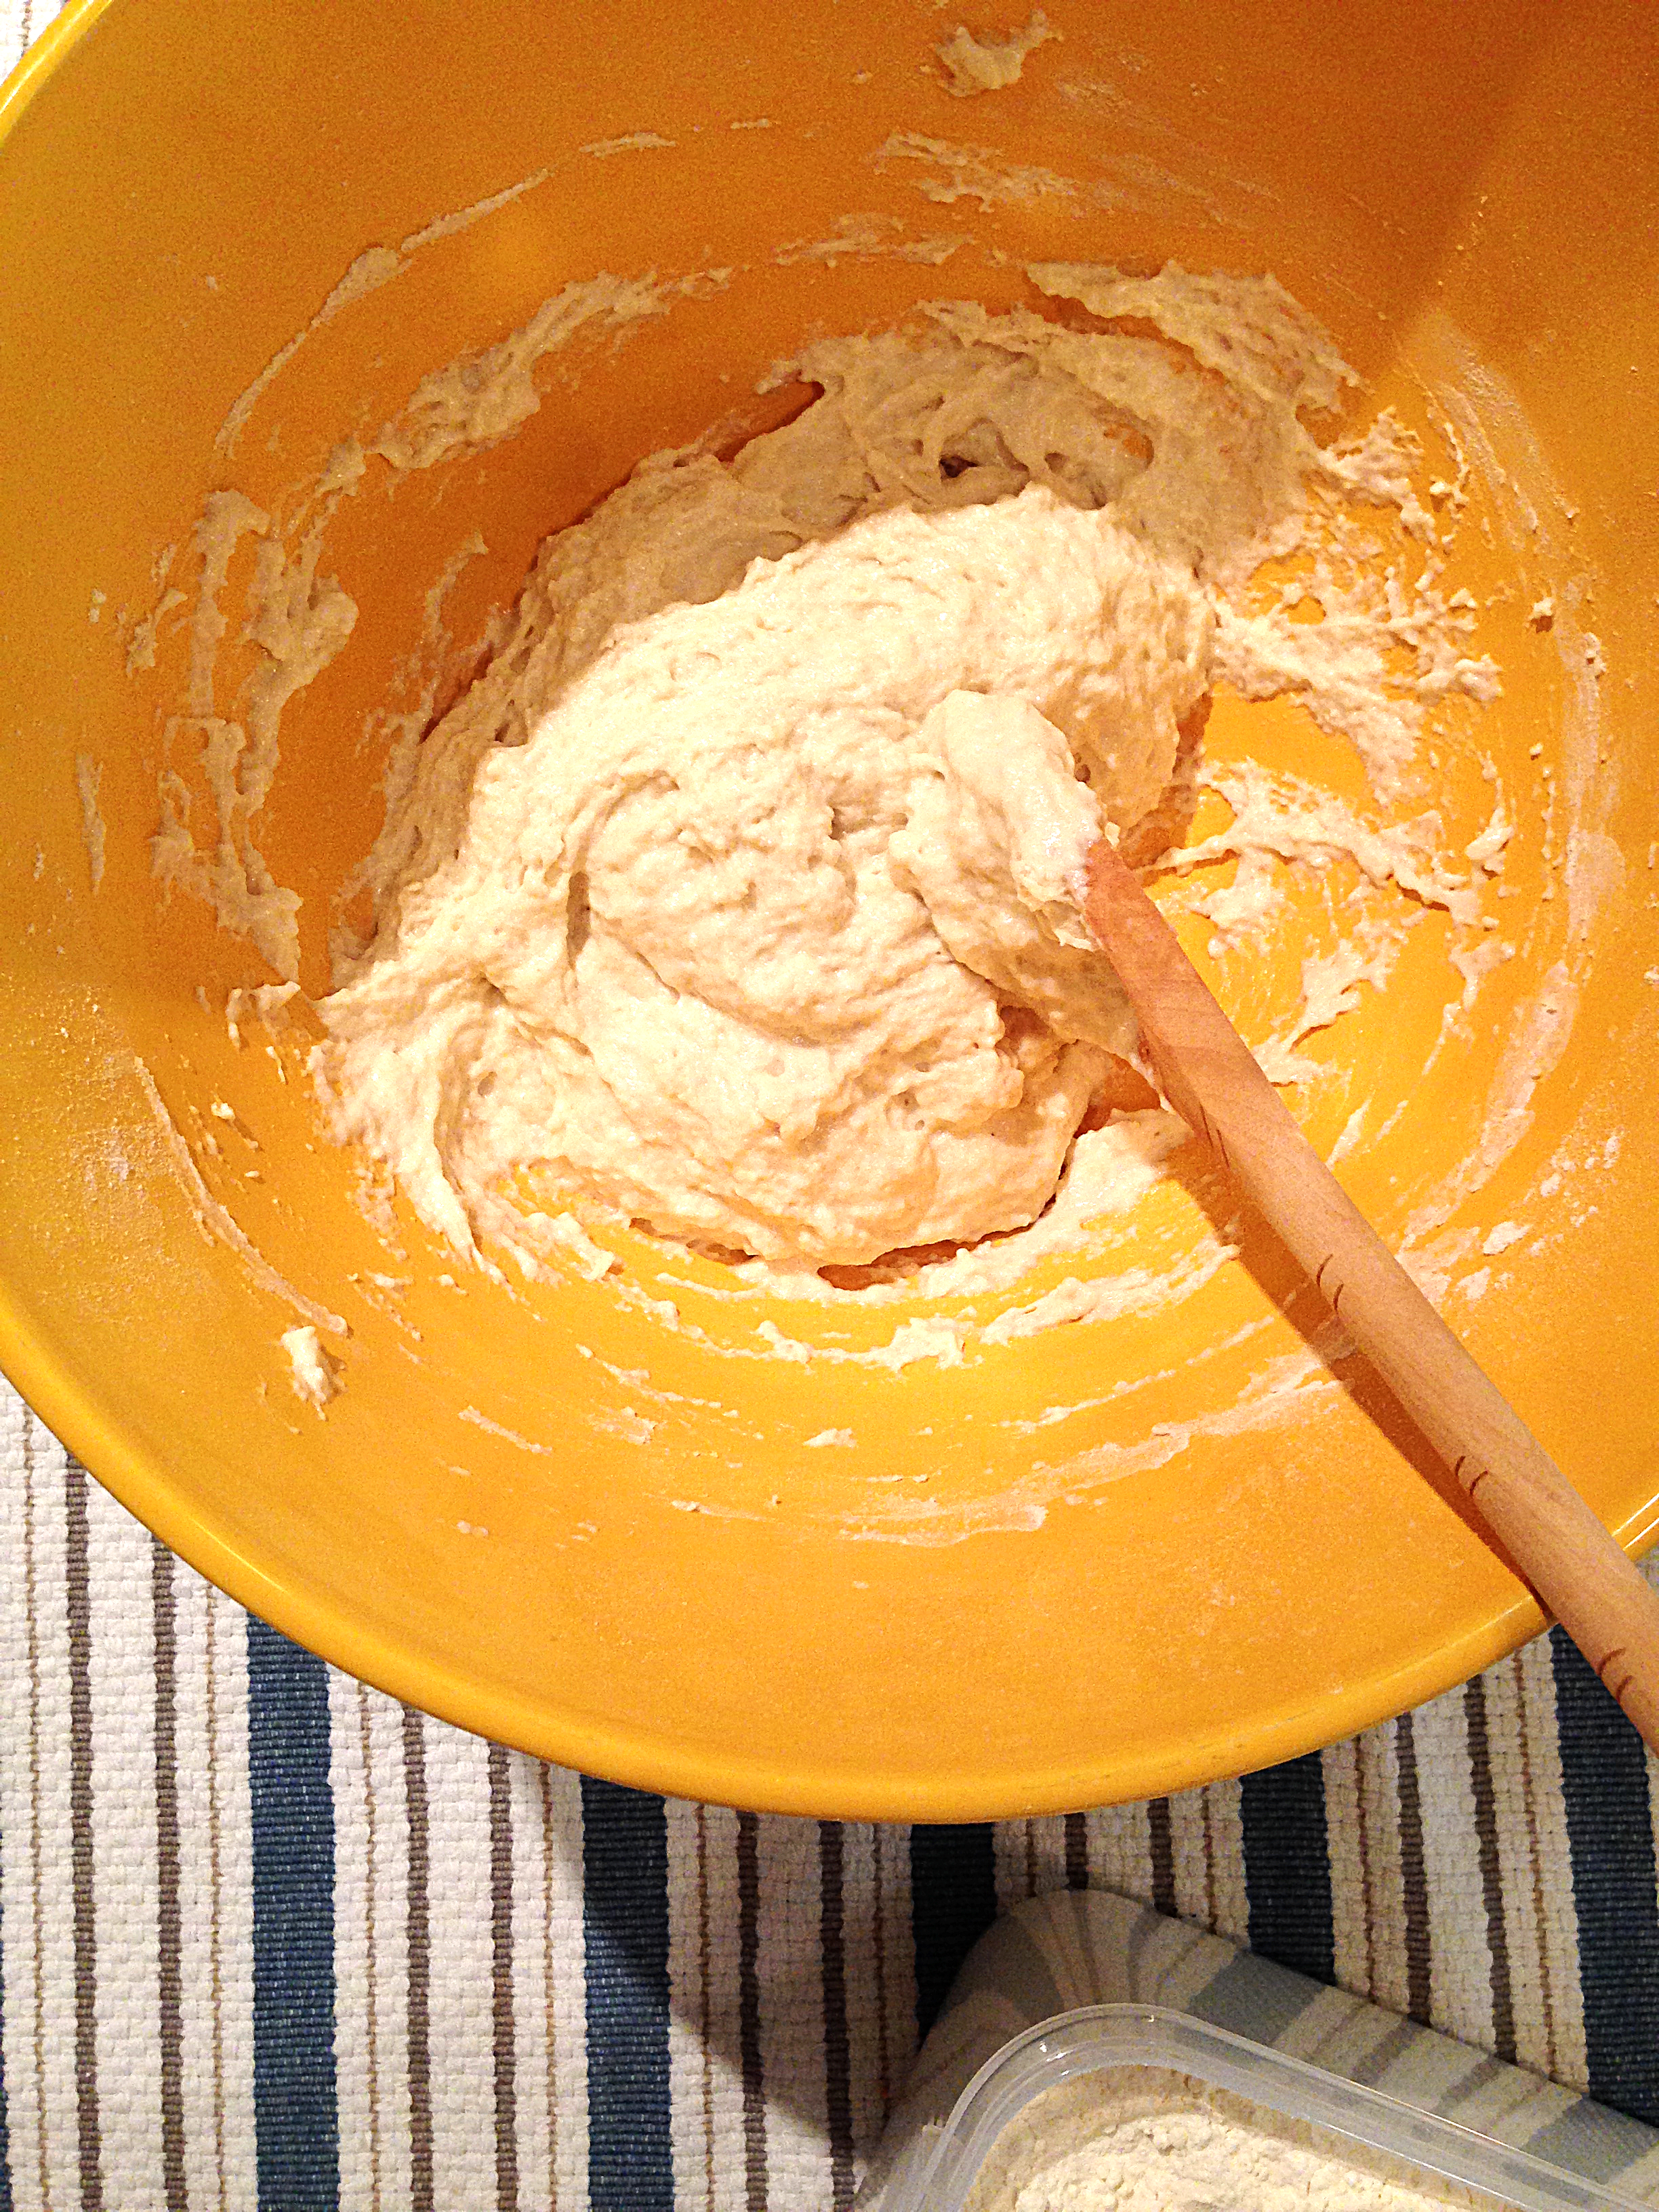
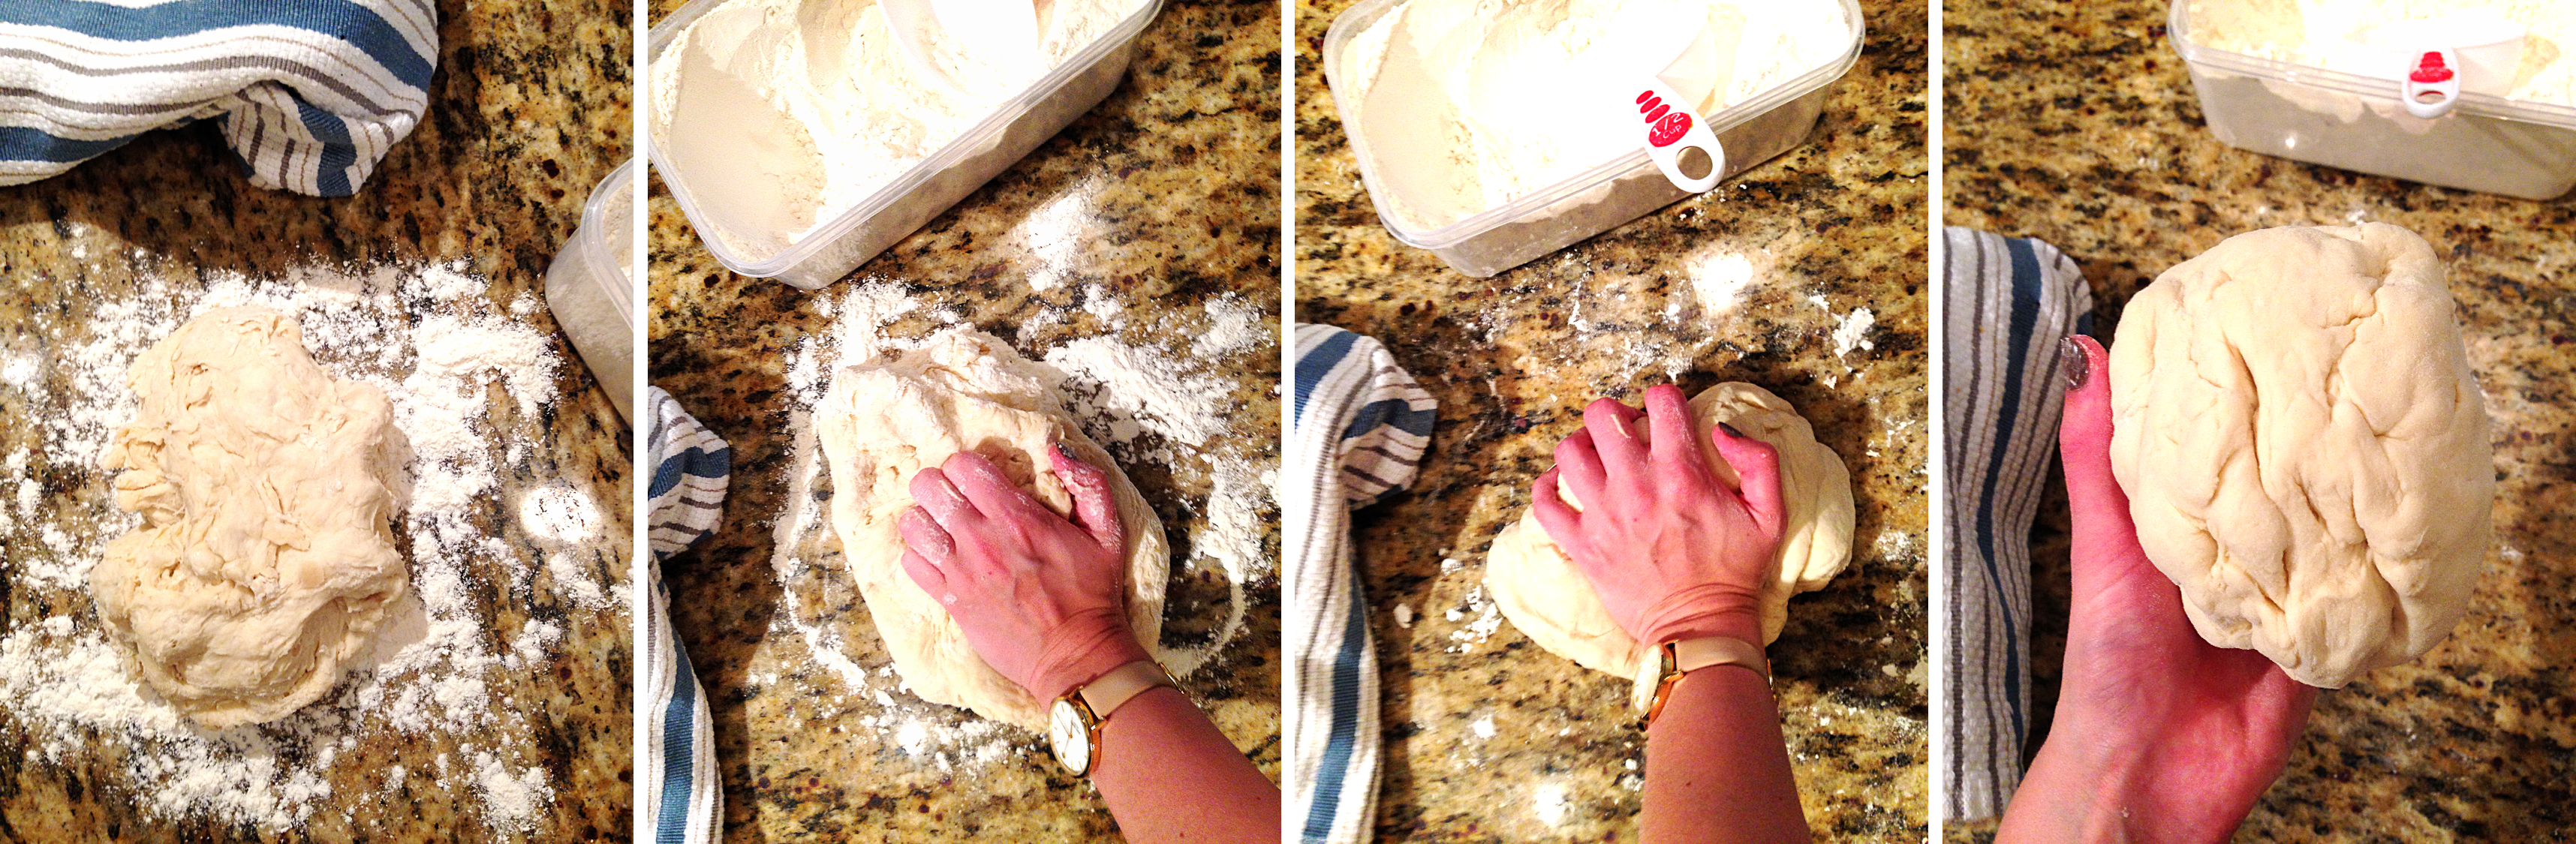
3. Open up the towel and observe your huge mound of dough! It should have multiplied in size by about 2x at least (see photo below). Add 1/4 cup of the oil and toss the dough in it. Start to add flour to the ball about a cup at a time. After about 2 cups of flour, take the sticky ball of dough out and lay it on a floured counter. Kneed the dough with your palms and keep adding flour until the dough will no longer pick up any more. This should be somewhere between 3-4 cups of flour.
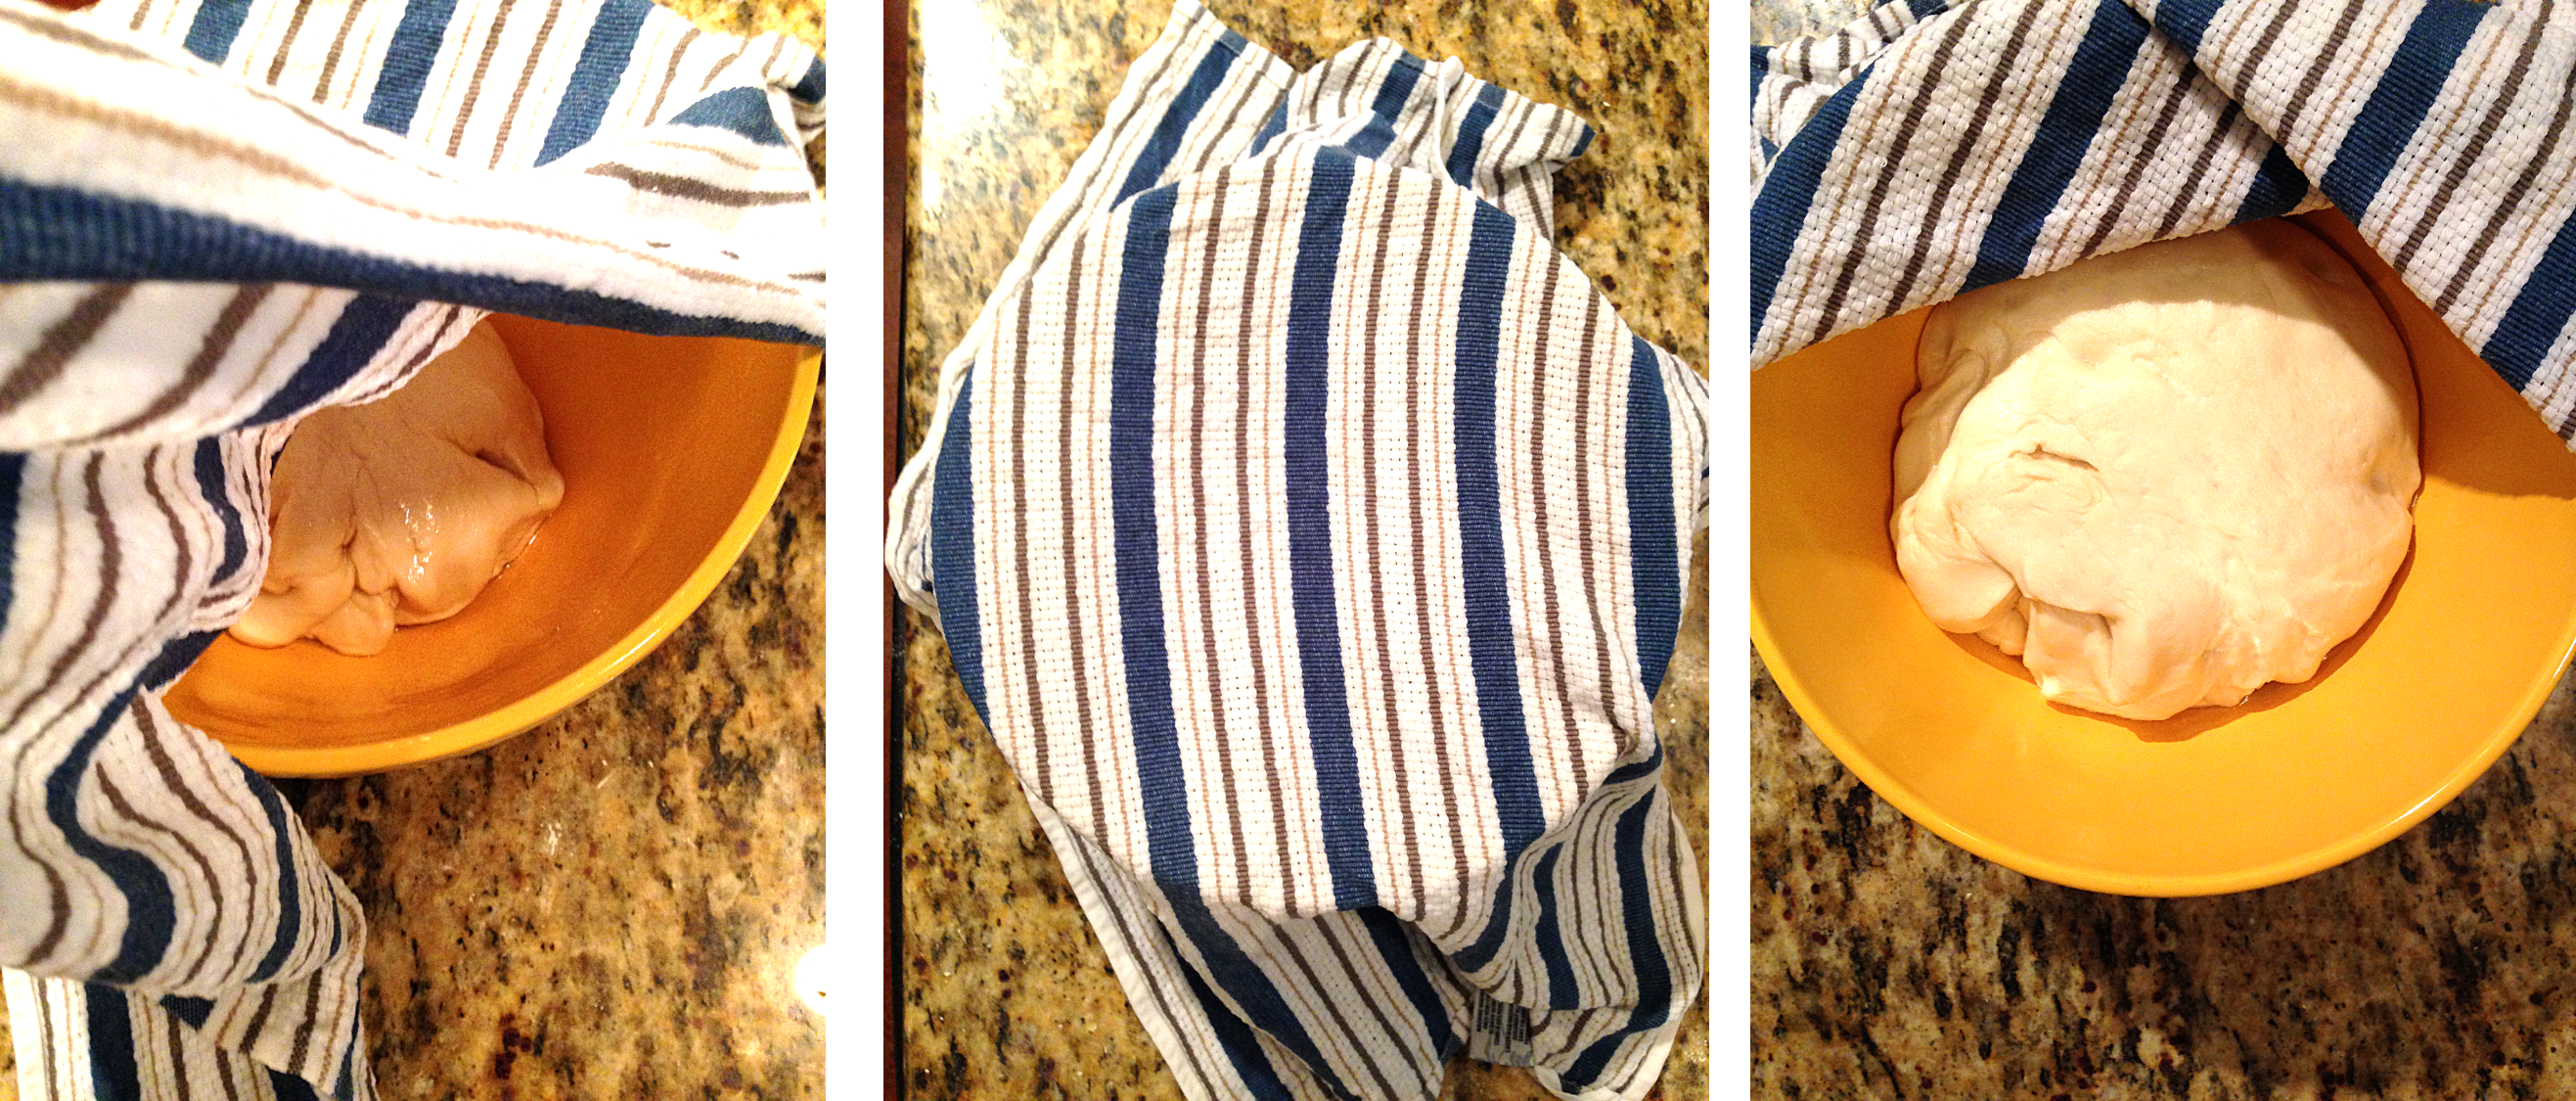
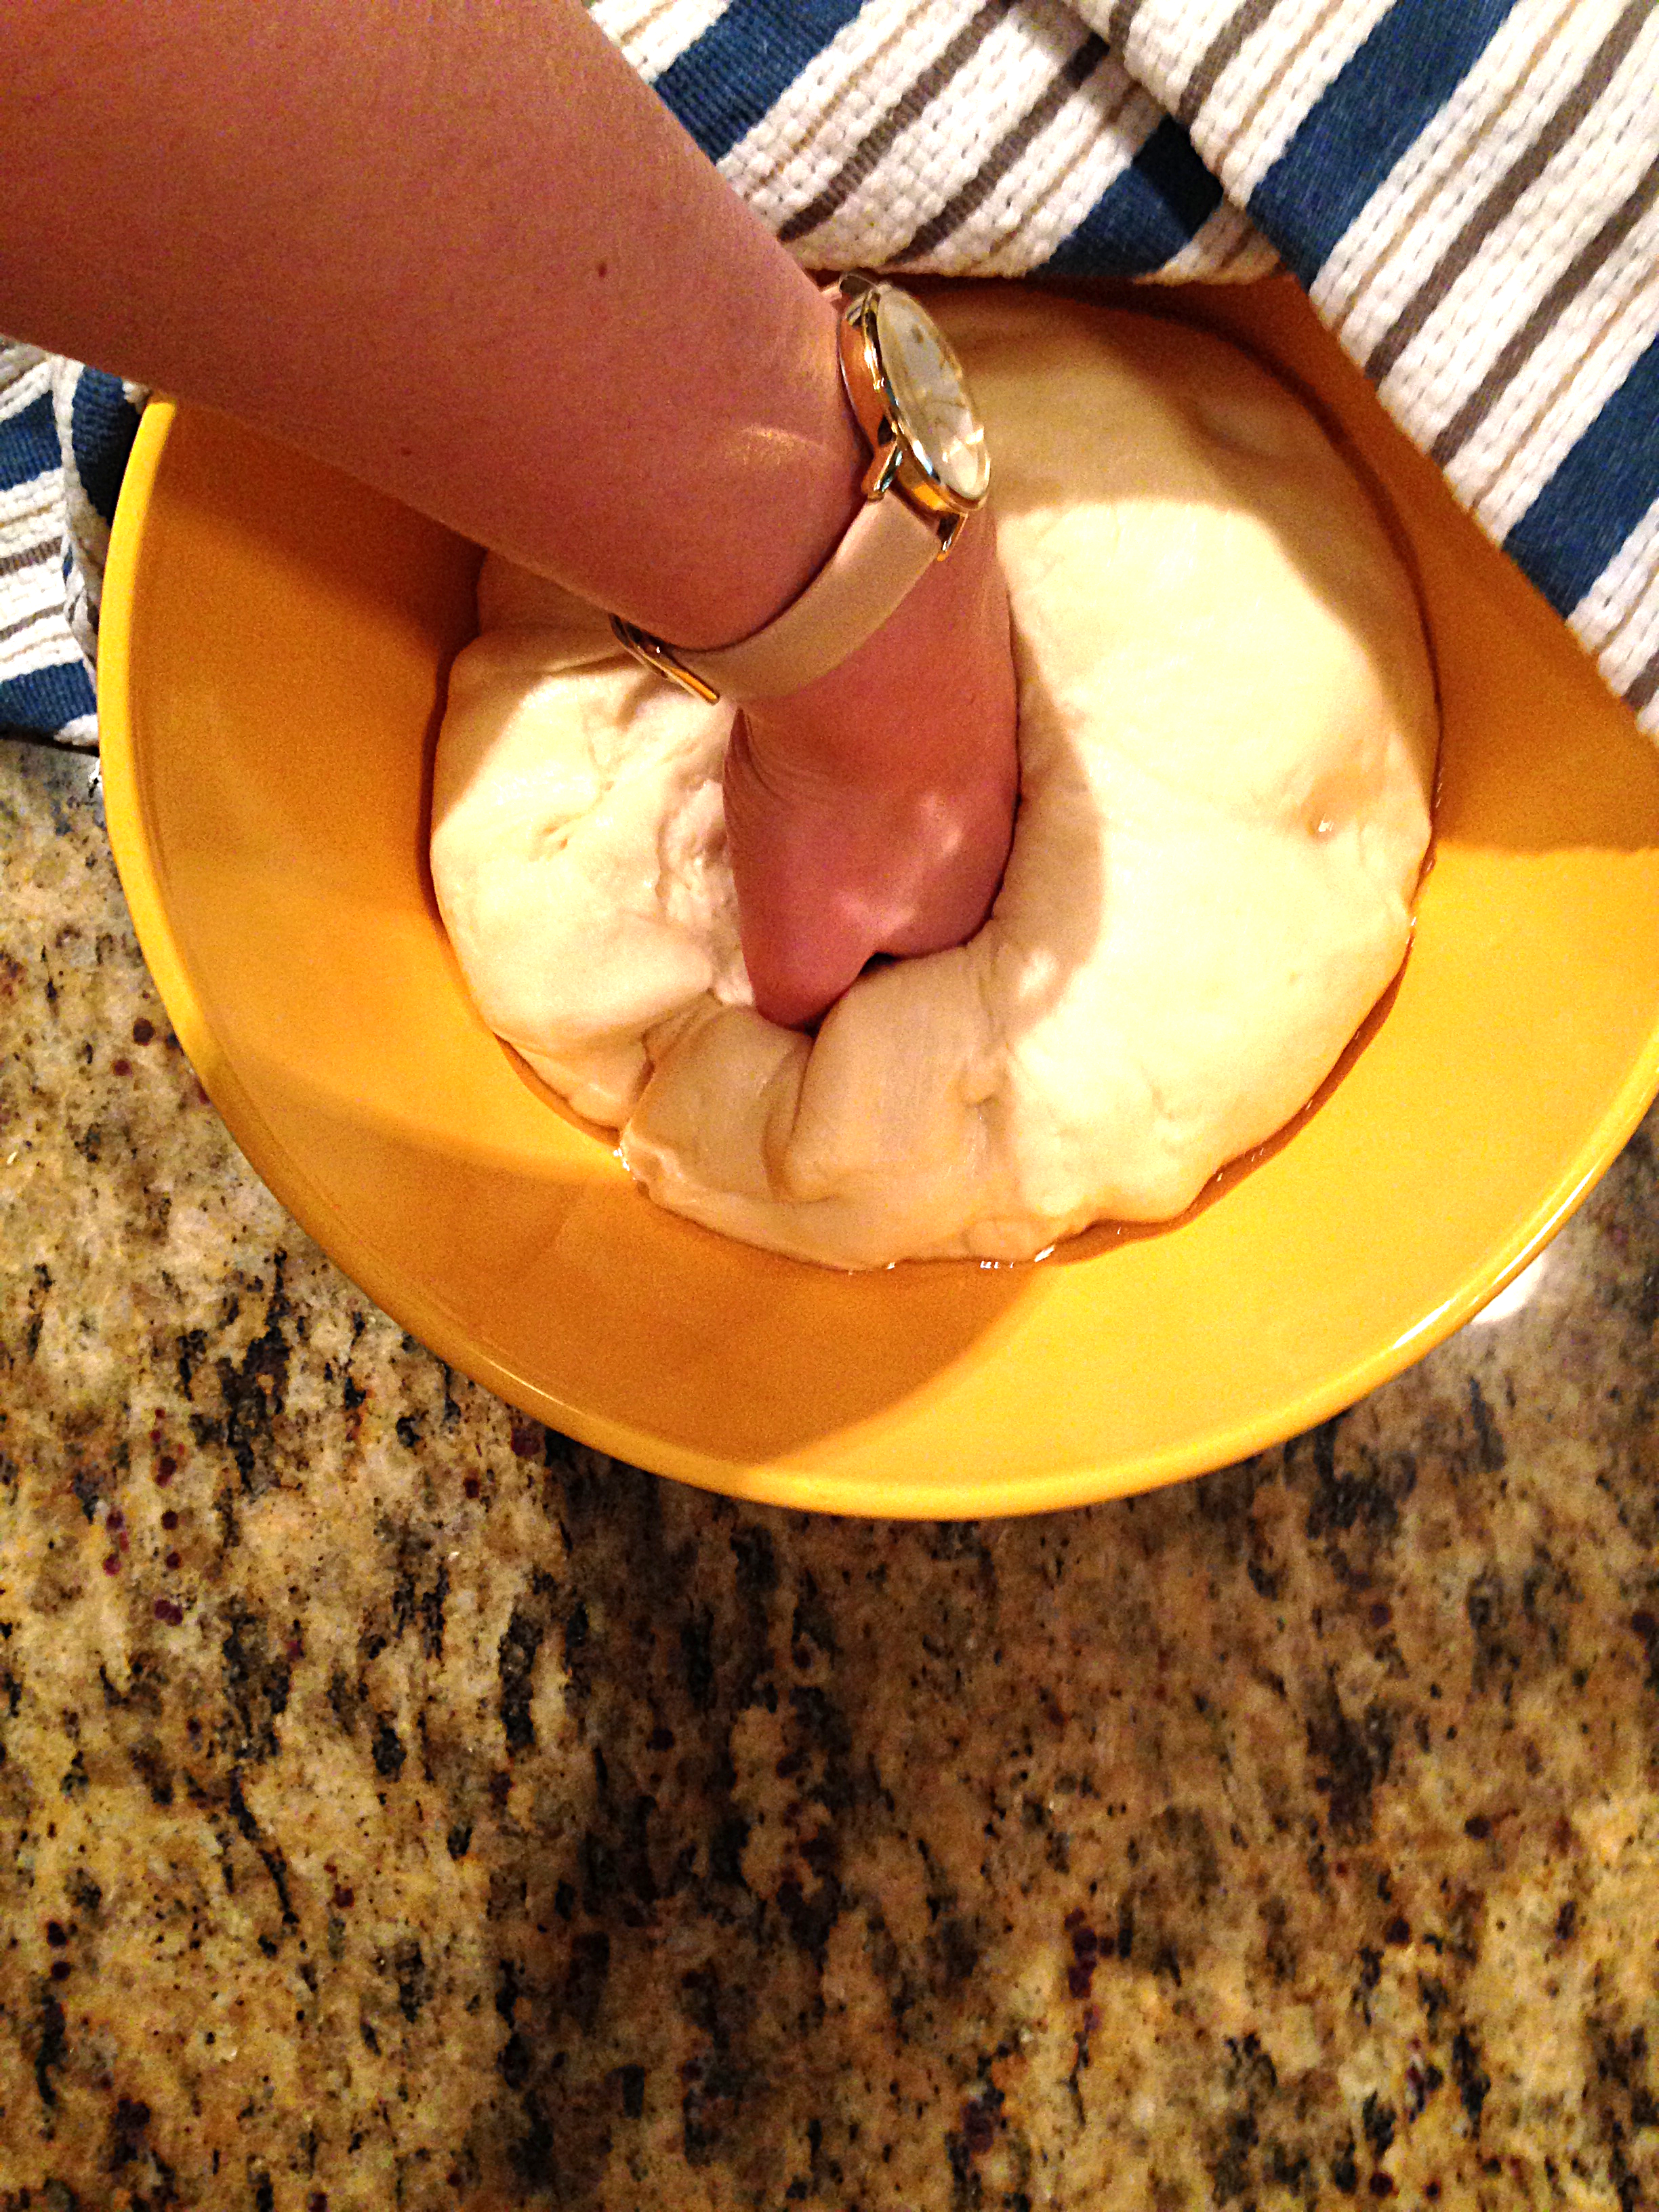
4. Put the dough back into the bowl and coat in another 1/4 cup of oil. Cover with a moist towel again and let it rest for 45 minutes. After an hour, the dough will have risen again even more than the first time. Now punch the dough! Legitimately punch it down and it will deflate like a balloon. Again, cover with the wet cloth and let rise for 45 more minutes.
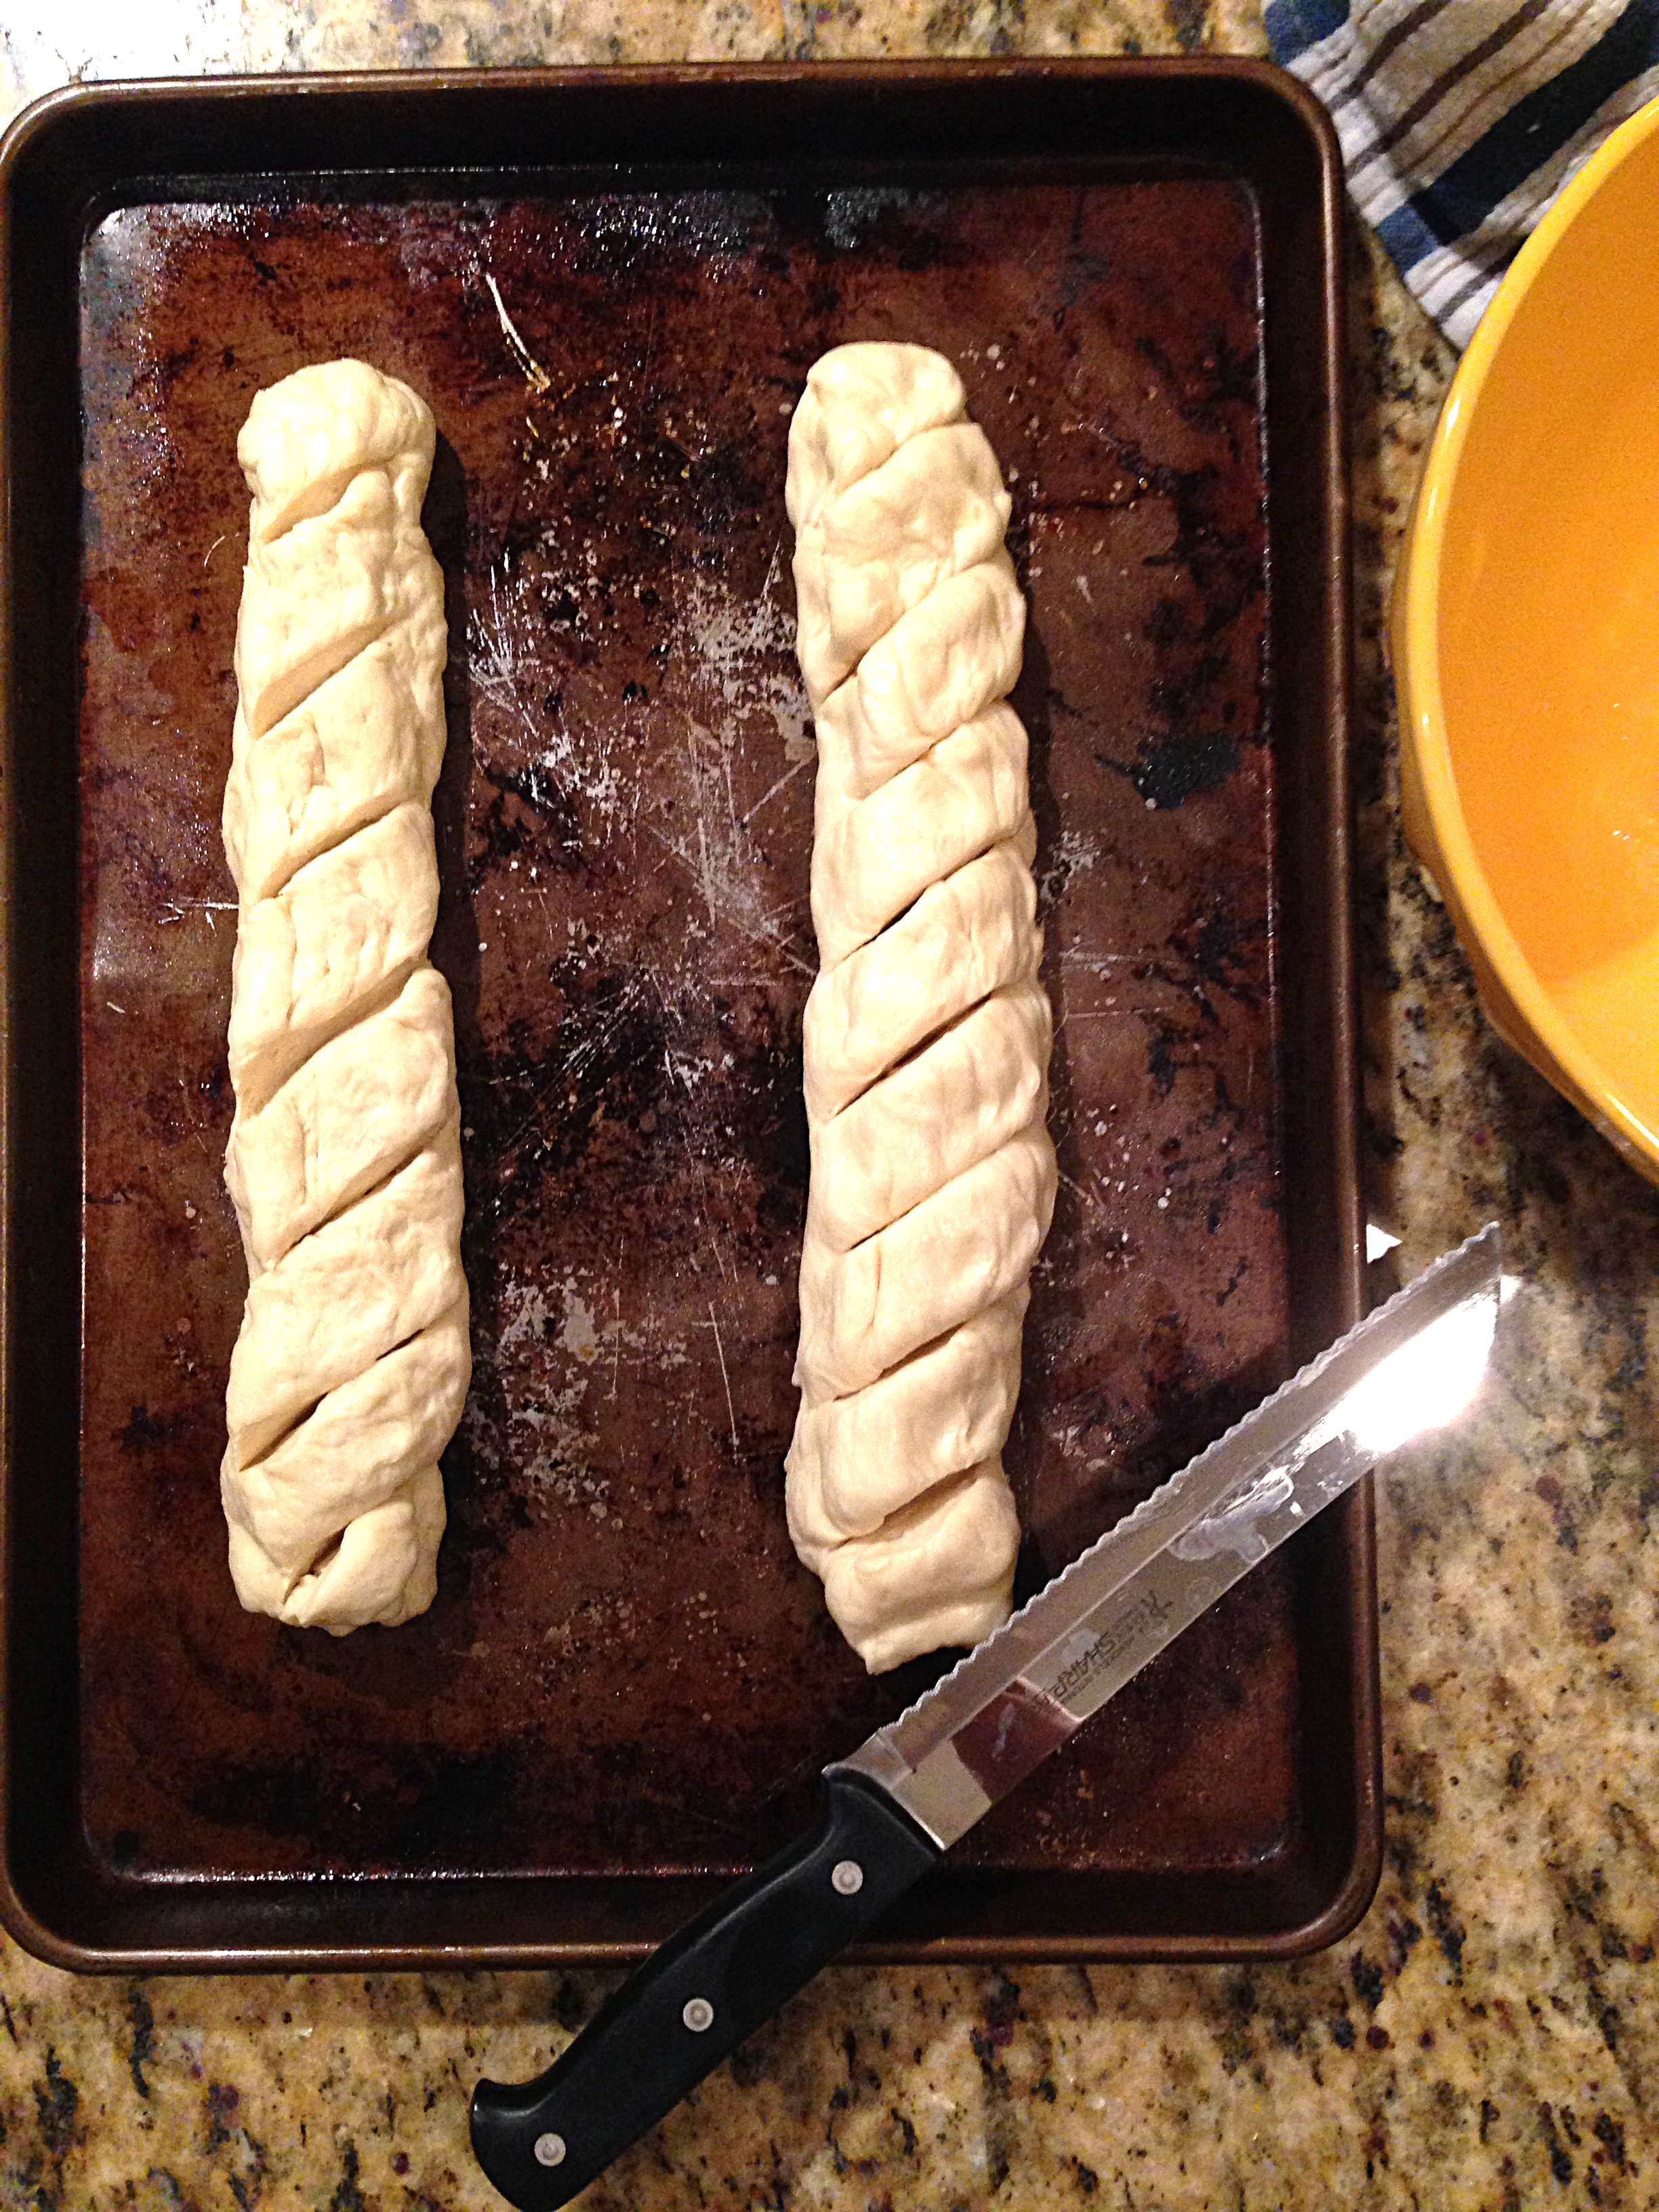
5. Prep a cookie sheet for your fabulous loaves by coating the surface with a little more oil. Take your dough and split it into two pieces. Form two long loaves about 3-4 inches apart on the pan. You’ll have to stretch the dough quite a bit to get it into a longer shape. Use a bread knife to make slits in the top of the bread loaves at an angle about an inch apart and 1/2 inch deep to give it that professional bakery look! Let the bread loaves rise for 30 minutes.
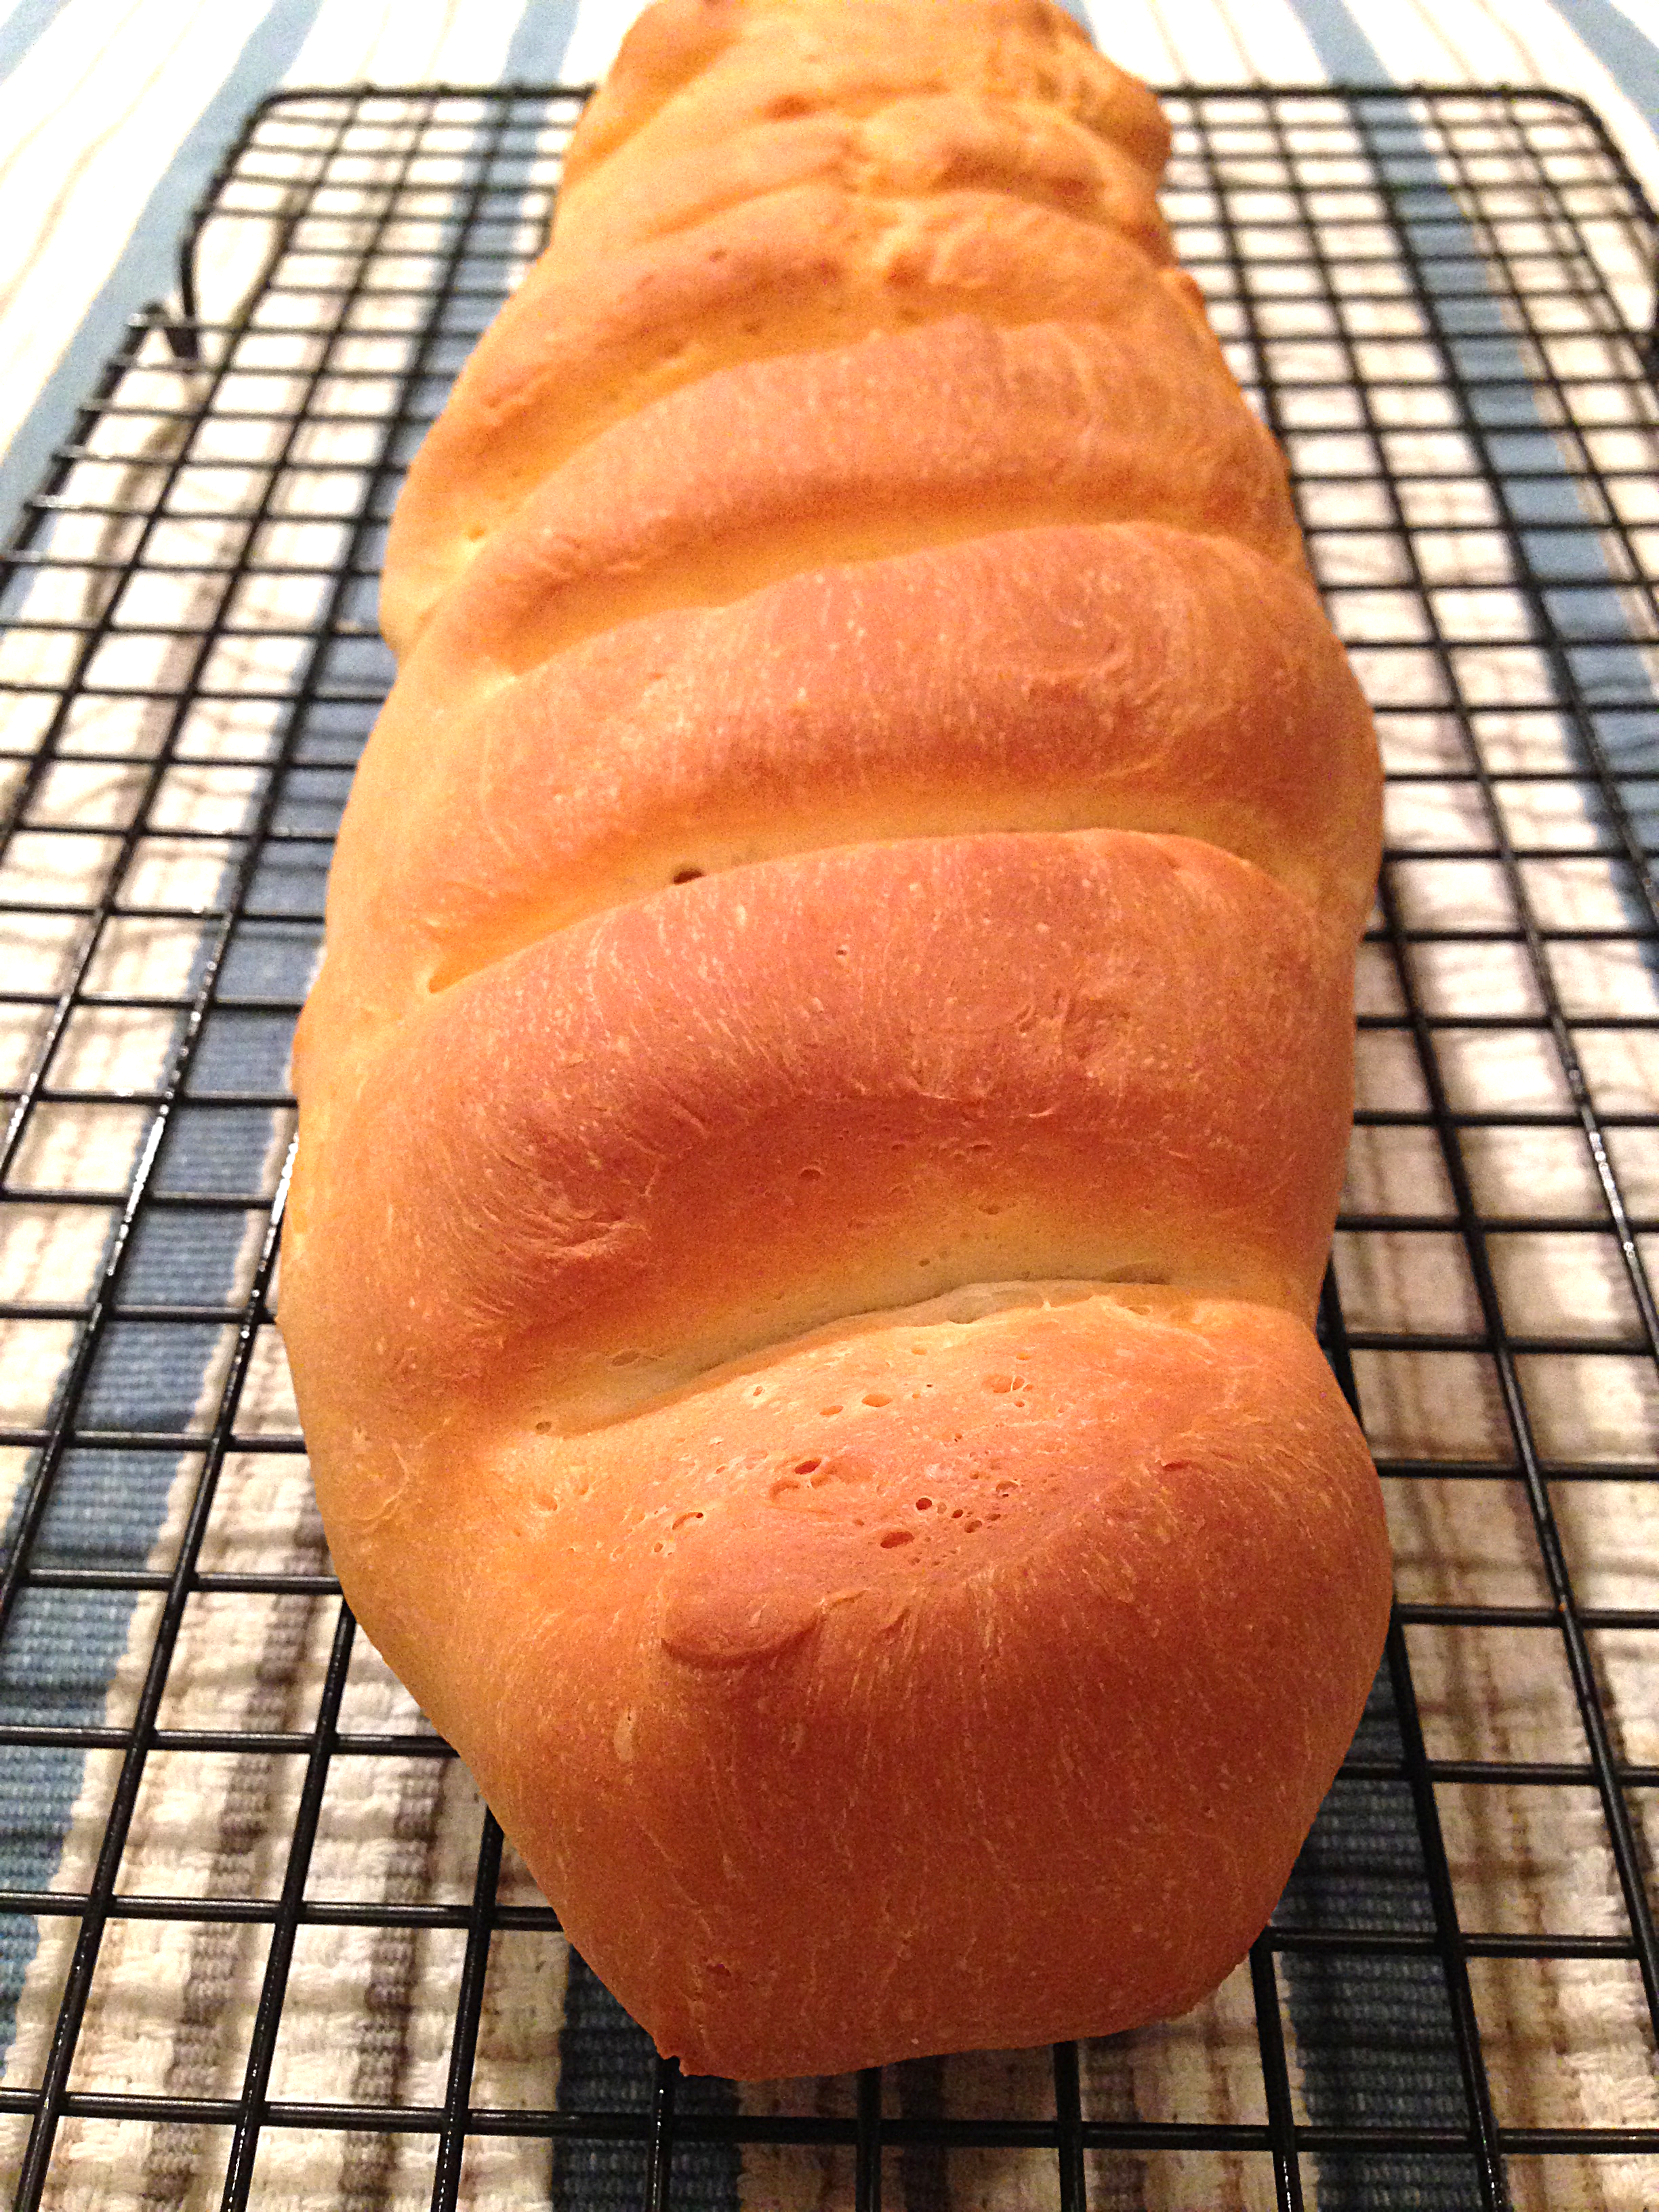
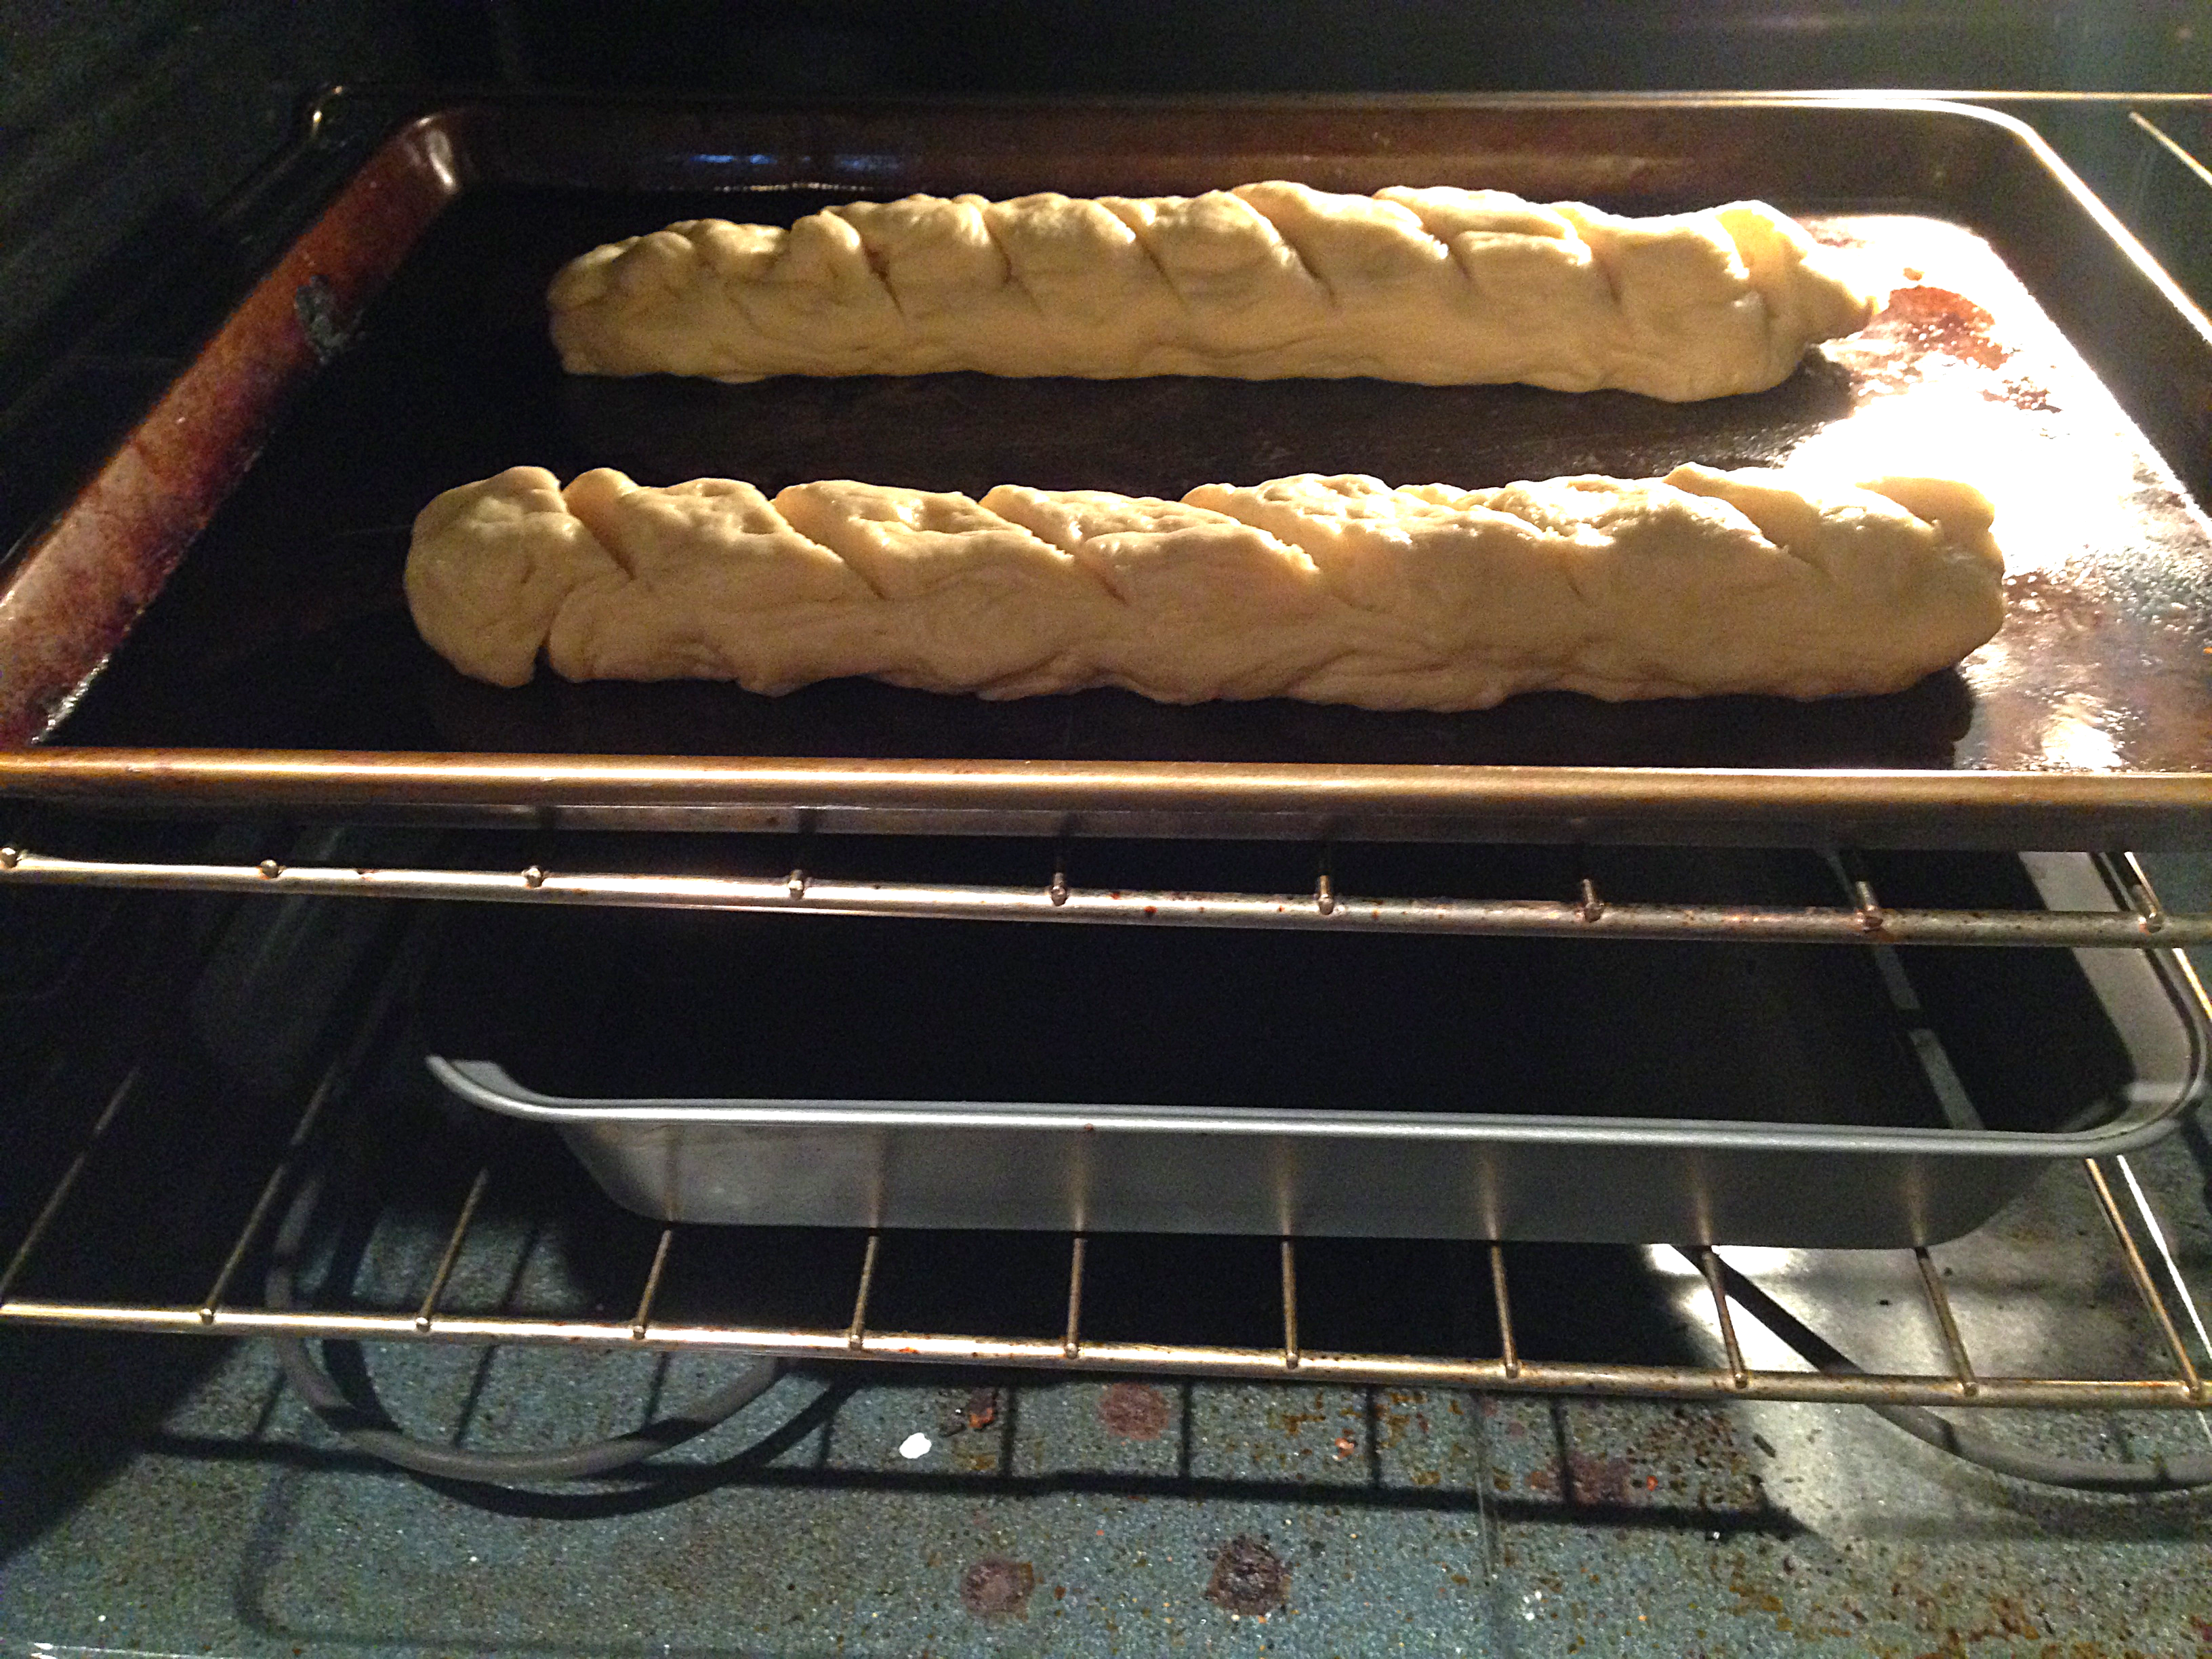
6. Preheat the oven to 375 degrees F (we’re finally ready to bake this bread!). Put the bread loaves in the oven with a pan of water on the rack below it. I used a 13″ x 9″ cake pan and filled it with an inch of water. This pan of water helps to give the bread a crusty crust and a soft inside! Bake the bread for 25 minutes, or until the bread is golden brown and beautifully crusted.
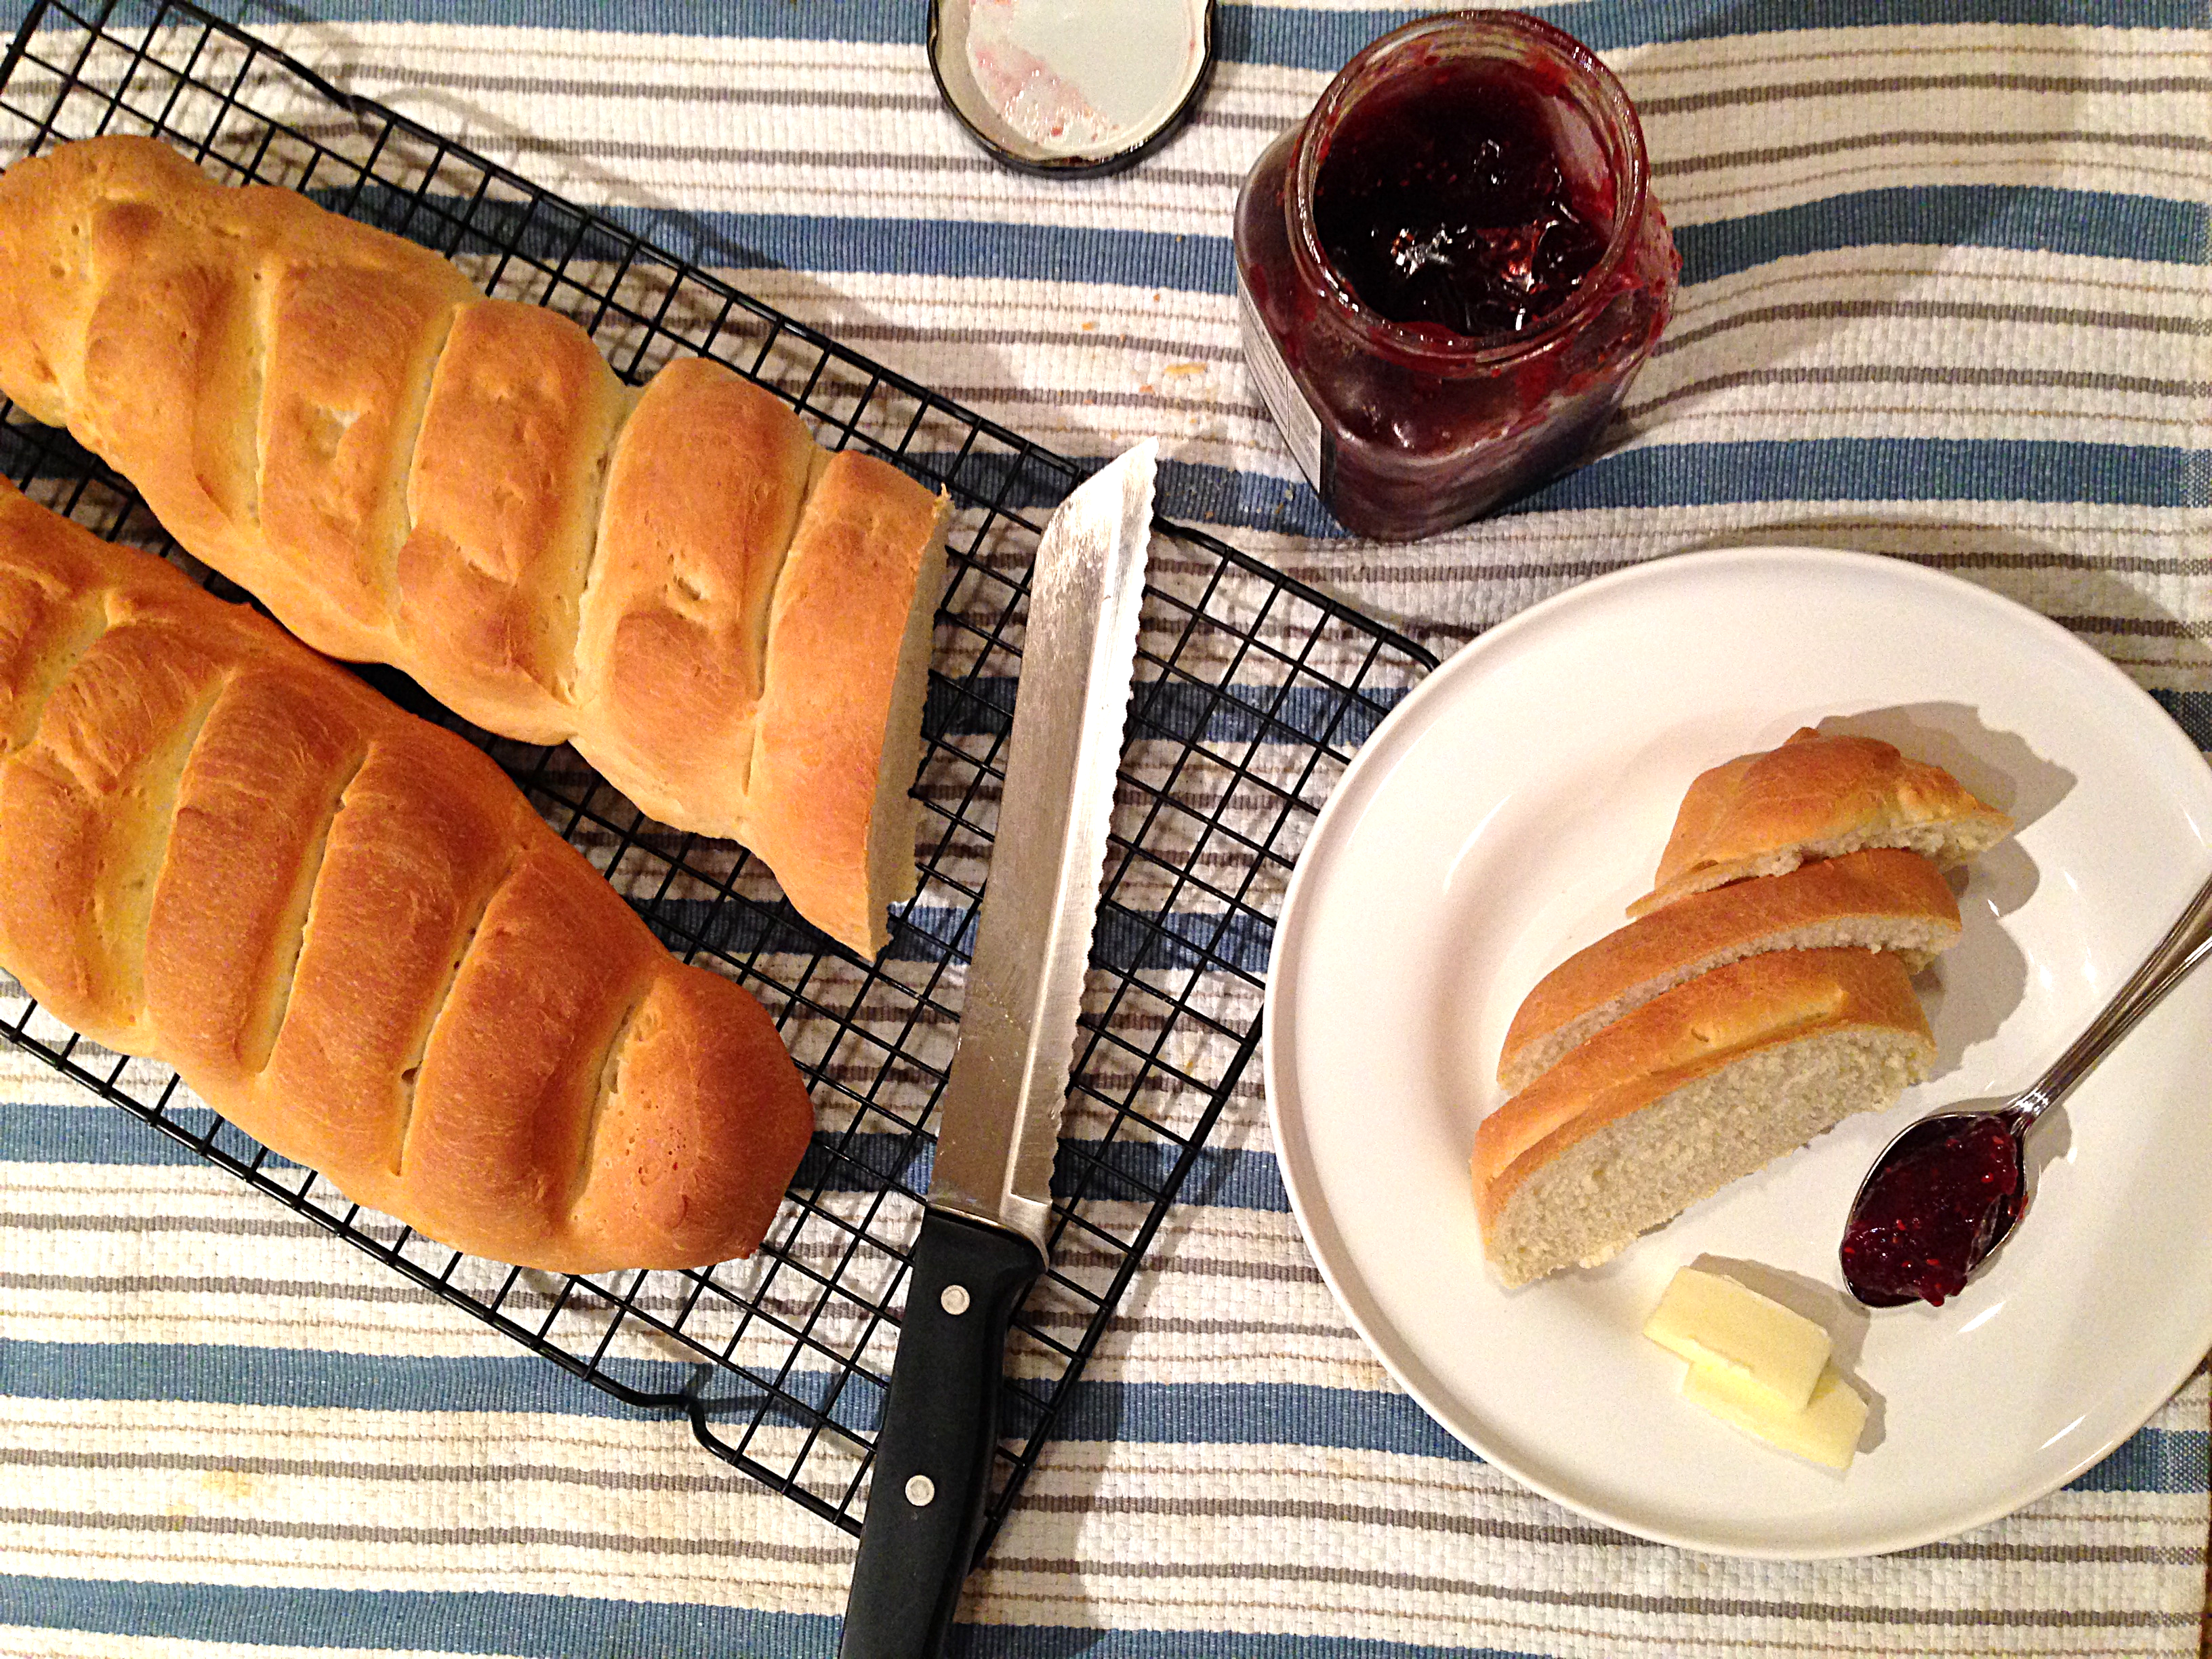
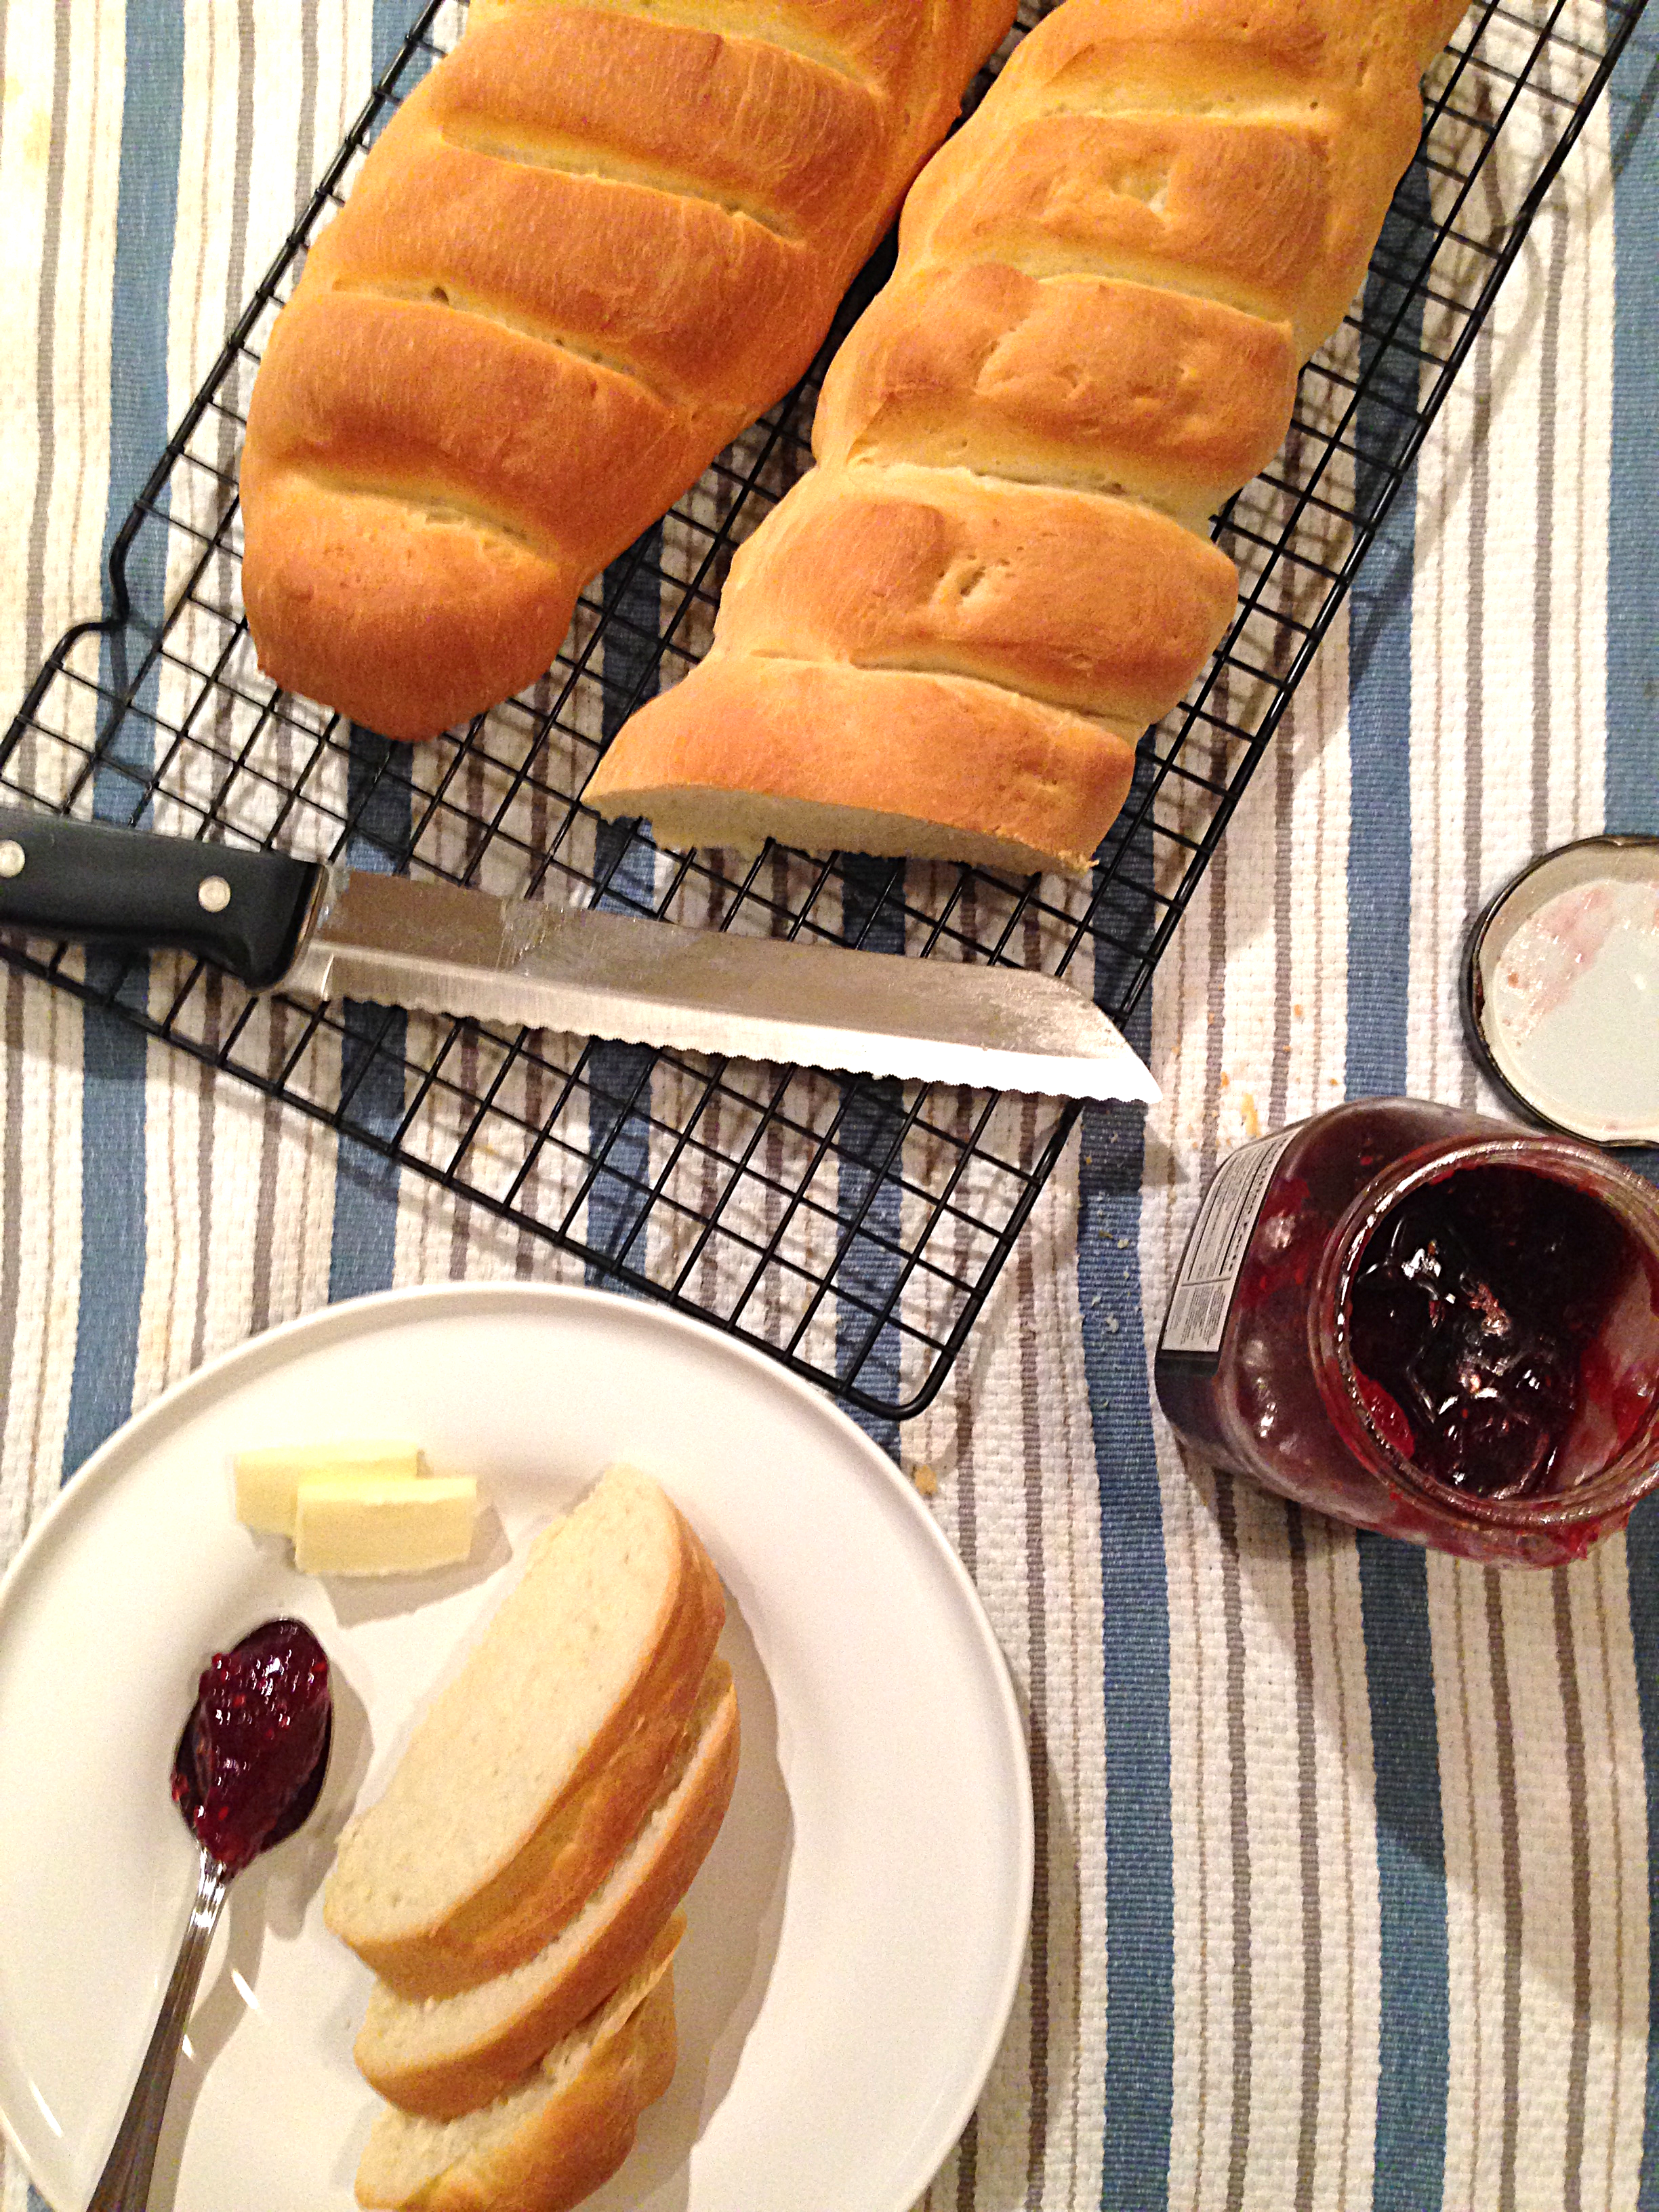
Pull out your bread and serve up hot and fresh! My favorite toppings are butter or brie cheese and raspberry preserves. What would you put on this fresh baked delight?
Basic French Bread
Ingredients:
1/2 Packet of Dry Active Yeast
1 Cup Warm Water (110-120 deg F)
2 Tbs. Sugar
4-5 Cups Bread Flour
1/2 tsp. Salt
1/2 cup Vegetable Oil
1. Place warm water into a large bowl. If the bowl is cool, the water may become cooler than 110 degrees, so just throw it in the microwave for a few seconds until it warms up again. It is important that the water is warm to activate the yeast, but not so warm that it kills it, so aim for 110-120 degrees F.
Place the yeast and sugar into the bowl with the water. Stir the yeast up a bit and wait about 10 minutes until you see small bubbles forming which means the yeast has activated. You don’t need a lot of bubbles, but if none form, your water is too hot, too cold, or the yeast is dead which happens when it is old.
2. With your yeast activated, it’s time to start adding your bread flour. You can also use all purpose flour to make bread, but the bread flour works so much better (extra gluten = fluffier bread!). Add about 1 1/2 cups of bread flour to the water along with the salt. Now you beat the bread 100 times…that’s right…100. I don’t know why that’s the magic number, but it sure works! Wet a dish towel and wring it out. Cover your bowl with the dish towel and allow the dough to sit 1 hour in a warmish place. This keeps the dough from drying out and helps it to expand. And when I say a warm place, basically if you’re baking and it’s very cold out, make sure you wrap the bowl in a blankie or place in the oven on the warming setting.
3. Open up the towel and observe your huge mound of dough! It should have multiplied in size by about 2x at least (see photo below). Add 1/4 cup of the oil and toss the dough in it. Start to add flour to the ball about a cup at a time. After about 2 cups of flour, take the sticky ball of dough out and lay it on a floured counter. Kneed the dough with your palms and keep adding flour until the dough will no longer pick up any more. This should be somewhere between 3-4 cups of flour.
4. Put the dough back into the bowl and coat in another 1/4 cup of oil. Cover with a moist towel again and let it rest for 45 minutes. After an hour, the dough will have risen again even more than the first time. Now punch the dough! Legitimately punch it down and it will deflate like a balloon. Again, cover with the wet cloth and let rise for 45 more minutes.
5. Prep a cookie sheet for your fabulous loaves by coating the surface with a little more oil. Take your dough and split it into two pieces. Form two long loaves about 3-4 inches apart on the pan. You’ll have to stretch the dough quite a bit to get it into a longer shape. Use a bread knife to make slits in the top of the bread loaves at an angle about an inch apart and 1/2 inch deep to give it that professional bakery look! Let the bread loaves rise for 30 minutes.
6. Preheat the oven to 375 degrees F (we’re finally ready to bake this bread!). Put the bread loaves in the oven with a pan of water on the rack below it. I used a 13″ x 9″ cake pan and filled it with an inch of water. This pan of water helps to give the bread a crusty crust and a soft inside! Bake the bread for 25 minutes, or until the bread is golden brown and beautifully crusted.
Recipe by Bunny Baubles Blog
