
Apartment living can be drab at times. Because you can’t paint your walls and you have very little space, the easiest way to add color to a bedroom is with a fun set of sheets or curtains. Megan was having a rough time finding curtains she loved…and I thought, why couldn’t I make some? Fabric stores have so many more choices in color and pattern to choose from, and most times are much cheaper. Who doesn’t love that?
We headed over to JoAnn’s and picked out this rustic-y orange printed fabric to warm up the white walls and dark furniture. It was on sale for $4 a yard, bringing the total of the fabric to only $24. Plus some thread, you’ve got all the supplies you need for about $26, not a bad deal for personalized curtains!
Supplies:
Fabric (see instructions below for quantity)
Thread to match fabric
Sewing machine
Pins
Scissors
Measuring Tape
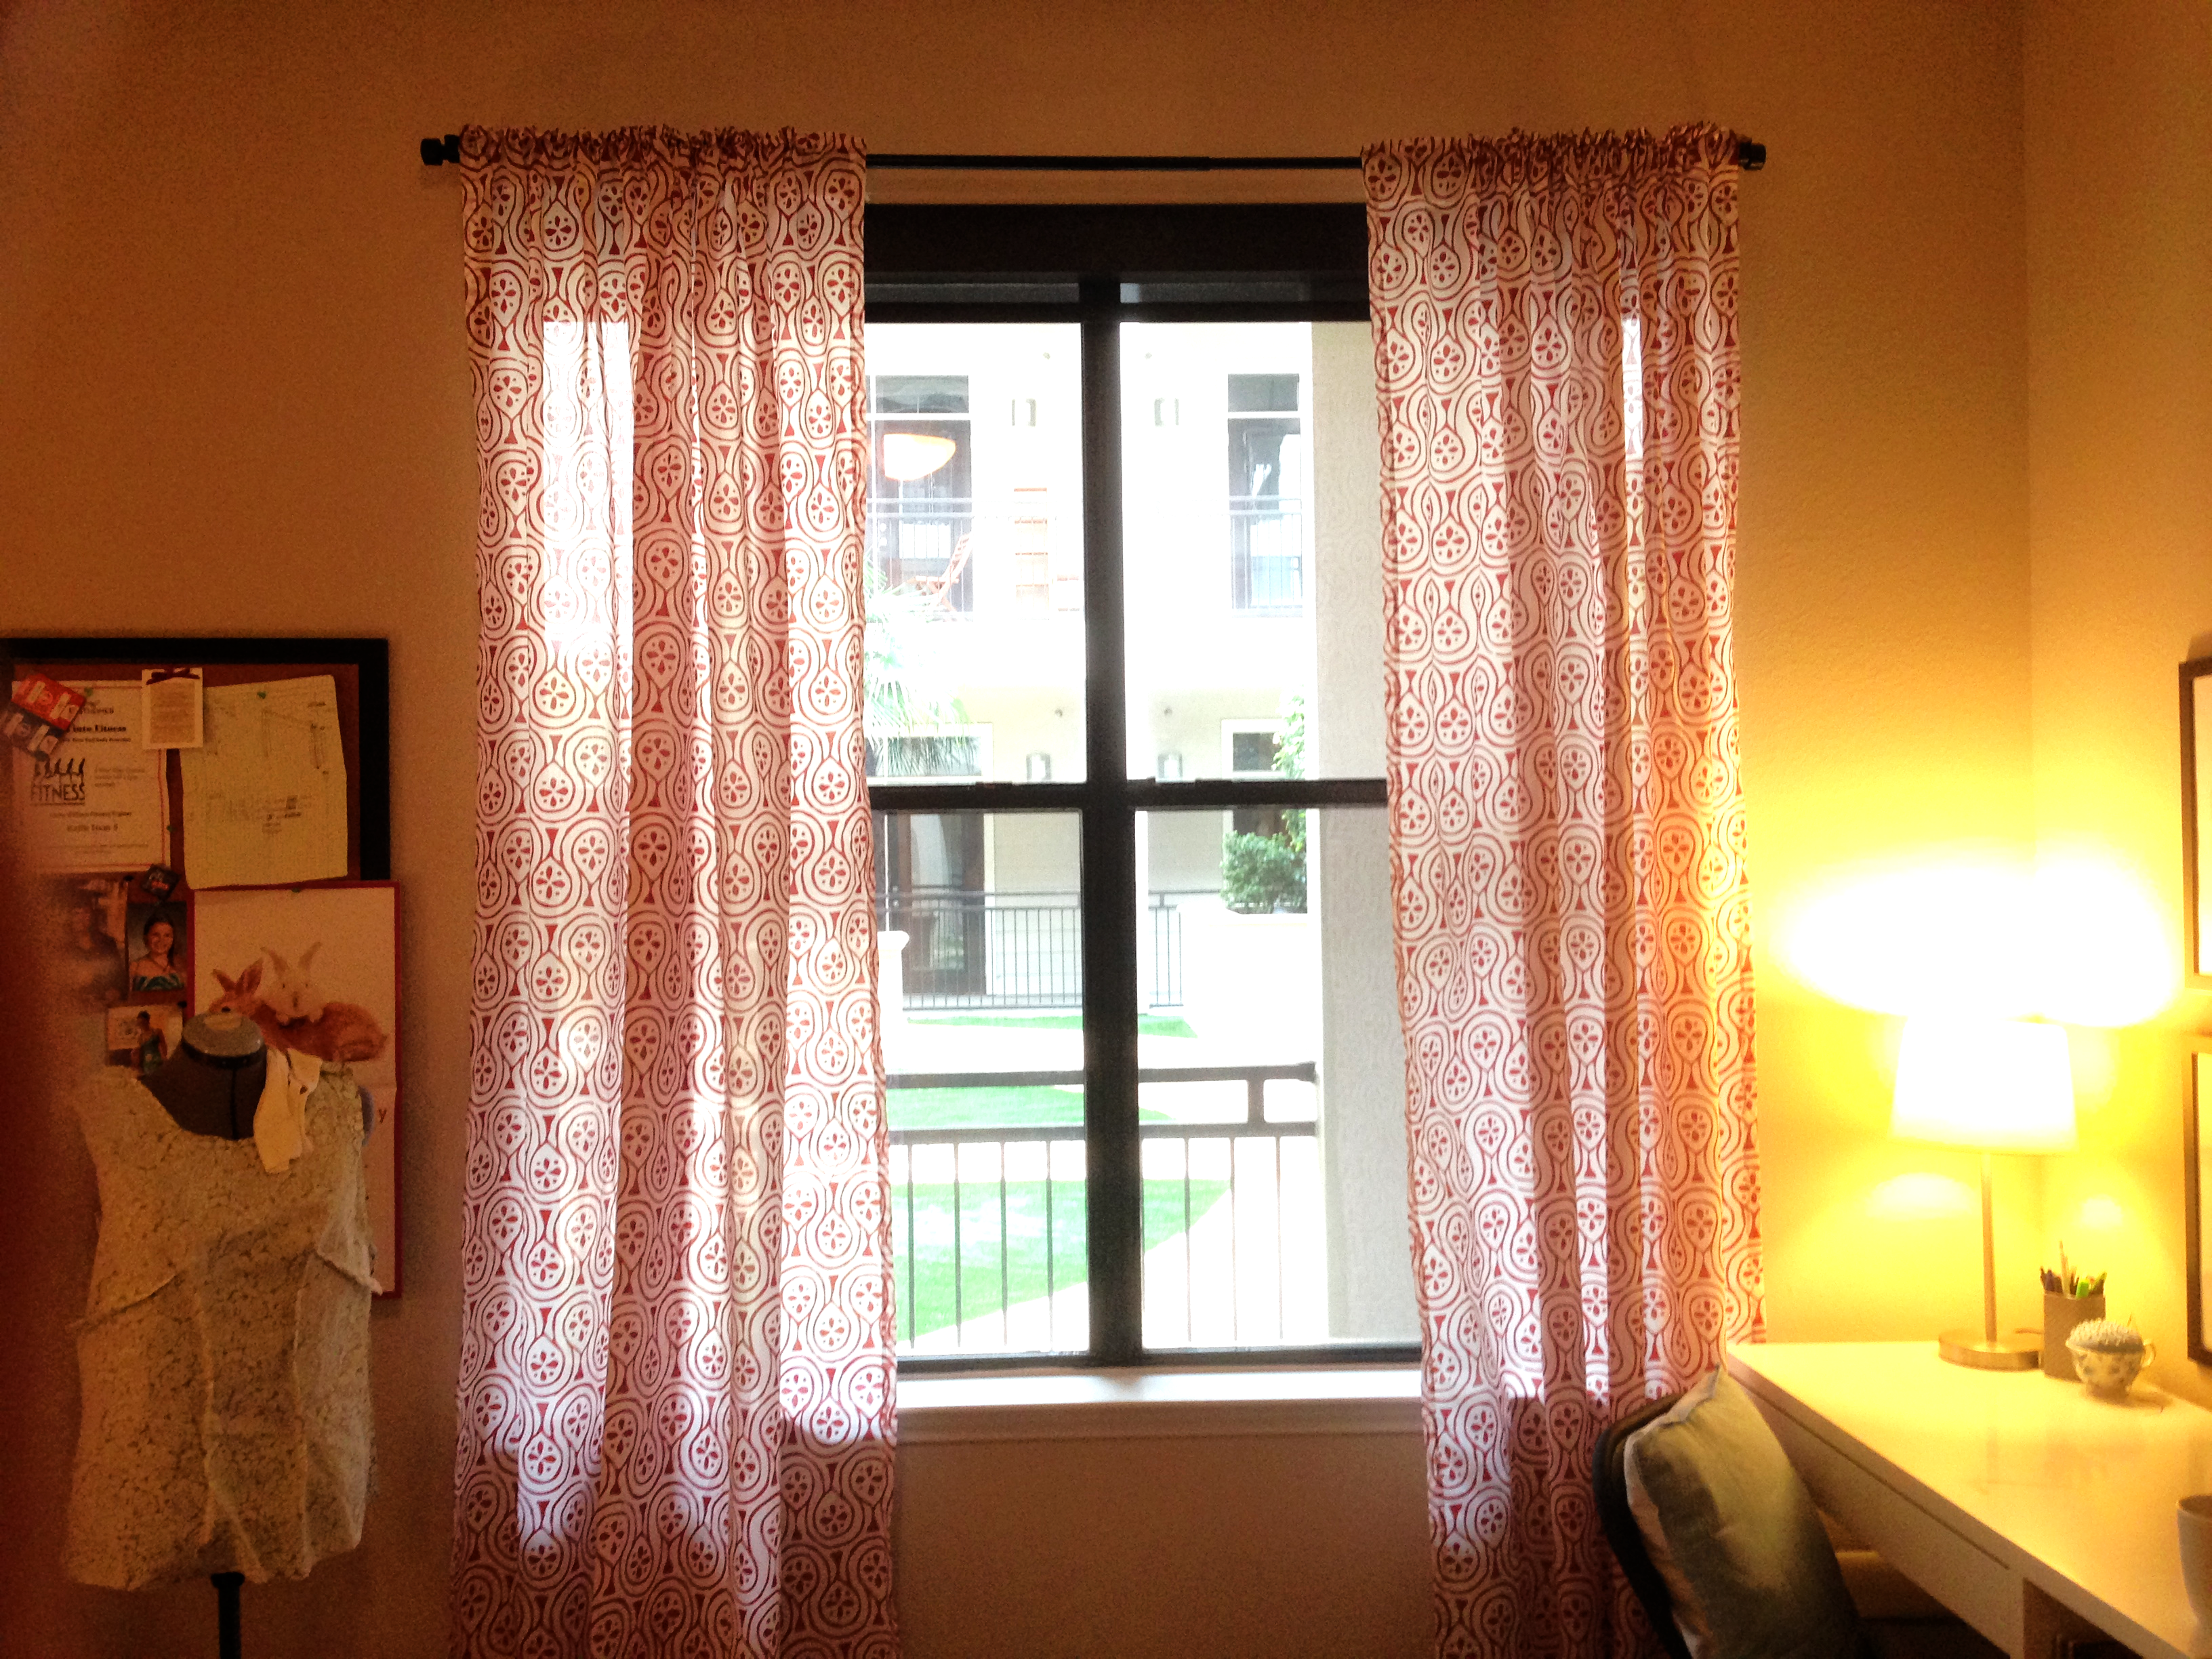
1. Measure your windows. Plan to hang your curtains slightly above the window all the way to the floor (this makes the room look bigger). Our walls are very tall so the length of the curtains needed to be 98″ total. Take whatever total length you need and add 6″. I get nervous and conservative about not having enough fabric, so I planned to buy 6 yards of fabric for the two panels.

2. Pick out some fabric. Most plain cotton or quilting fabrics are fine for this kind of project but they will let some light in. If you are nervous about how the fabric will look in front of the window, just walk toward the door and try it out! People will understand what you’re doing, and it’s worth it for the peace of mind. Also keep in mind that curtains are huge pieces of fabric. Unroll the fabric and look at it from afar to make sure the pattern isn’t too crazy on such a large scale. Also make sure to buy thread that matches the curtains!

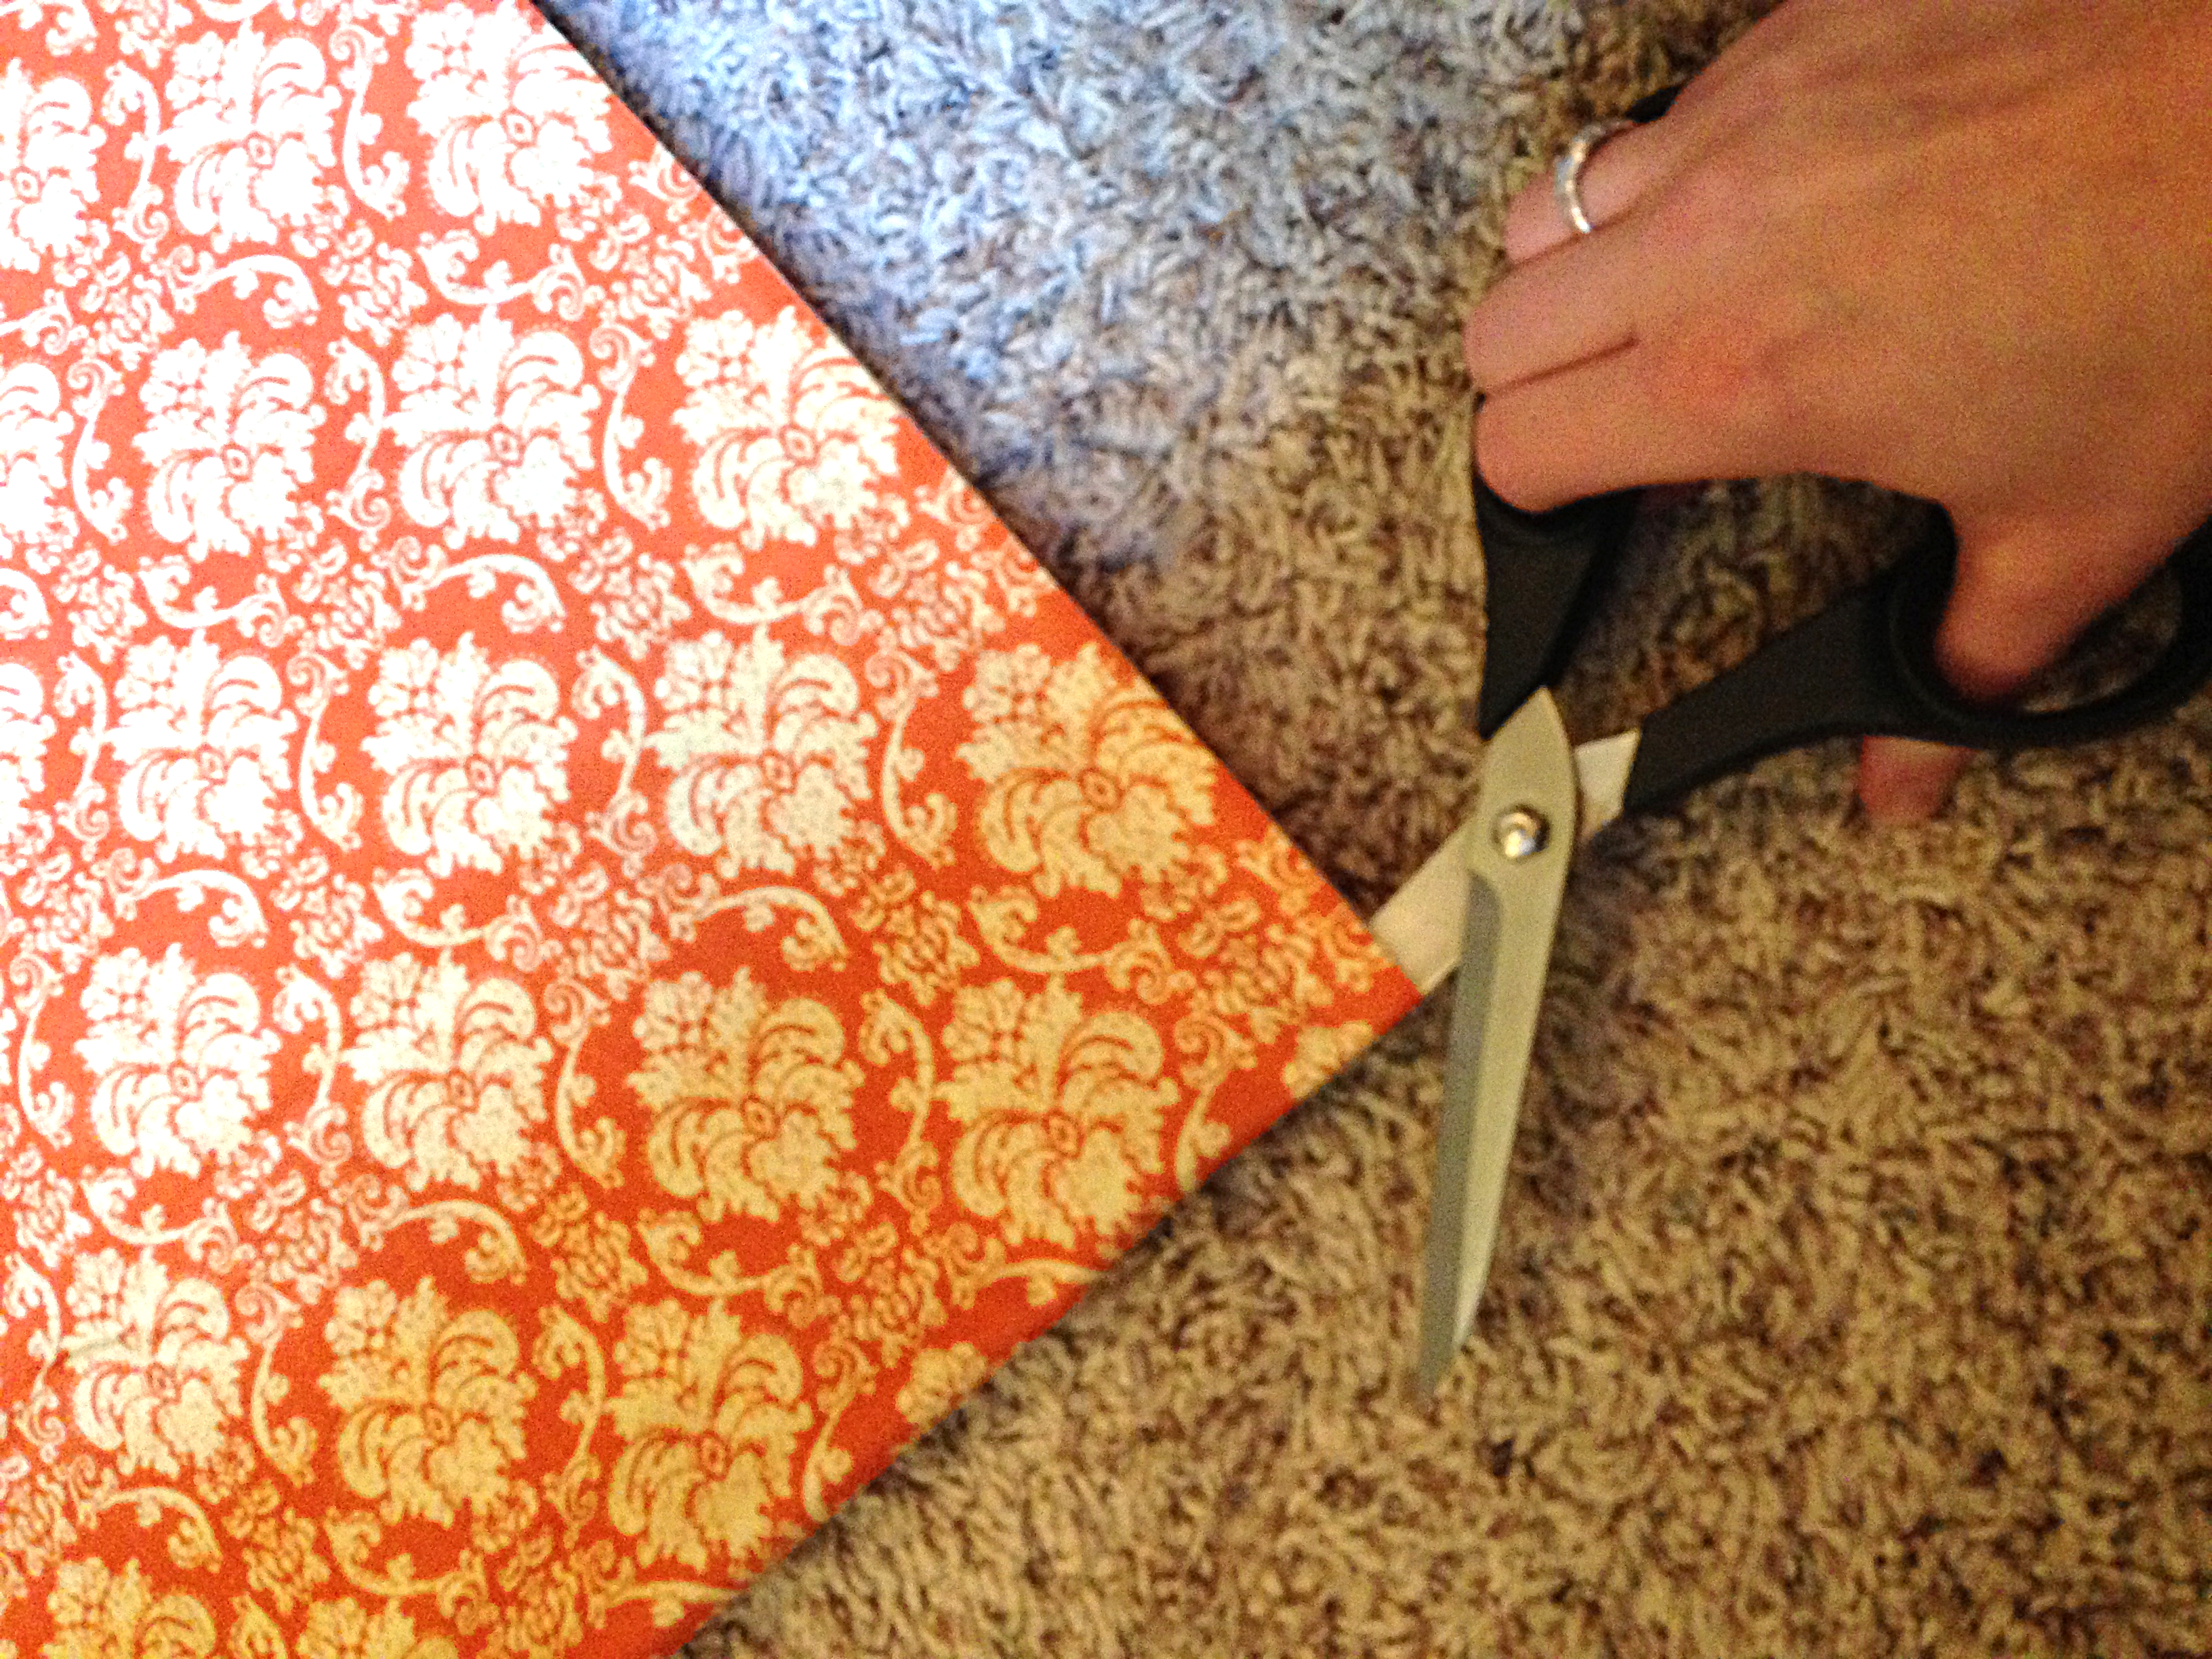
3. Find a large space and lay out the fabric. Start by using your scissors to cut the selvage edge off of both sides of the fabric. Then fold the fabric in half and cut into two panels.


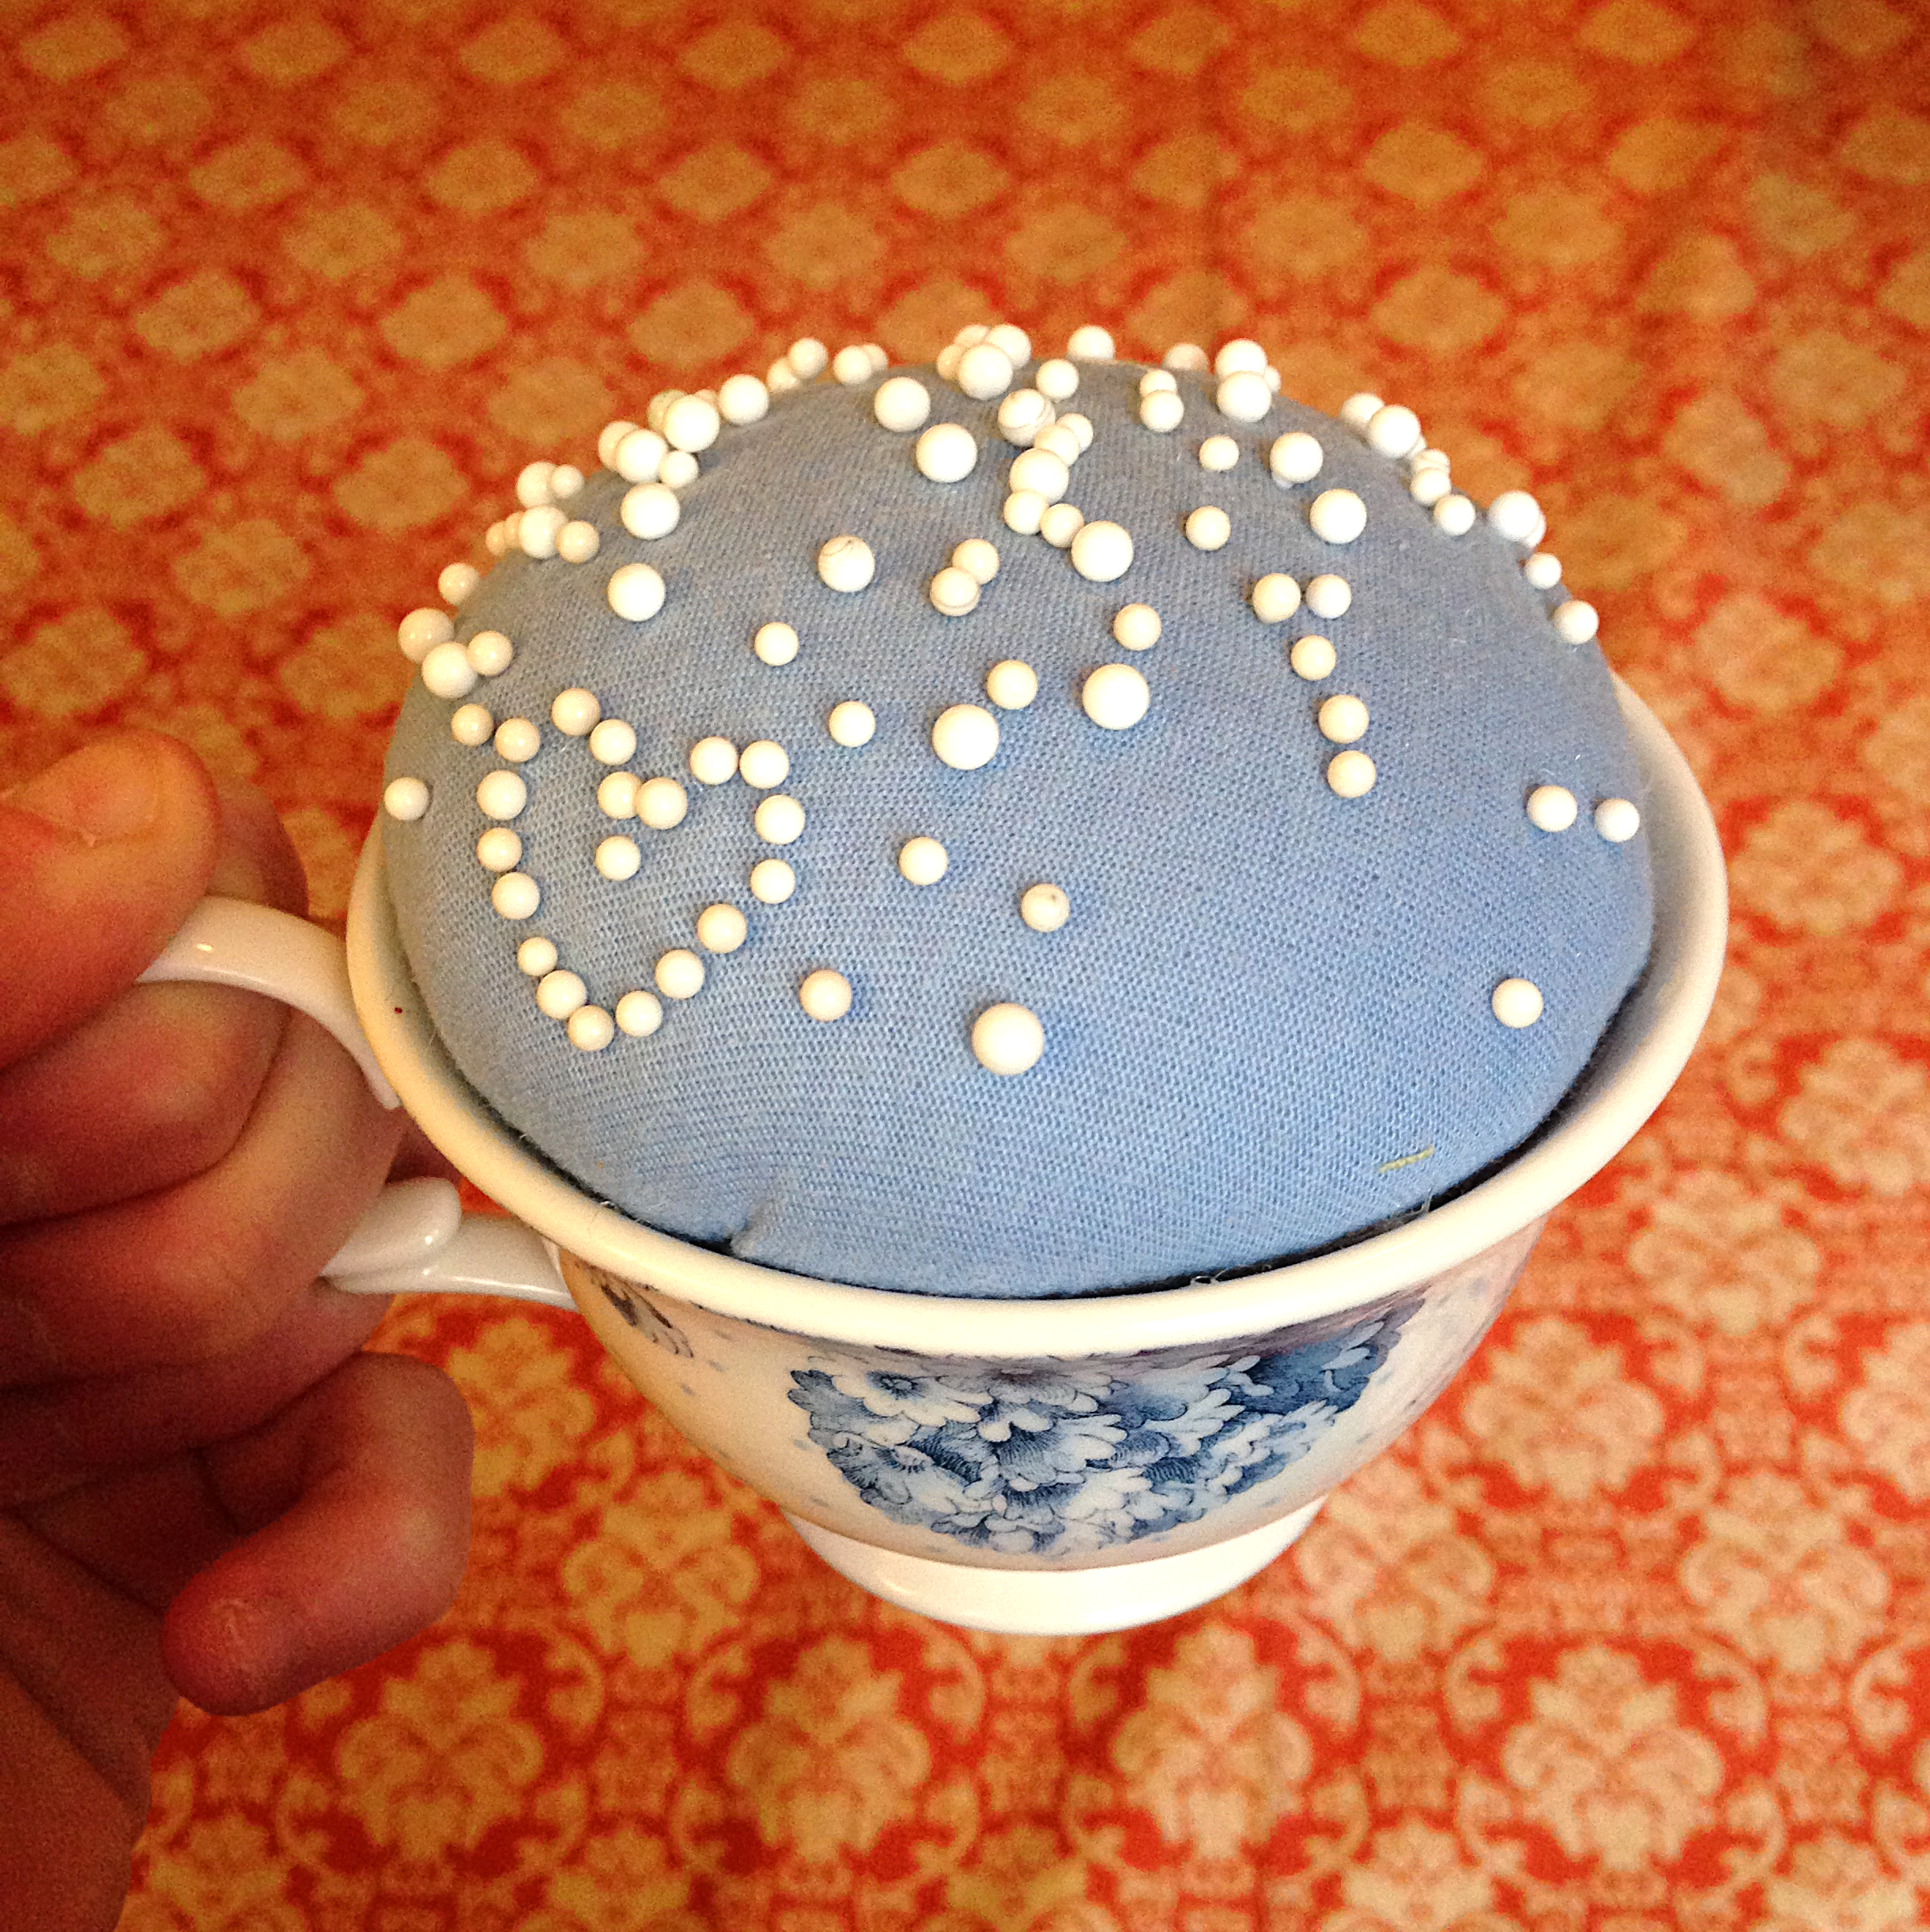
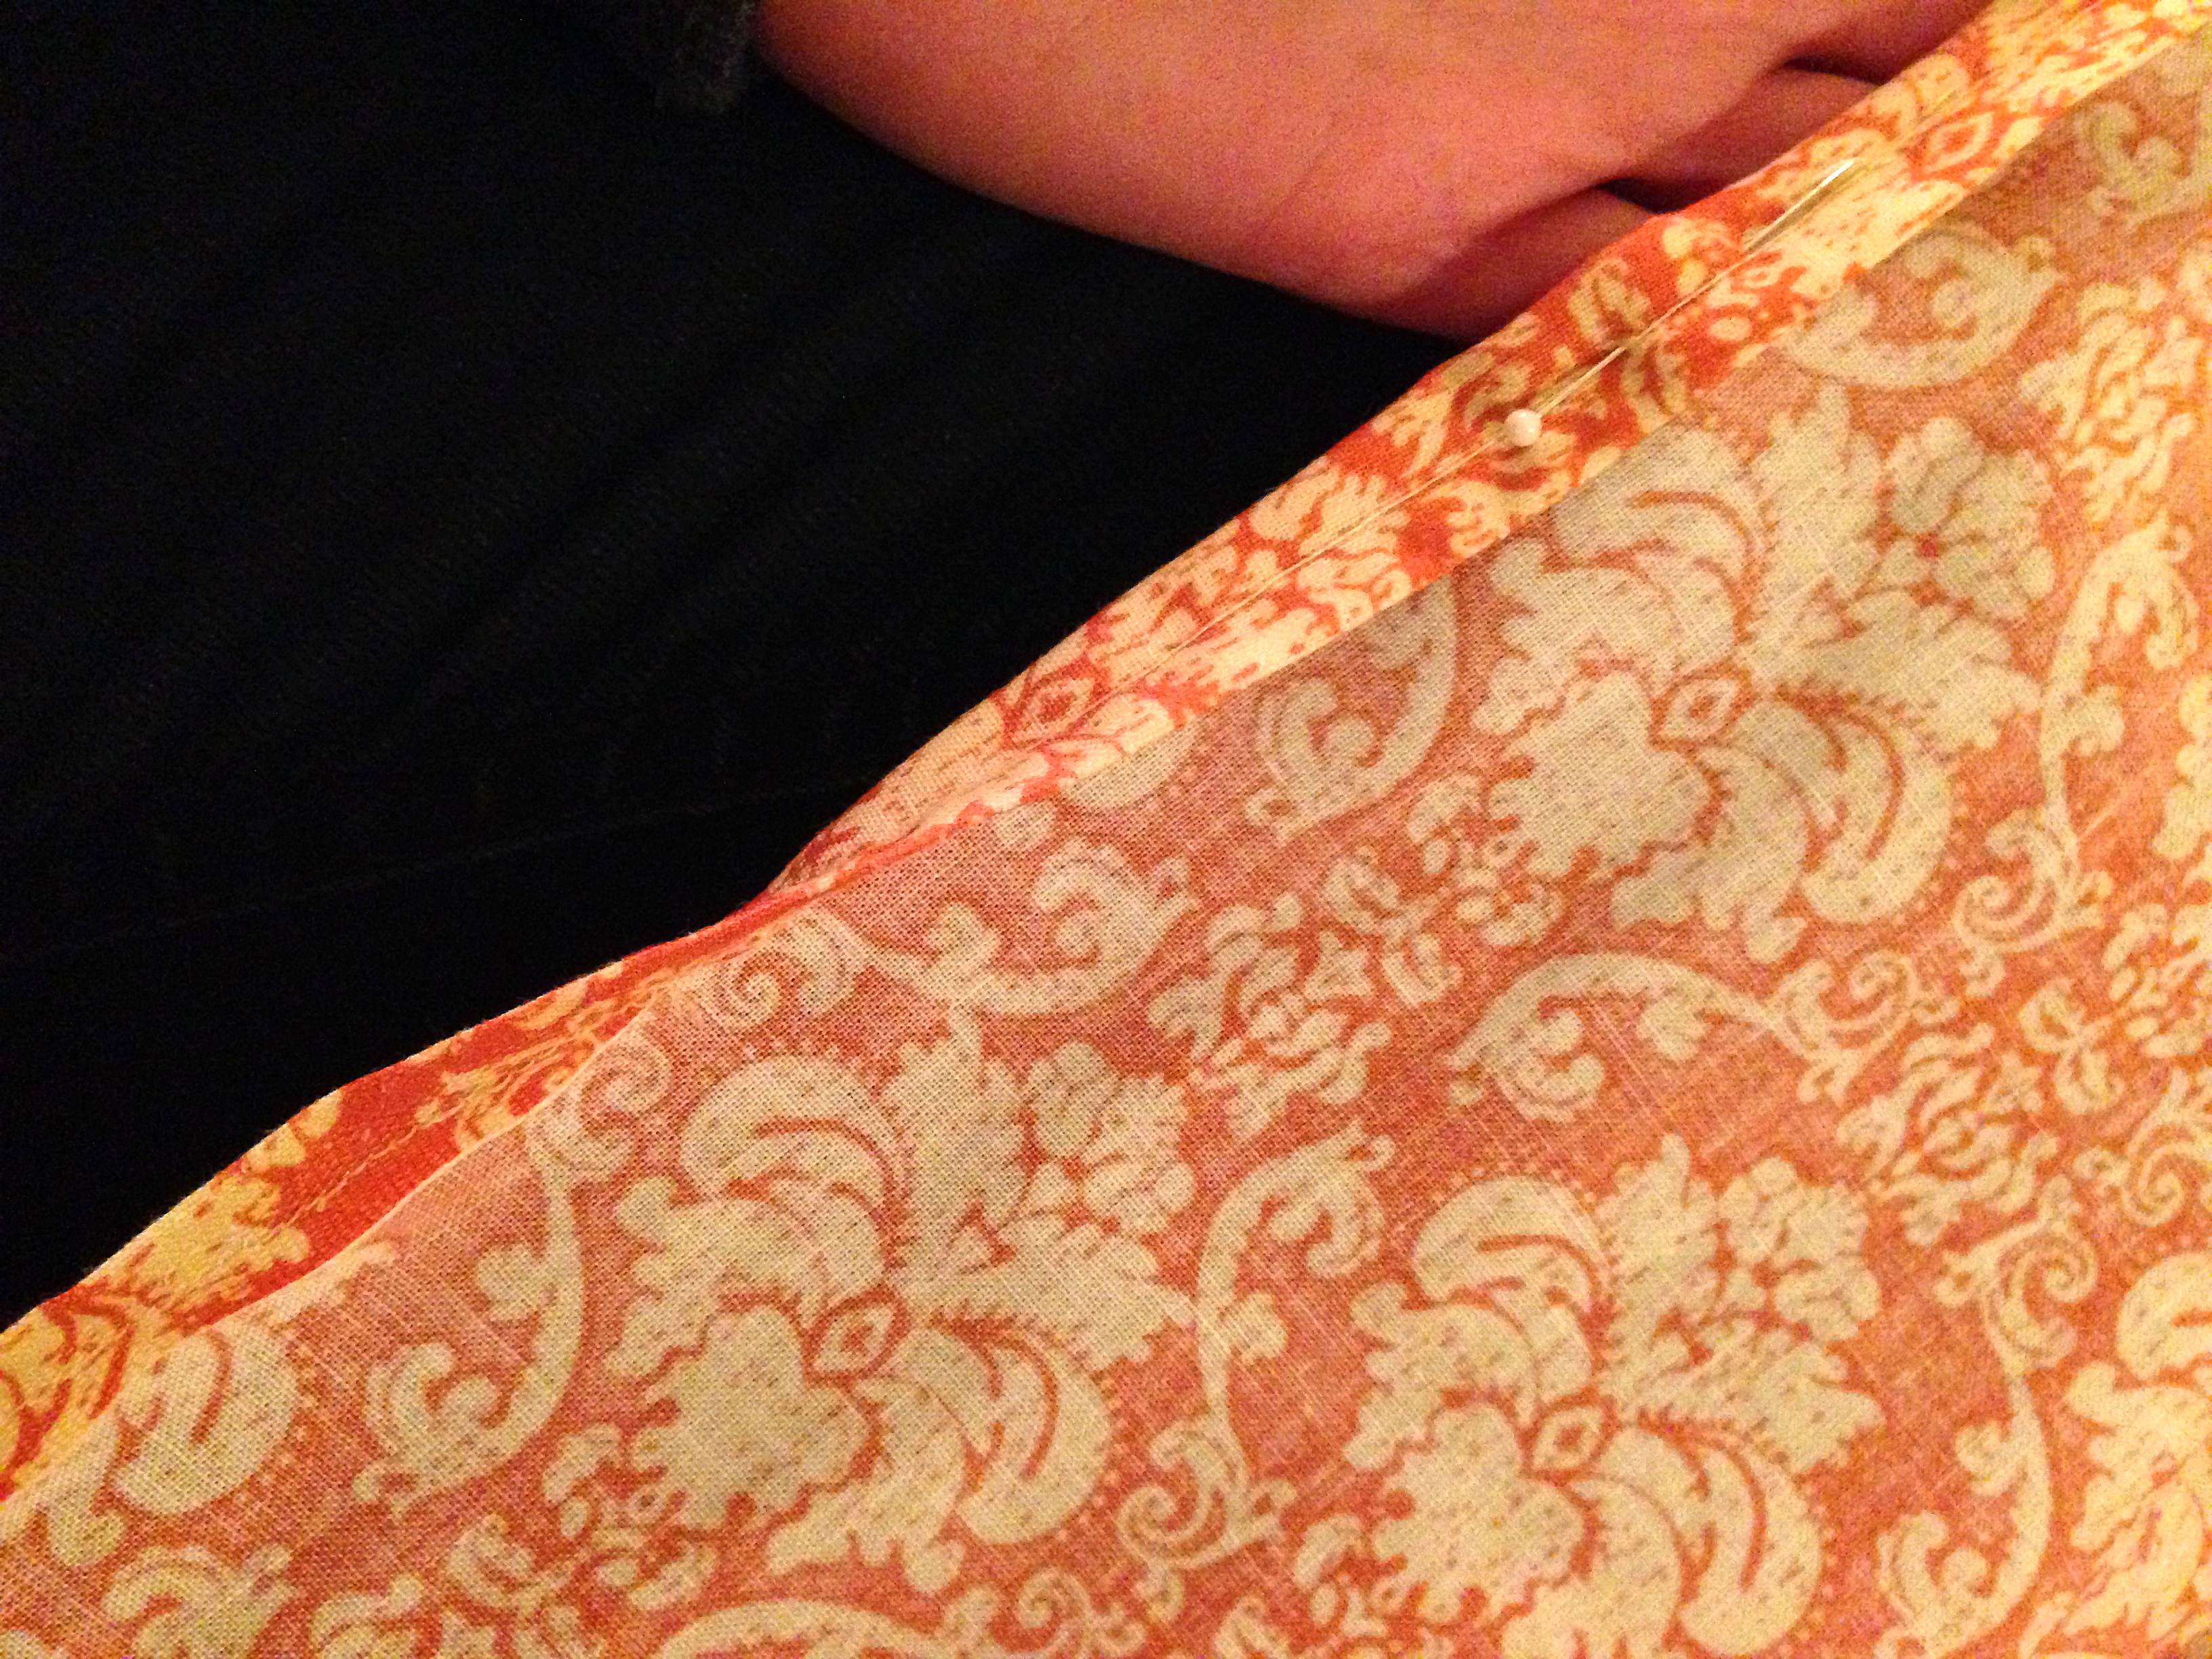
4. Time to start the pinning marathon! Fold the long sides of each panel 1/4″ over and pin about every 6″ down. (Also check out this adorable teacup pin cushion my friend Jen made for me, tutorial here!)


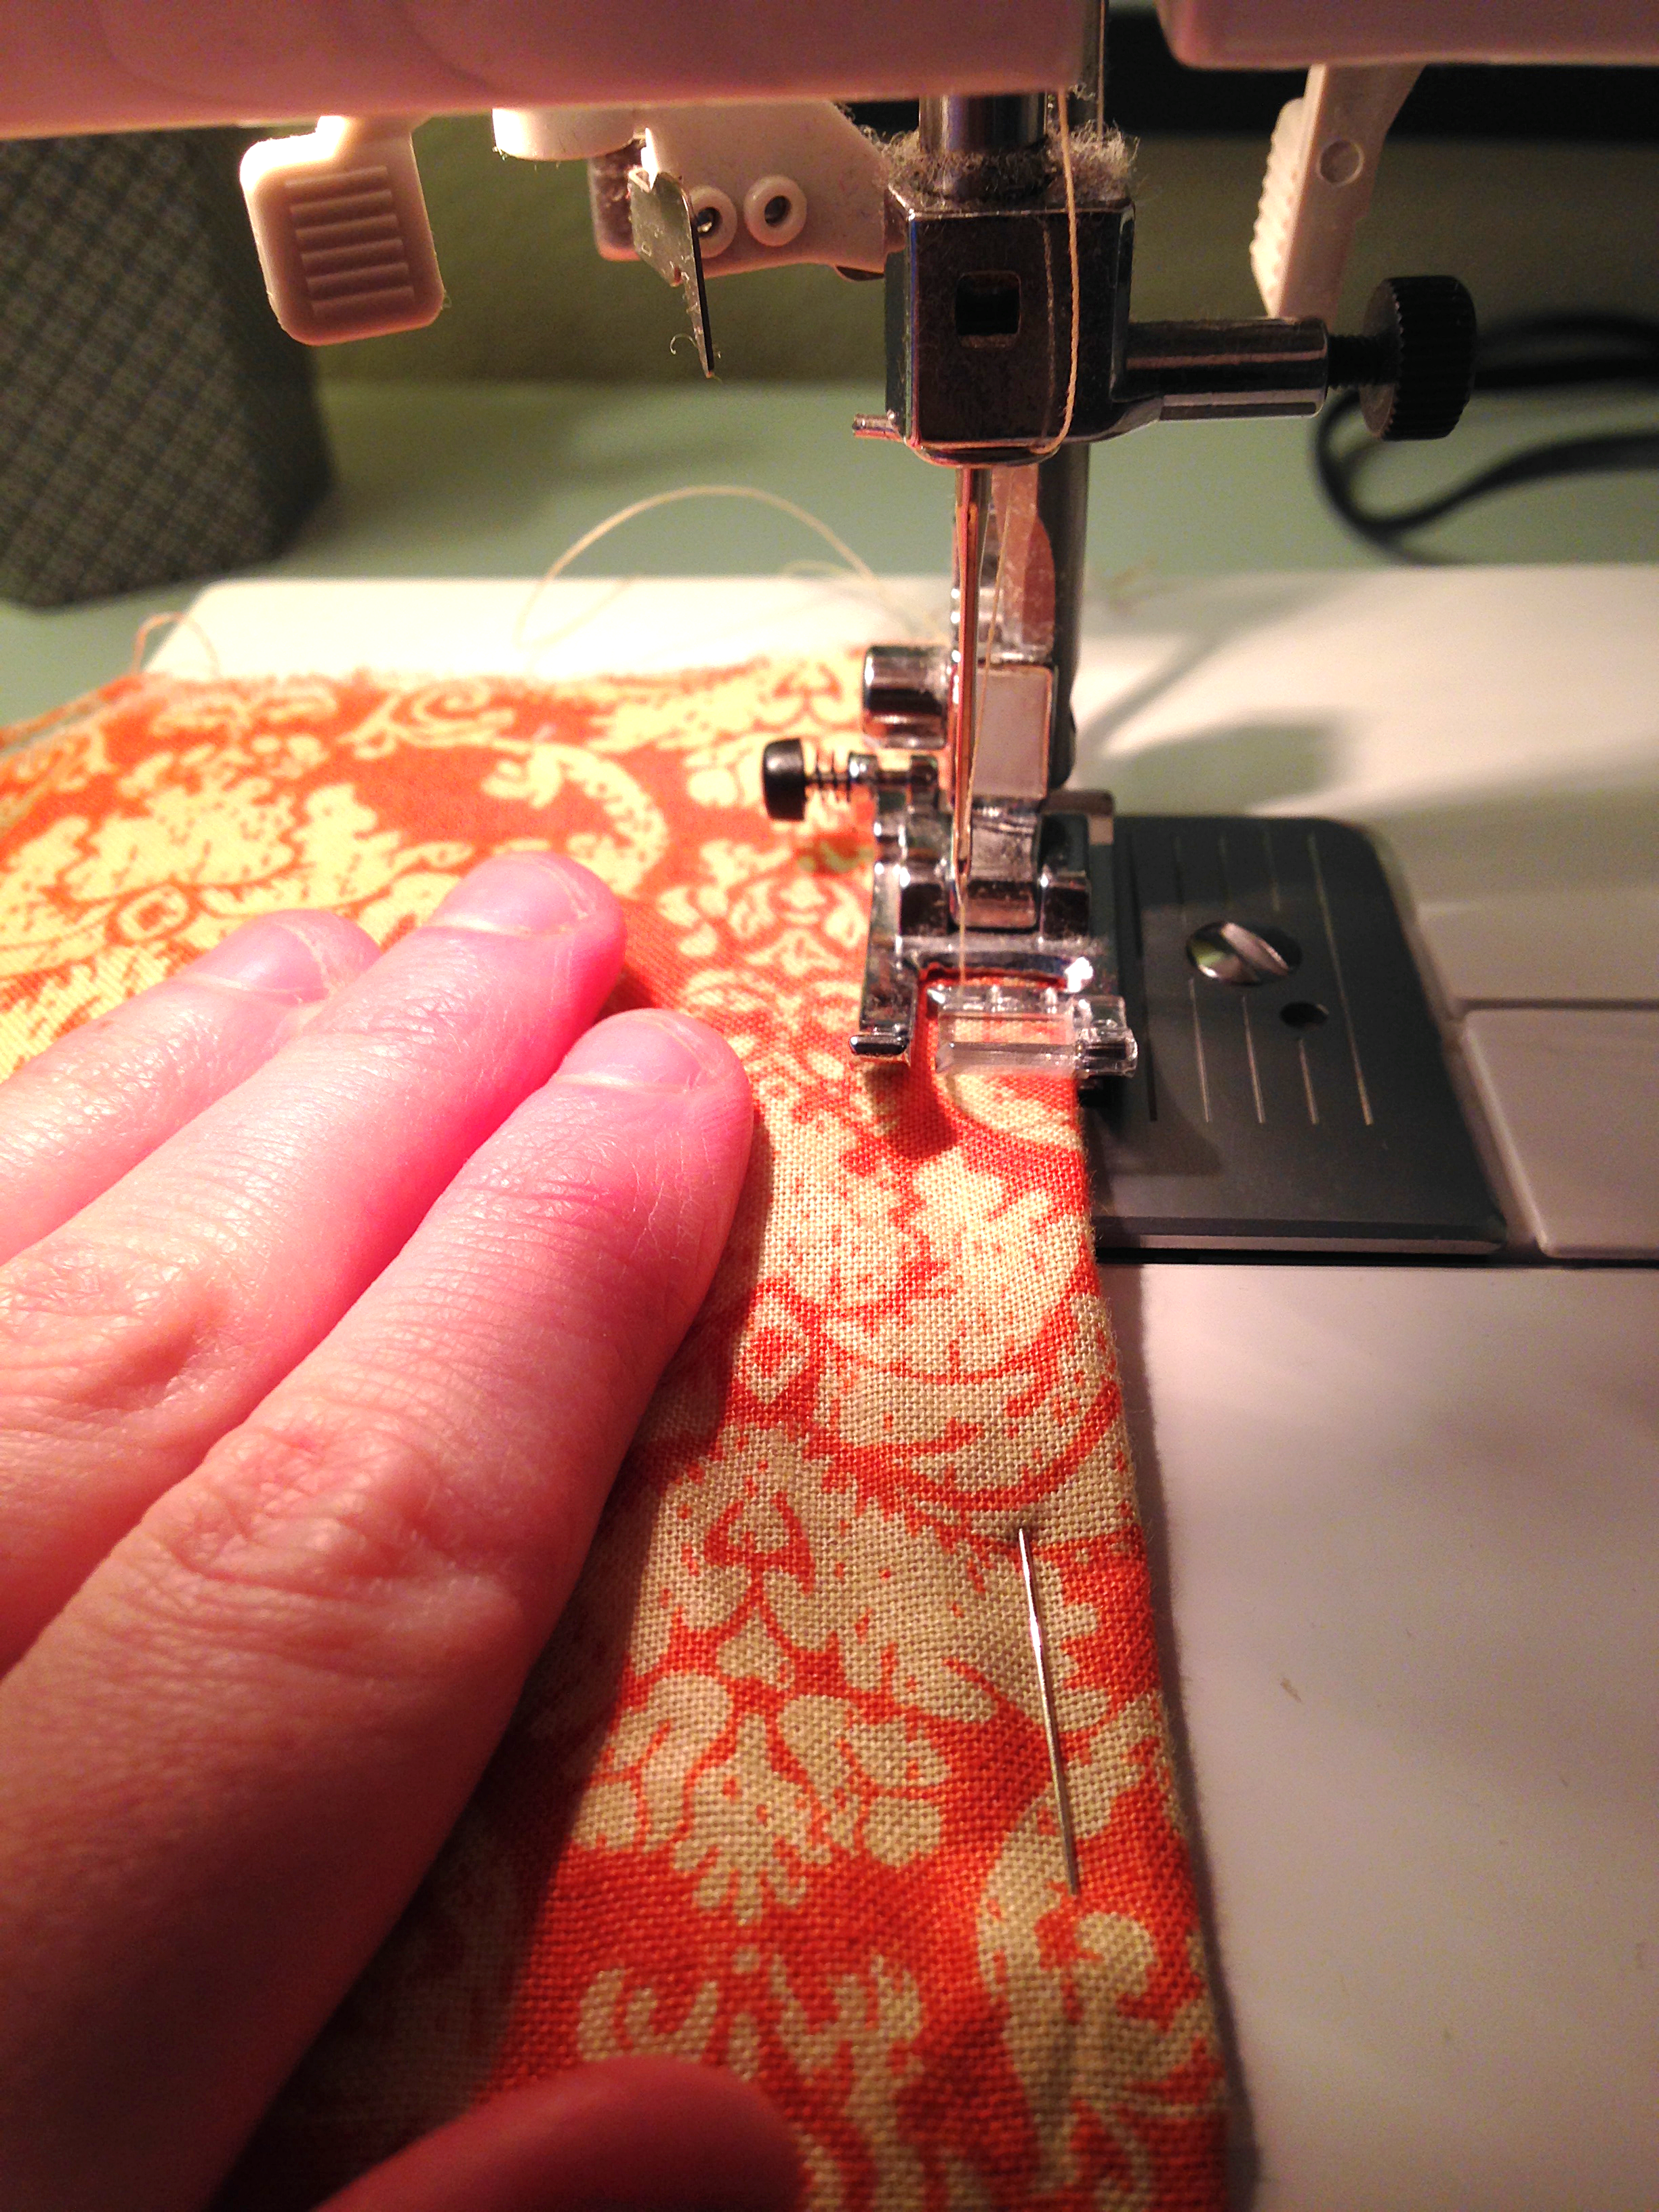
5. Set up your sewing machine and line up the needle about a 1/4″ from the edge of the fold. Sew, sew, sew! These sides are honestly the hardest part just because they are so long. Take tea breaks as needed.


6. After sewing all of the long sides, fold them all over once more another 1/4″ in order to finish off these edges and pin. Sew these sides at 1/4″ from the side as well.

7. Next, fold over the top edge of each panel 1/4″ and pin. Sew this side a 1/4″ from the edge. With this curtain style, I added a small amount of fabric above the curtain rod pocket in order to get a small scrunch when the curtains are opened. In order to do this, fold the fabric over about 3 1/2″. Pin the fabric about 1″ from the fold for the scrunched area, and about 3″ from the fold for to make the curtain rod pocket. Make sure your curtain rod fits into the curtain rod pocket by testing it out after you have pinned it.


8. Sew along the pinned lines you made in step 7 to finish the top of the curtains.
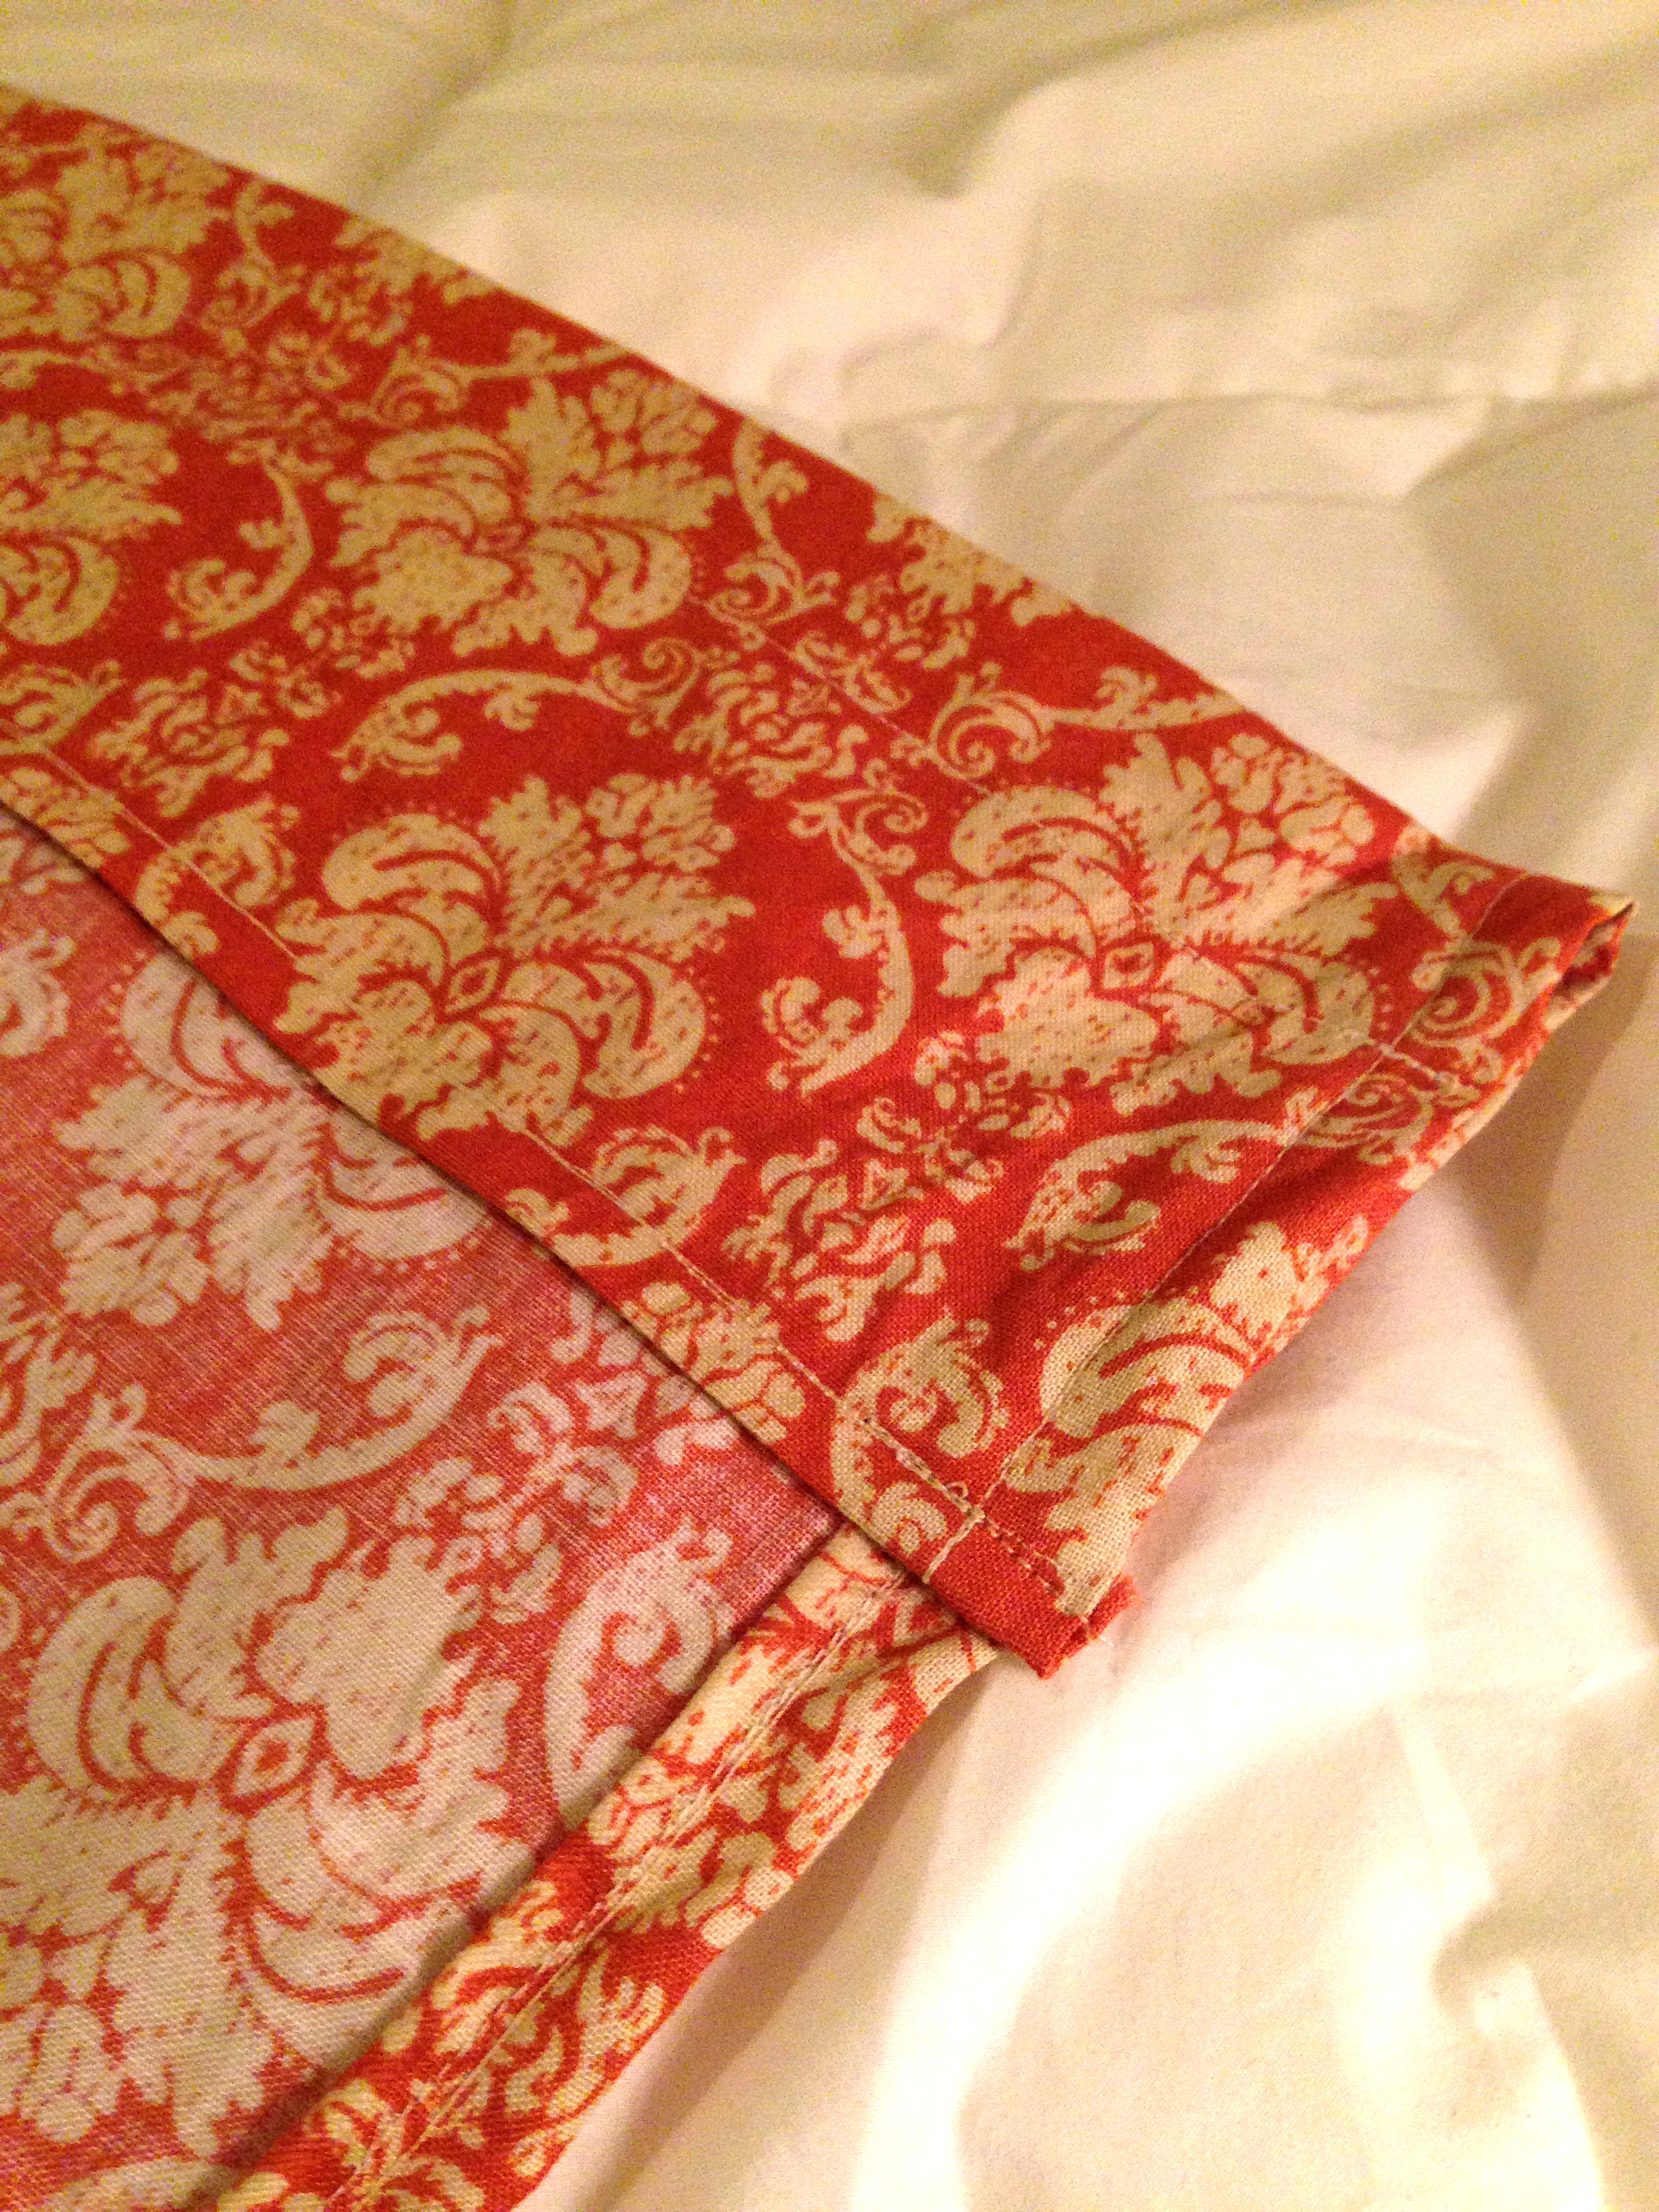

9. At this point, hang your curtains and check out the length. Mark 1/2″ from the bottom of where you want your curtains to hang with pins and take the curtains down. Cut the curtains along the pinned line and then fold and pin up the bottom of the curtains 1/4″. Sew the bottom seam of the curtains about 1/4″ from the fold. Fold and pin the bottom of the curtains up 1/4″ again to finish the bottom of the curtains. Sew at 1/4″ from the fold.
10. Hang your curtains and enjoy!
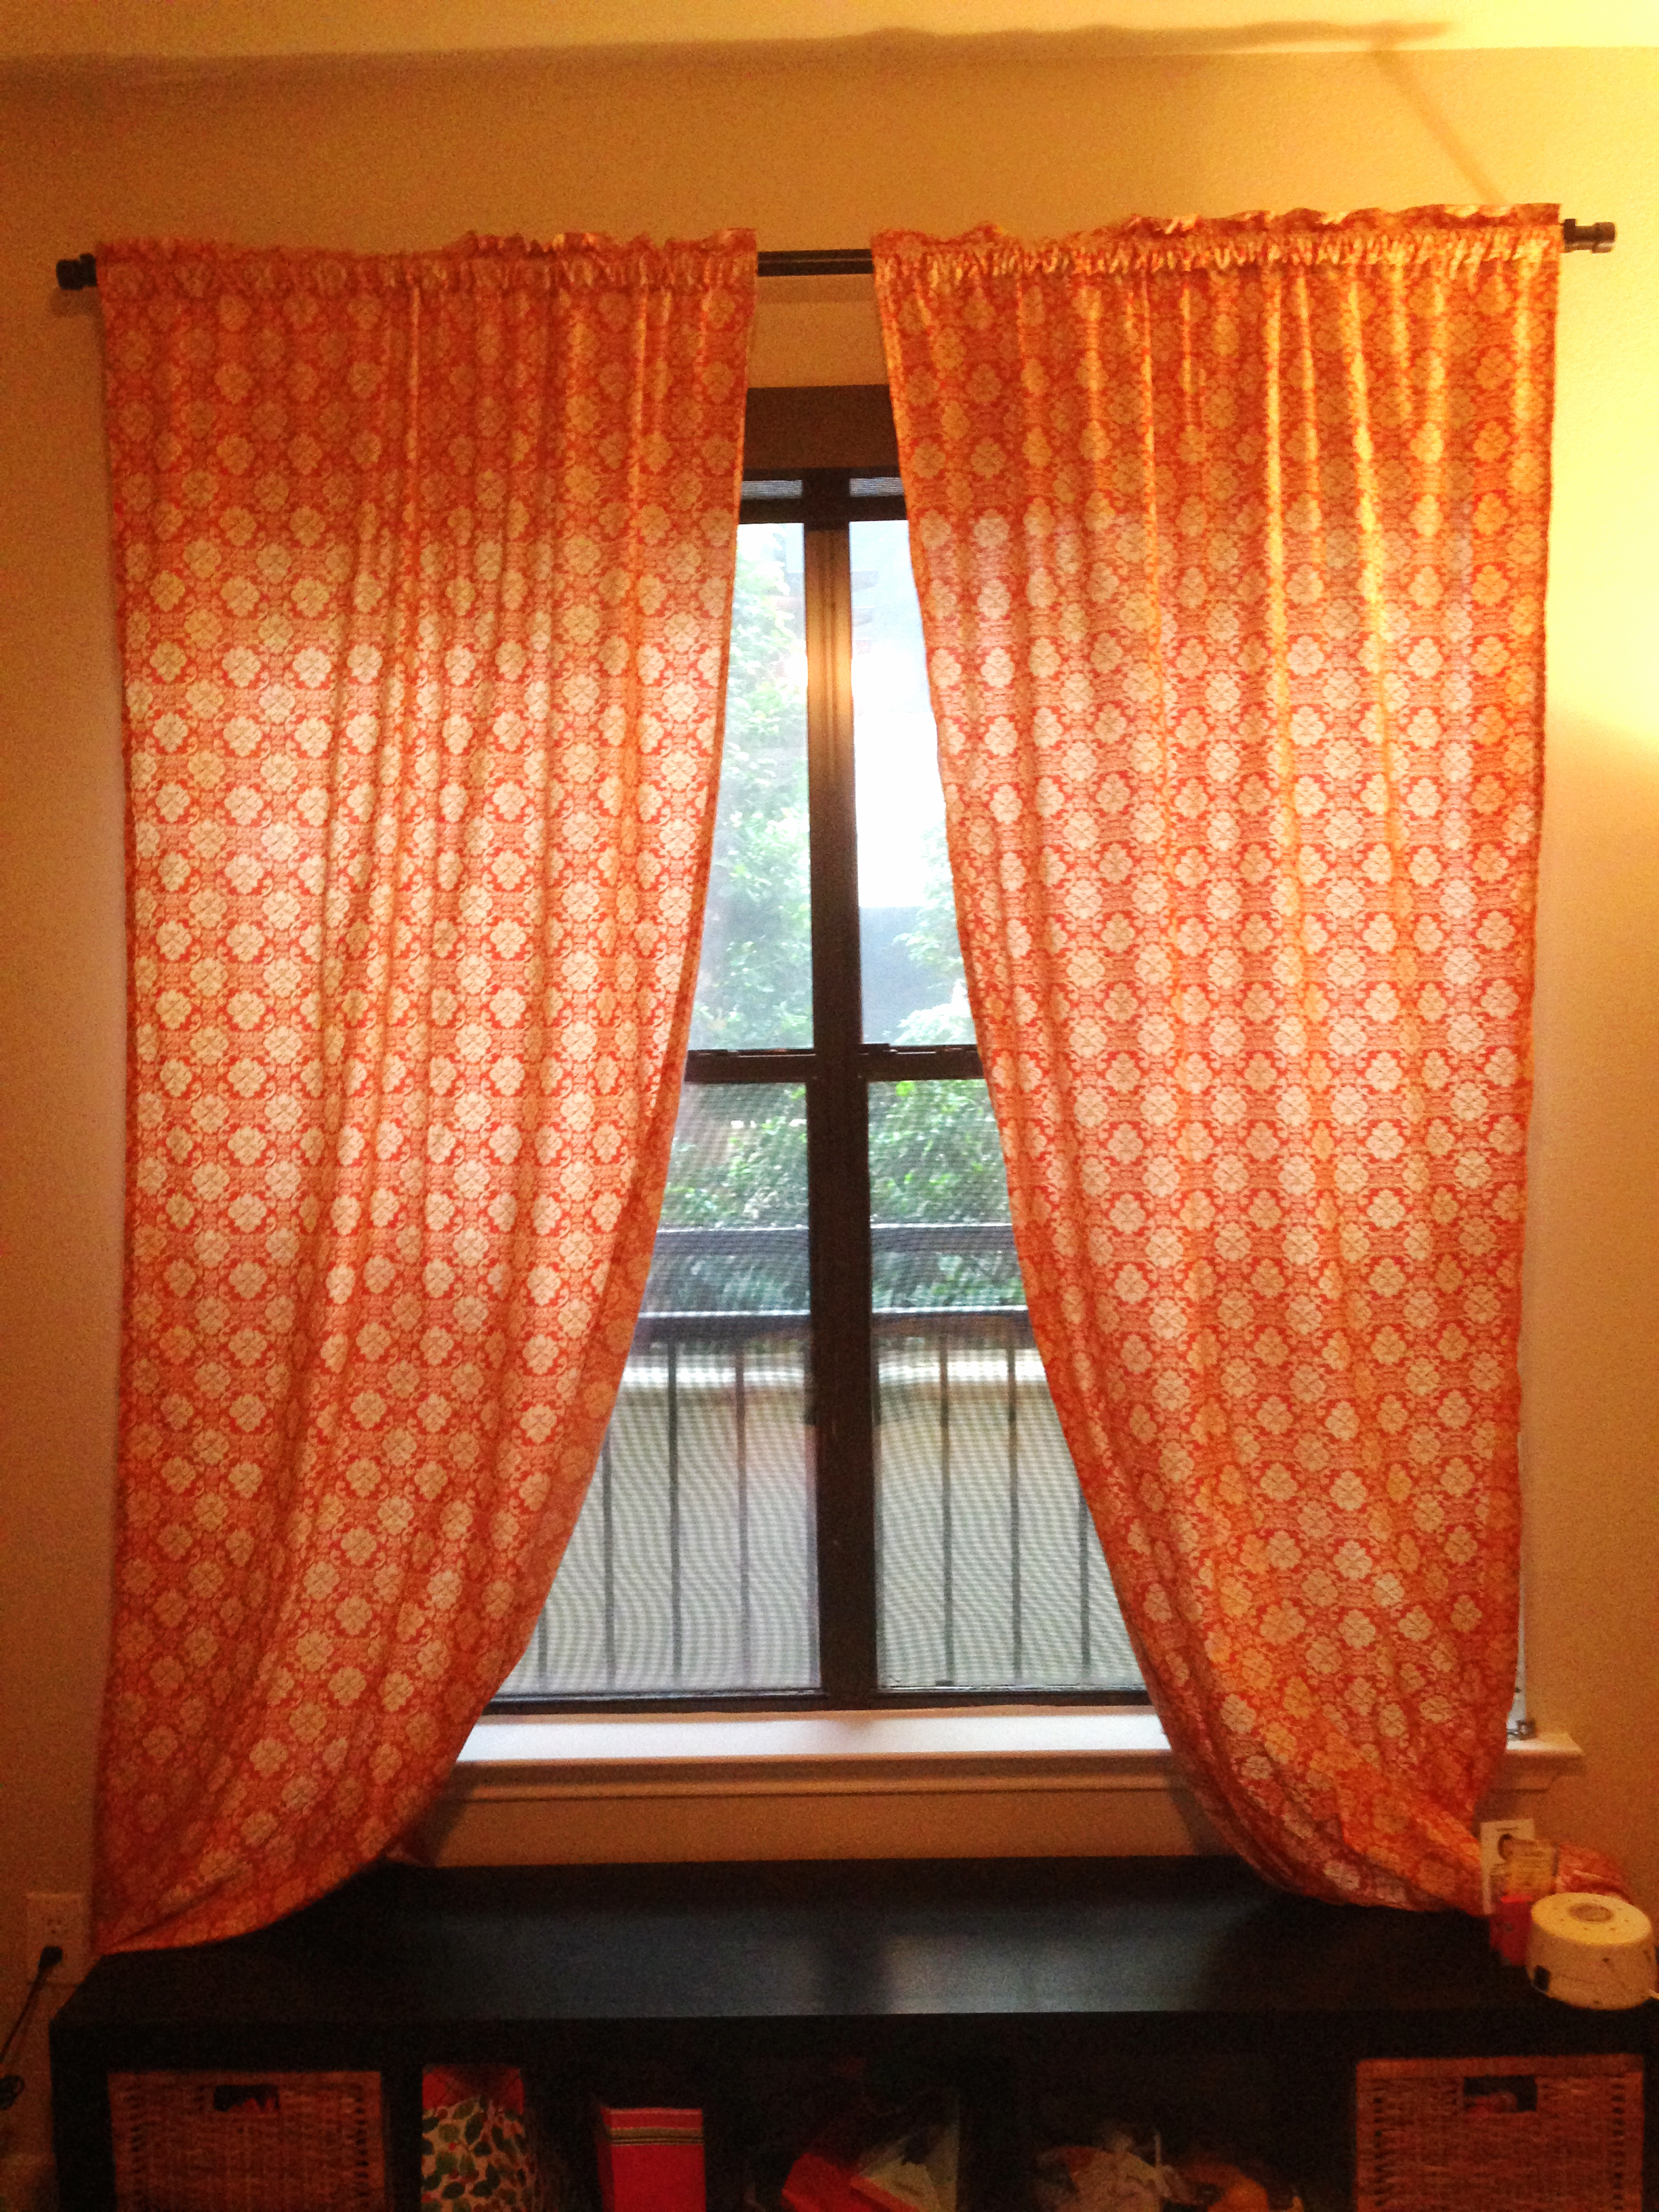
Curtains are my favorite way to cozy up a room. It’s amazing the difference they can make! If a sewing machine isn’t a part of your crafting closet, I do have a few favorite cheap curtain sources to share:
- IKEA has some seriously fun curtains for incredibly cheap. I actually got my curtains there for $15 for two panels. Unheard of. They aren’t particularly thick, but they do their job and are quite cute!
- Overstock.com has a great selection of curtains to look through and they have free shipping with orders over $50.

- Wayfair.com also has some great modern curtains. They also have FREE shipping!


I love everything about those drapes except the sewing part, lol! oh how I envy you!!
LikeLike