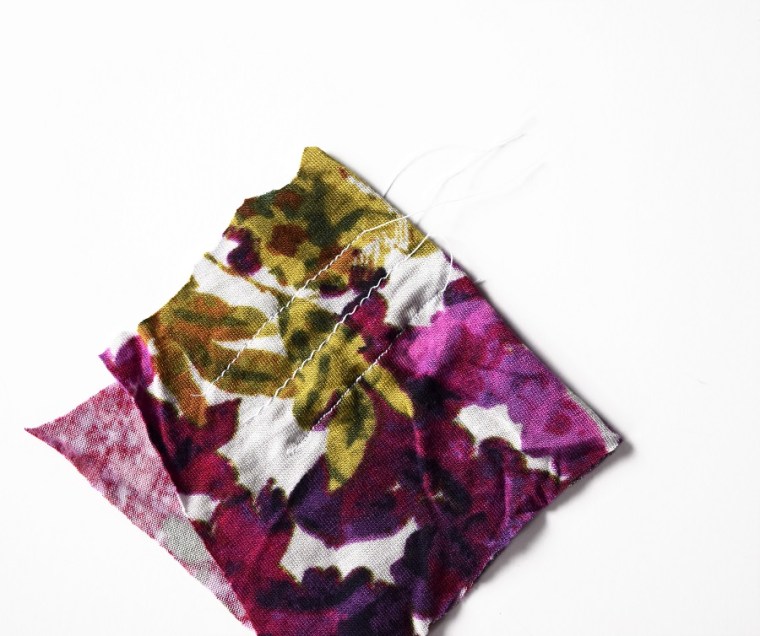
I’ll be the first to admit that as much as I love sewing, it can also be incredibly frustrating. The worst is when you start to sew a stitch, and then the thread bunches up and breaks. If this is happening to you, don’t have a panic attack and give up on your project! (I’ve been known to get overwhelmed by a struggle with my sewing machine in the past…) Your machine isn’t broken, you just need to adjust a few things.
At the start of any project, take a small scrap of the fabric and thread you will be using and run a test stitch. You will get one of three results:
- The straight stitch is tight, even, and does not bunch up. This means that you have the tension set correctly and you can begin sewing. Generally, you should be able to use the middle tension setting for all projects which is usually highlighted on your tension dial or automatically chosen if you have an electronic sewing machine. It is important to note that when you are adjusting the tension on your machine with the dials, you are adjusting the tension on the upper thread, not the bobbin. It is advised to never adjust the bobbin tension.
- The stitches are loose or are knotting up on the topside of the fabric. This means that you need to adjust the tension to be higher than your current setting because it is too loose. By increasing the tension, you will allow less thread through the machine and allow it to tie tighter knots in the fabric to keep them from being too loose. Test a stitch on your test fabric again and keep adjusting until you achieve the results from option 1.
- The stitches are loose or are knotting up on the backside of the fabric and your thread is possibly breaking. This means that you need to adjust the tension to be lower than your current setting because it is too tight. By decreasing the tension, this allows more thread through the machine and will keep the thread from breaking, since you are essentially pulling it too tightly. Test a stitch on your test fabric again and keep adjusting until you achieve the results from option 1.

If you continue to have the issue, there may be other things going on:
- Re-thread your machine. Sometimes a thread can get caught in the wrong place in the top or in the bottom compartment of the sewing machine, and re-threading it will fix your problems.
- Adjust the length of the stitch to be longer or shorter. Different fabrics react differently to stitch length, so this can also cause you to have issues with your stitches.
- Replace your needle. Needles should be replaced after every major project. When one gets too dull, it has a hard time moving through the fabric and causes the thread to bunch up.
- Buy stronger thread. Don’t go cheap on thread! The nicer stuff isn’t much more expensive and it keeps you from getting sewing headaches.
- Clean out your sewing machine. Over time, you will get a lot of buildup of thread particles and dust in your machine. This can mess up the tension or just get in the way of the threads.
- Oil your sewing machine. Follow the instructions in your sewing machine manual to keep your machine oiled. If it is not properly oiled, the parts will not move as they are intended.
If none of these techniques fix the issue, you may be in need of a tune up from a sewing machine professional. They will be able to tell you if there is a part broken on the machine or if they just needed to adjust an internal setting.
Do y’all have any sewing tricks to add? I’m always looking for a new way to fix an age old problem. It took me way too many years to finally invest in some cheap oil which made such a difference on my machine… I’m always convinced I can do without the extra tools!
