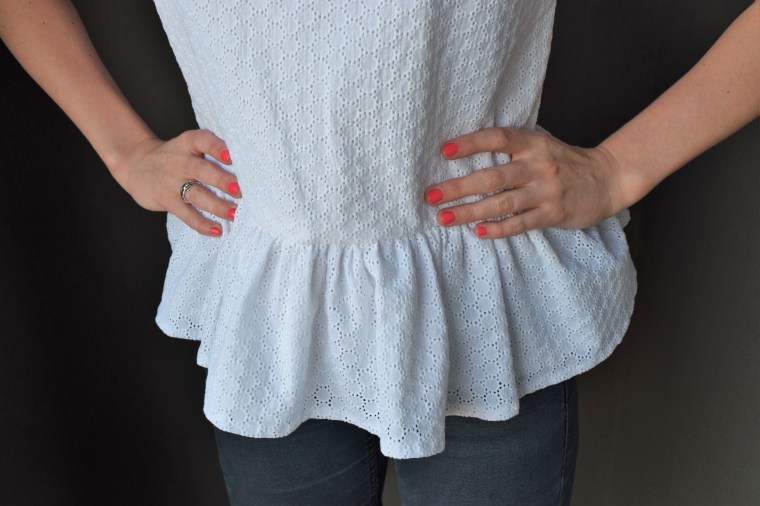
Just adding a ruffle to the sleeve of a dress or the bottom of your shirt as a peplum can take a plain outfit and make it completely special. I love that this girly shape can be used in so many ways, and is so simple to make! Though there are many ways to create a ruffle, I find that this one is the simplest.
When I found out about this secret I thought it was so sneaky. Like, I was able to use my sewing machine for it’s opposite purpose. This isn’t really the case, and it wasn’t really a secret, but it still feels kind of magical to me. I guess that’s why I’m the sewing nerd.
So, the trick?? Sewing one straight stitch through fabric and not tying the ends allows you to pull the threads and scrunch the fabric into a ruffle! So cool. Just remember that whatever length of fabric you started with you will end up with about 1/2 – 2/3 of this length in the end. Like I said, this ruffle can be made as wide or as short as you’d like, and it can be added to a sleeve, peplum, or just a trim on a collar or wrist. I will refer to the ruffle in this tutorial as if it is a peplum hem on a shirt. Scroll below to see the full tutorial.
How to Create a Ruffle
Supplies:
Fabric 2x the width of the hem of your shirt
Thread to match the fabric
Sewing Machine

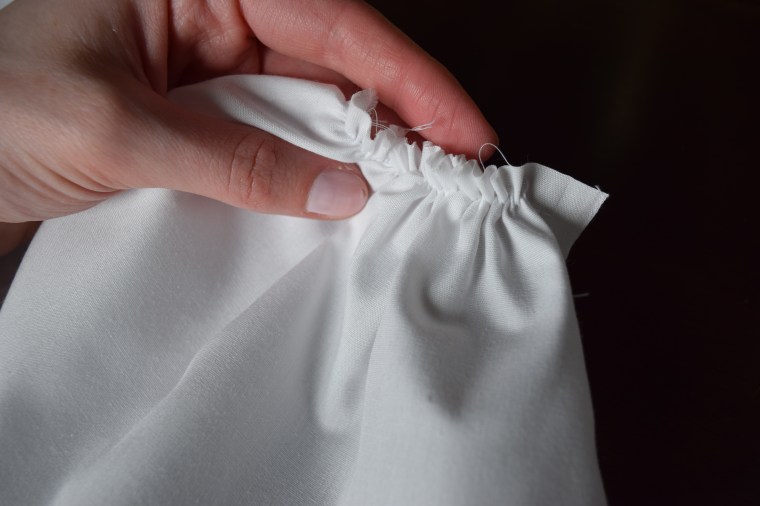
1. Take your fabric that is 2 times the length of the hem of your shirt (or sleeve, etc.) and place the edge in the sewing machine. Sew a straight stitch along the entire length about 1/4″ from the edge of the fabric without back-stitching at the start or the end. Cut the thread at the ends with about 3″ of extra thread hanging off.
2. Take the fabric out of the sewing machine and while holding one of the two threads at the end of the fabric, push the fabric in the opposite direction. It will begin to scrunch up. As you pull on the fabric, you will have to keep adjusting the ruffle to make sure that it is evenly scrunched throughout the length of the fabric. You can also work from the other thread remnants hanging off of the other side.
3. This can now be used on your shirt by sewing over the original seam to attach it to the main body. To be safe and to keep the ruffle from coming undone while sewing, you can stitch over just the ends of the original seam back and forth in order to tie it off and keep the threads from coming out.
Use this new skill to conquer this Eyelet Peplum tutorial! Check back weekly to learn a new skill to help you out with my, or anyone else’s, sewing tutorials.

4 thoughts on “It’s Sew Easy: How to Create A Ruffle Sewing Tutorial”