
I went back and forth on a title for this blog post because this dress is just so many things. It’s the cutest pink and white striped fabric for Summer. It’s a drop waist silhouette with a v-neck and v-cut back. Plus, it’s totally lined! That’s right, I learned how to line a dress and I’m 100% v. proud of myself.
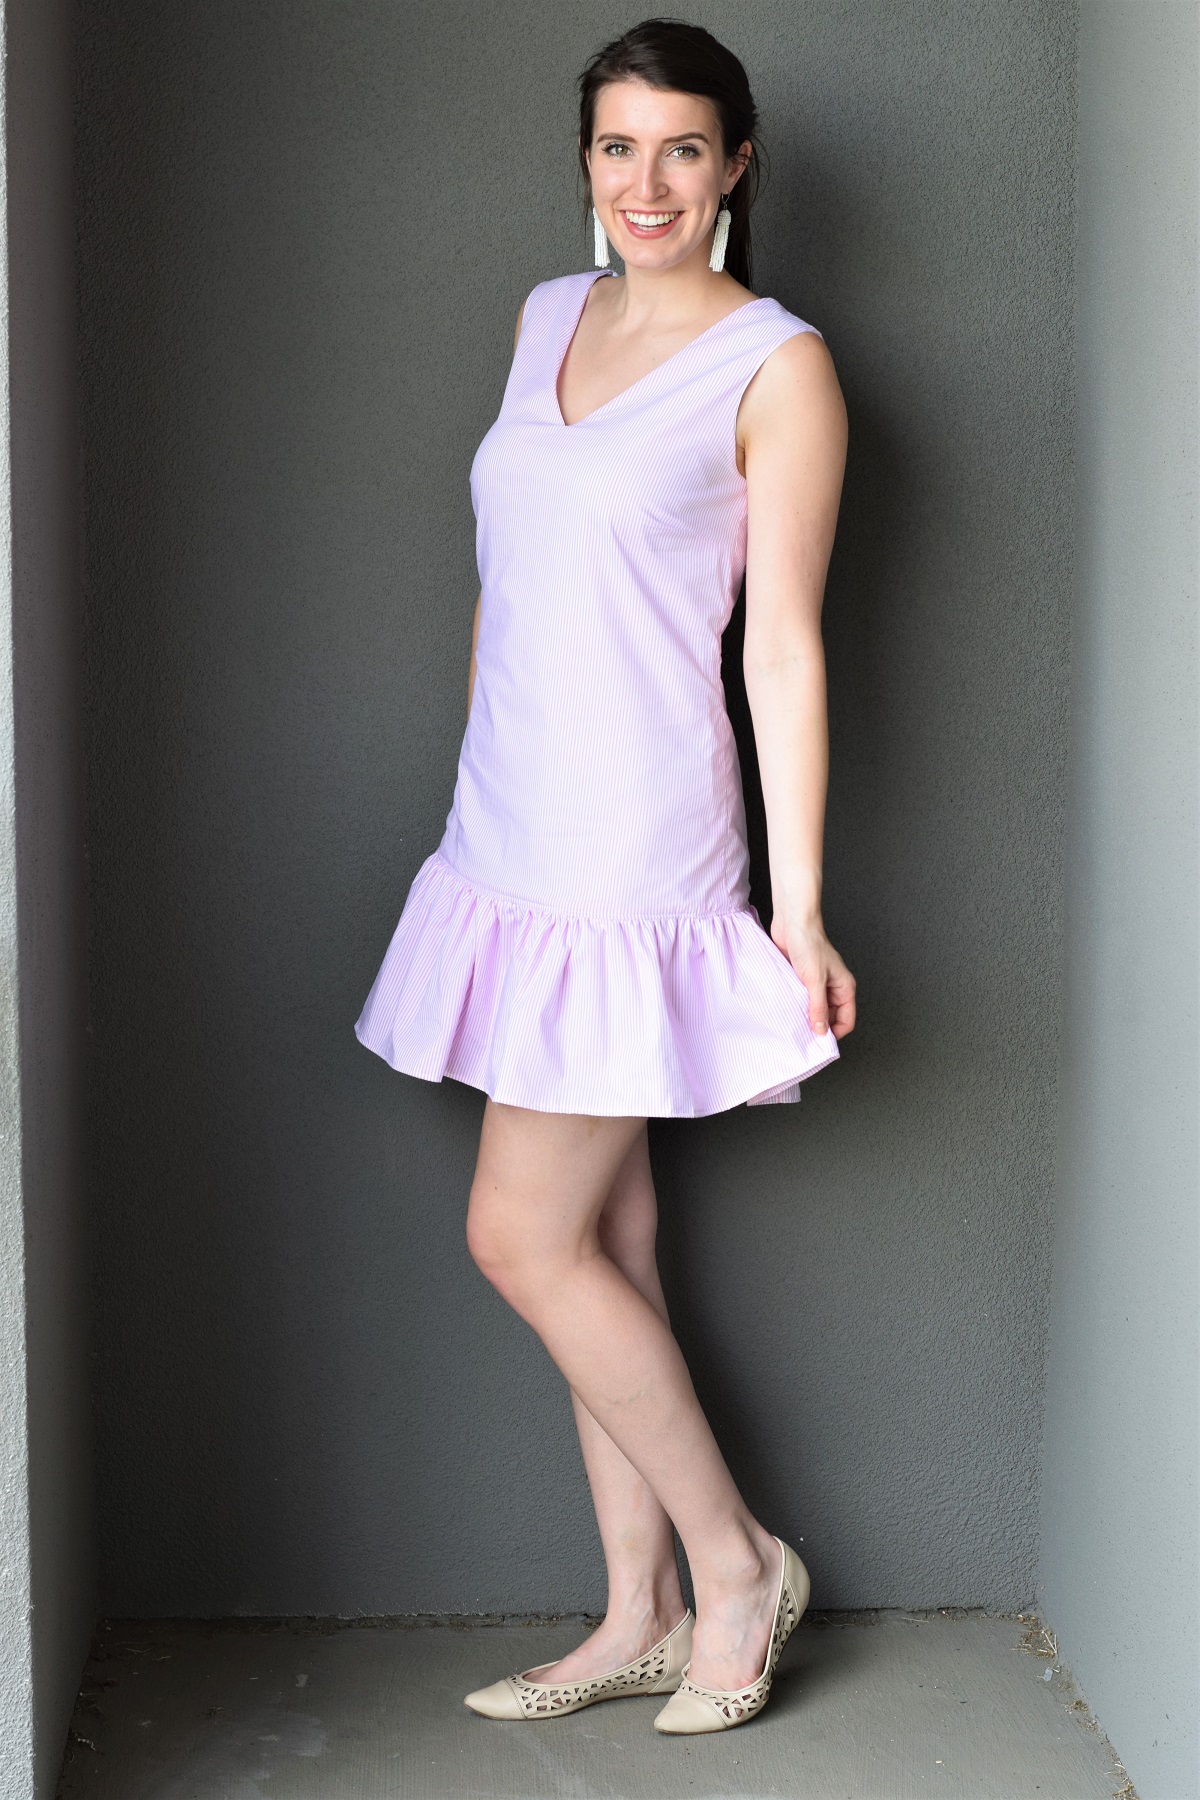
Outfit Details: Dress – made by me (similar drop waist dress) || Nude Cutout Flats – Steven by Steve Madden (similar flats) || White Tassel Earrings – Francesca’s (similar tassel earrings)
I have been so excited to share this dress tutorial with you all because it is one of my favorite dresses I’ve made to date. I first talked about it here in my Spring 2017 sewing projects post. The pink and white striped fabric jumped out to me at Joann Crafts as I was strolling the aisles, and I immediately knew I wanted to make the perfect little Summer dress with it. This fabric is so lightweight, and yet not see through, so it will definitely be my go to dress on those 100 degree, sticky days in Houston.


A drop waist hem dress is something quite mischievous. While wearing it, it acts like a shift dress. Eat whatever you want, pull it on and off over your head, don’t worry about picking special underwear to wear with it – pure happiness. The special thing about this dress that makes it better than a shift is that it actually has a fun side to it! The ruffle hem gives it a girly flair that you can’t help but want to dance in. I also gave this dress a v-neck in the front and back to show a bit of skin and make it a tad bit dressier.


Oh yeah, and that LINING!!! It turns out that adding a lining to a dress isn’t all that tricky. You essentially make two copies of the bodice, put one inside out over the other one, and sew them together. With a few extra steps… But lining fabric is cheaper than muslin, so we really have no excuses to not line our dresses, do we?

To make your own drop waist hem dress with a lining, check out my sewing tutorial below!
Lined Drop Waist Hem Dress Sewing Tutorial
Supplies
2 yards Pink and White Striped Cotton Fabric
1 yard White Lining Fabric
White Thread
Sewing Machine
Measuring Tape
Pins
Scissors
Iron + Ironing Board
Paper, tape, and pencil to make pattern
Time
4 hours
Difficulty
Medium – Hard

1. Start by cutting out your pattern pieces. You will cut out a FRONT, BACK, and two RUFFLES from your main fabric and your lining fabric. Make sure on your main fabric that if it has stripes you make sure that they are perfectly straight! I created half pattern pieces for the front and back so that the fabric could be cut on the fold and achieve perfectly symmetrical shapes. I also used a tank top that I owned as a basis for the arm holes on the front and back.
2. Take your FRONT piece and add in 3″ long, 1″ wide darts starting about 3″ down from the arm pit. I always fold my fabric in half again to make sure they line up with one another. Repeat on the lining fabric. (You can find more notes on darts in this blog post.)
3. The next step is to place the BACK face down on top of the FRONT so that the right sides of the fabric are touching, and pin the sides together. Sew along the sides 1/4″ from the edge of the fabric. Again, repeat on the lining fabric.
4. Now it’s time to connect the lining to the dress. Turn your dress right side out and make sure the lining is inside out. Place the lining over the dress and line up the neck and arm hole areas. Pin around them and then sew 1/4″ from the edge of the fabric. Make sure not to sew along the top of the shoulders!
Once you have finished sewing, make a small cut down the center of each V until it is just about touching the seam. This will allow it to not bunch up when you turn it right side out. Flip the lining to the inside of the dress and iron down the neck and arm holes.
5. To connect the shoulders, fold the front shoulder over to the inside 1″. Then, slide your arm through the bottom of the dress between the lining and the fabric and grab the back shoulder from the same half of the dress. Pull it through and grab both the front and back shoulder and pull them out together. You will now have one inside the other. Pin the edges together and sew around them 1/4″ from the edge. Repeat on the other shoulder. You have completed the top of the dress!
6. To create the ruffle, line up one of the fabric RUFFLEs with one of the lining RUFFLEs. Sew a basting stitch along the top edge of them (do not backstitch at the beginning or end) to connect them. Then, pull on one of the threads and push the fabric away from you to create a ruffle. (More details on this here.) Pull until you get a ruffle the same length as the bottom of the front of the dress. Complete on the other RUFFLE pieces.
To finish the ruffle, line up the edges of the front and back RUFFLE pieces and sew them together with the right sides of the fabric touching one another. Make sure to sew the lining pieces together and the pink fabric pieces together to keep them separate.
7. To attach the ruffle to the top of the dress, line up the bottom of the bodice with the ruffled edge of the ruffle with the right sides of the fabric touching one another. Sew along the seam used to make the ruffle. Fold the ruffle back down.
At this point, I recommend trying on the dress and seeing how it fits. I added two darts to the back of the dress to give it a more fitted shape. You can still alter this at this point because the lining and the fabric are not connected yet.
8. To complete the lining, turn the dress inside out to expose the lining. Fold the bottom edge of the lining over and pin it over the exposed edge of the ruffle. Sew along the bottom of the lining to connect the lining to the fabric and cover all of the exposed seams.
9. Finish up the dress by hemming the bottom to your desired length.

You know what, am goanna try that out, I already started making clothes two weeks ago, expecting more styles from you julia.
LikeLiked by 1 person
Awesome!! So happy to hear it!
LikeLiked by 1 person
Oh yeah.
LikeLiked by 1 person
This dress is so pretty! I love the colour choice too! Definitely looks like the perfect summer dress!!
LikeLiked by 1 person
Thanks so much! So glad you like it!
LikeLiked by 1 person
Love!! ❤️
LikeLiked by 1 person
Thanks so much! Glad you liked it!
LikeLike